XKR – Floor Pan Rust Repair
As per my old XJS, the XKR has a similar floor pan with a small metal plate welded onto the underside of the floor. It is around about where the drivers feet go. This added panel is flat whereas the floor pan has stepped channels (don’t know how else to describe it) to give some more rigidity to the panel. This leaves gaps between to two panels where water can collect and then causes rust to eat through the floor.
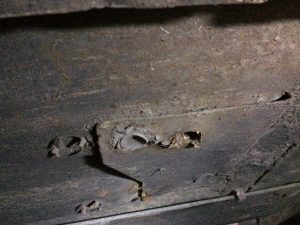
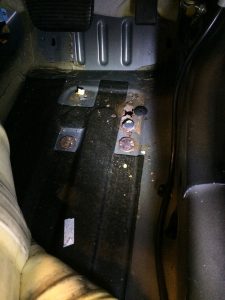
The rust in the drivers side floor was discovered during the 100k service. The passengers side had been repaired previously as part of the pre-delivery service/MOT when I purchased the car. Just over two years later, the drivers side will now cause an MOT failure too. Repair panels are available for £100 (when VAT and delivery are included). There is some shape to the panel, it is not just flat, (The underside panel is). Under the car there is loads of under-seal which hides the repair and of course there is the carpet on the top side. I therefore made up a repair panel to fit. I could just put in a flat panel but I made a jig to fabricate something that looks more like the original interior view.
Carpet removal
The first challenge is to get to the panel by removing the carpet out of the way. You have to remove the tread plate which is held in by three bolts that are under the decal plate. The decal can be removed by applying heat and carefully prying it off. You can use old credit/loyalty cards to slide under the decal, applying heat as you go along. The decal was removed successfully without damaging it. It is only glued on, so I will use some double sided tape to fix it back in place.
Keeping the carpet out of the way is a major priority of mine! That is how I set light to my XJS interior! I was welding in a plate around the seat belt mounting point from under the car. The carpet fell back onto the welding area. The carpet caught light first. That set light to the seat belt, which burned up the B post and seat back, finally burning the headliner. This damage wrote off the car. A sad end to my 9 years of ownership.
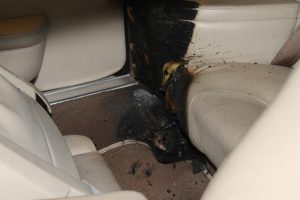
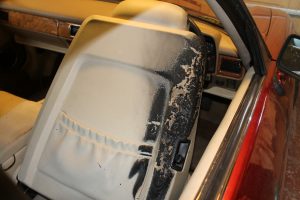
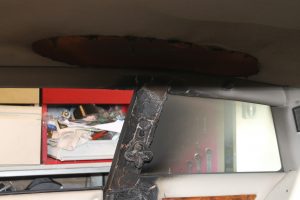
Obviously I do not want history to repeat itself!
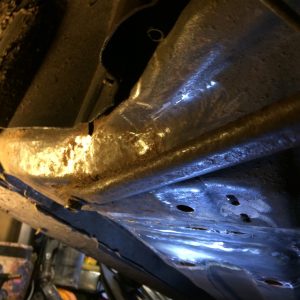
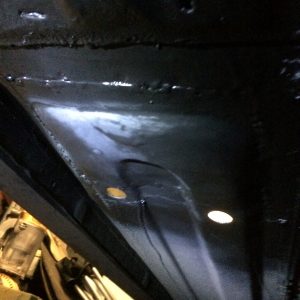
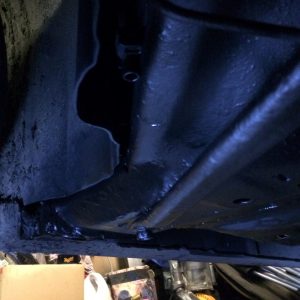
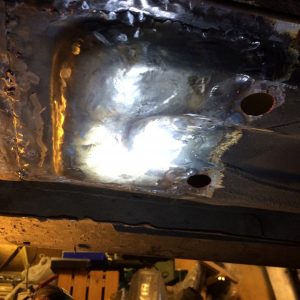
You can see the progress of the repair in the images below:
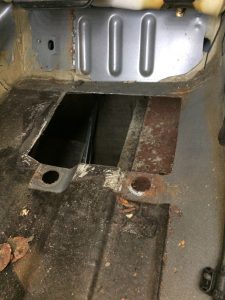
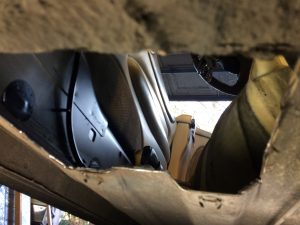
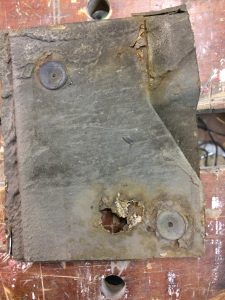
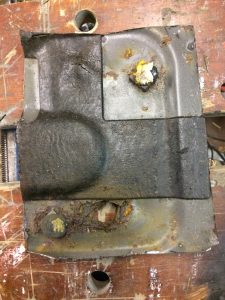
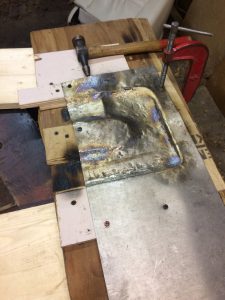
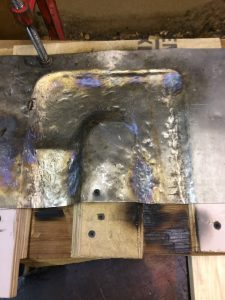
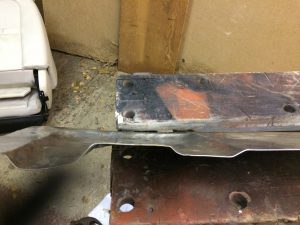
Fitting the panel took a bit of work as there is very limited space in the foot-well especially as I did not totally remove the carpet. I also used my brothers MIG welder with an gas feed rather than the no-gas wire welder I am used too. It took a lot of trial and effort plus a significant amount of grinding to get a reasonable looking result.
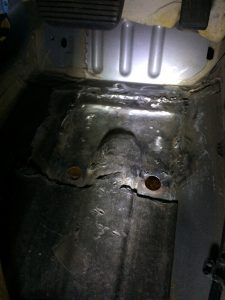
A coat of primer then a few coats of stone chip paint for the underside and some satin black inside finished it off quite nicely. It seemed prudent to spray in some wax protection into any cavity that was accessible at the time (sills and front of foot-well) There was some loose under-seal and paint around the front edge of the wheel arch. I removed the flaky paint/rust and also painted those areas with stone chip paint.
