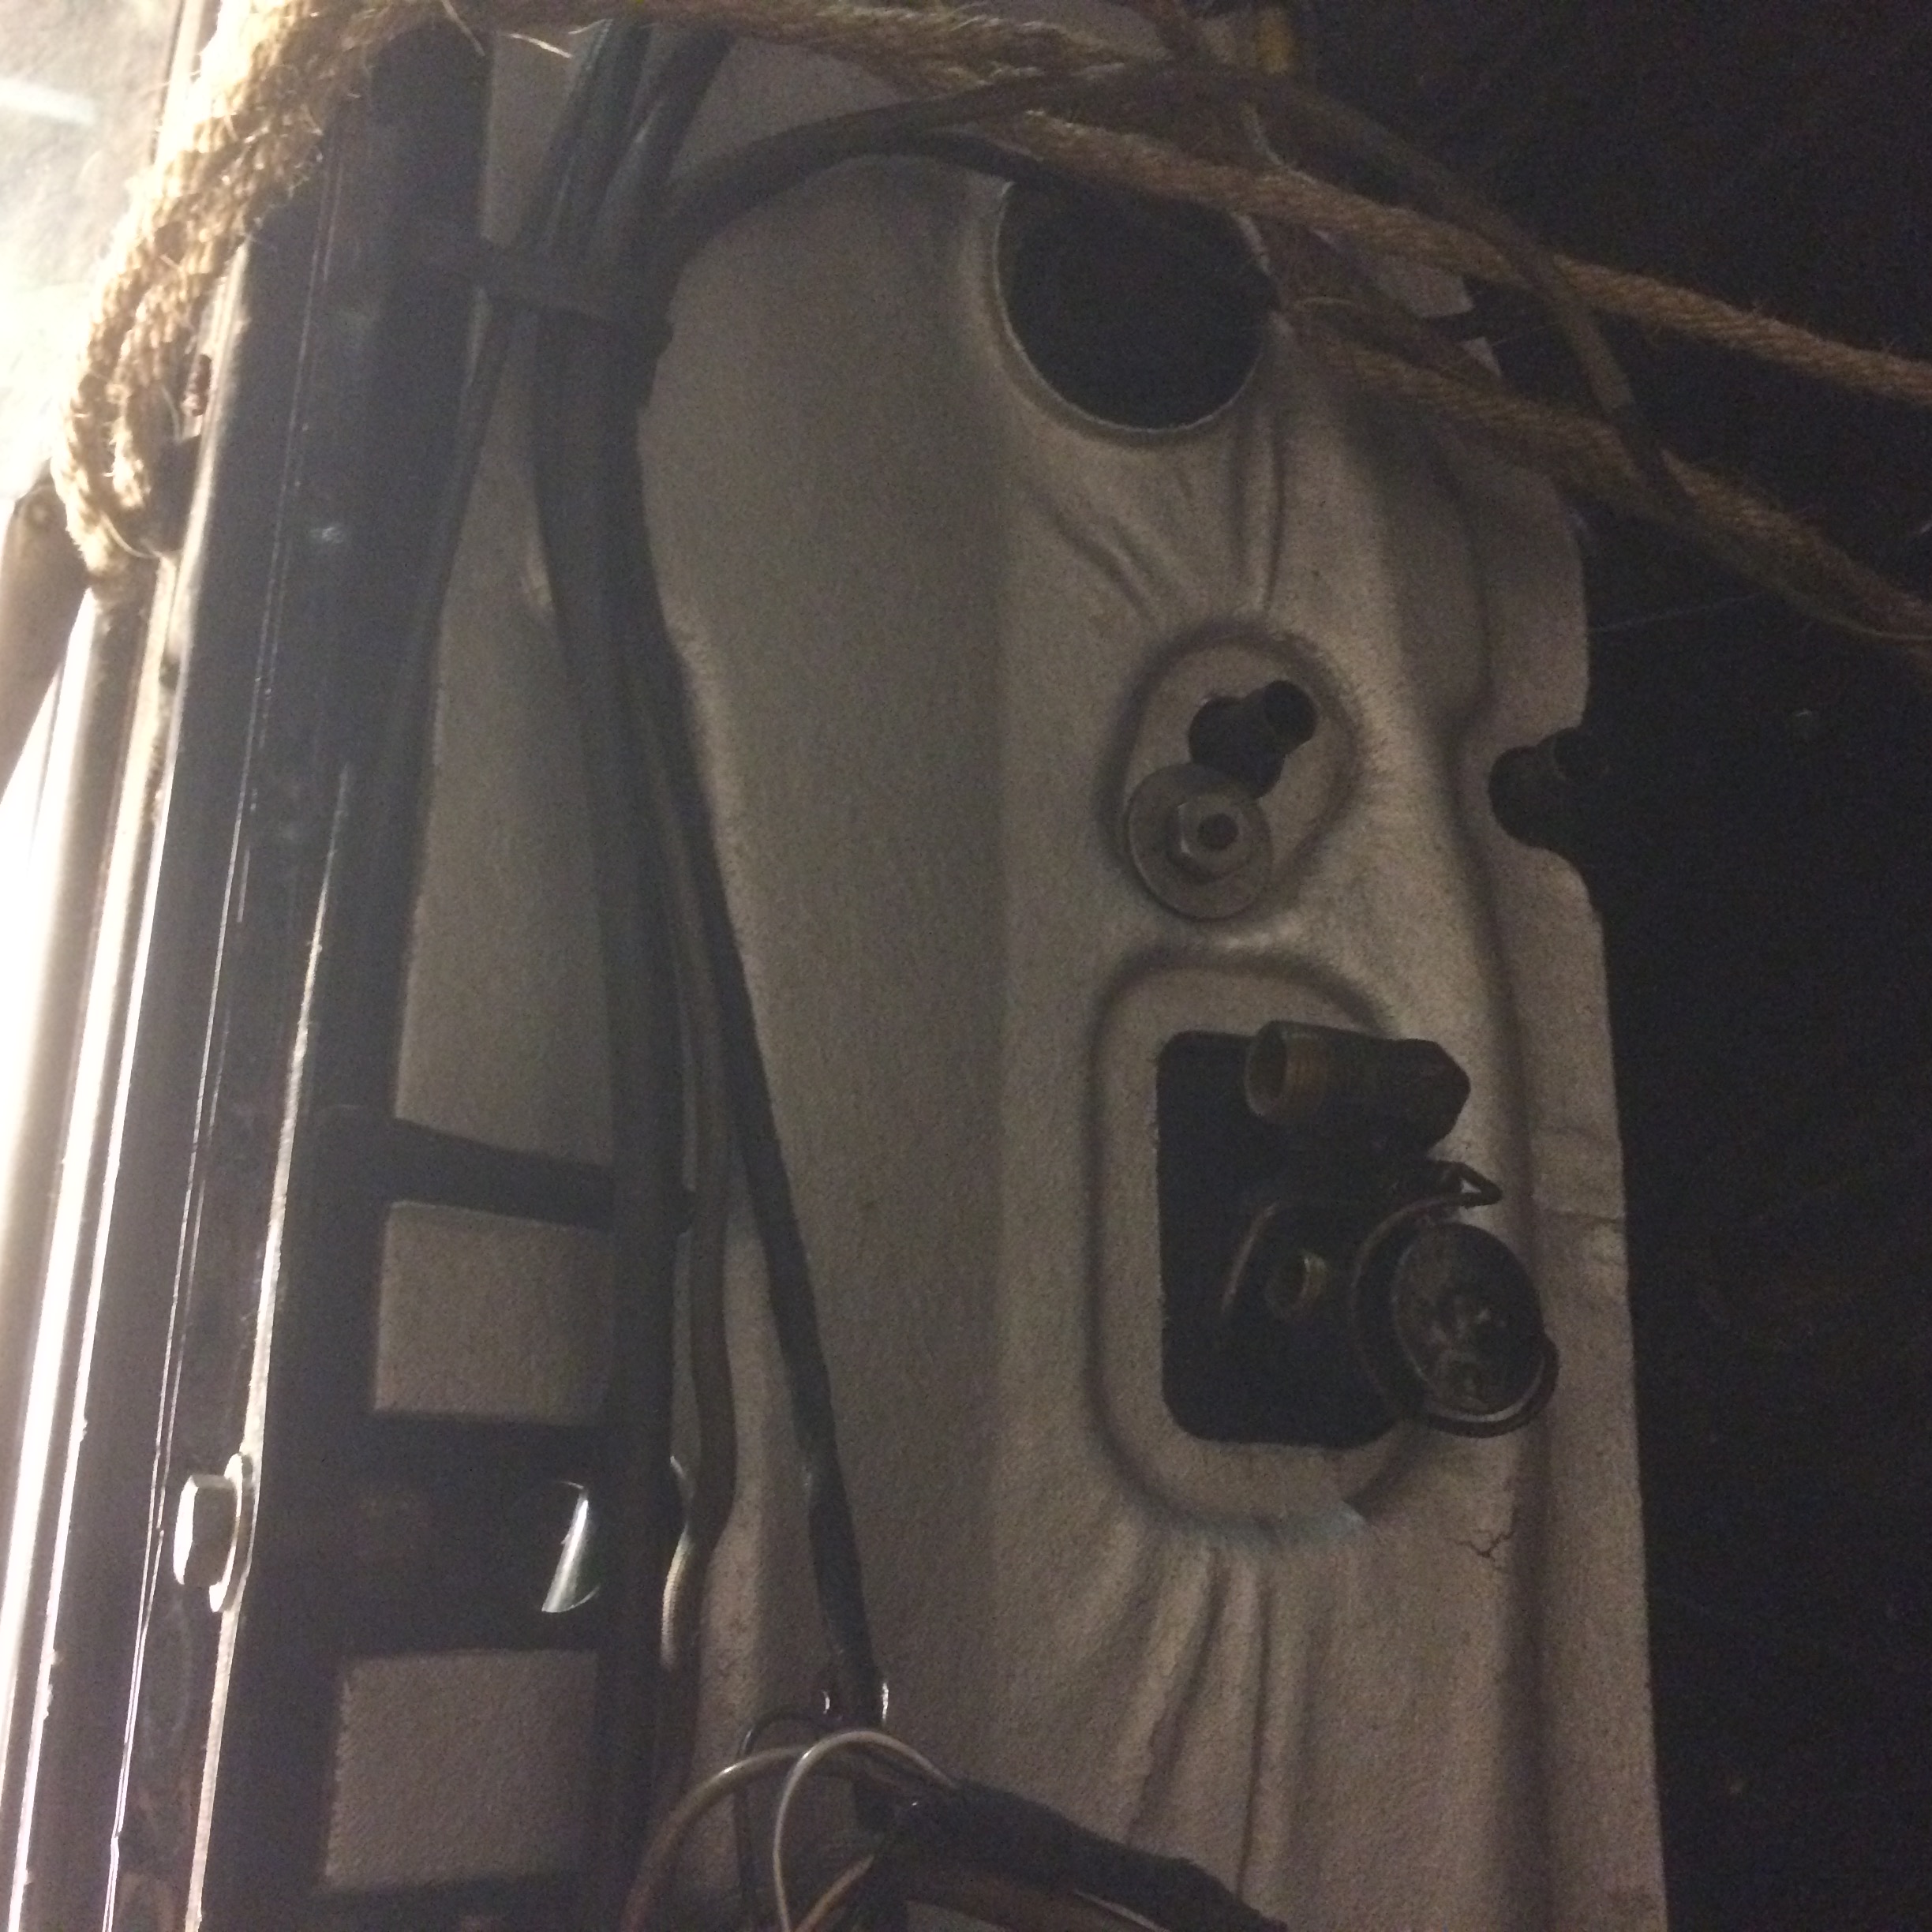
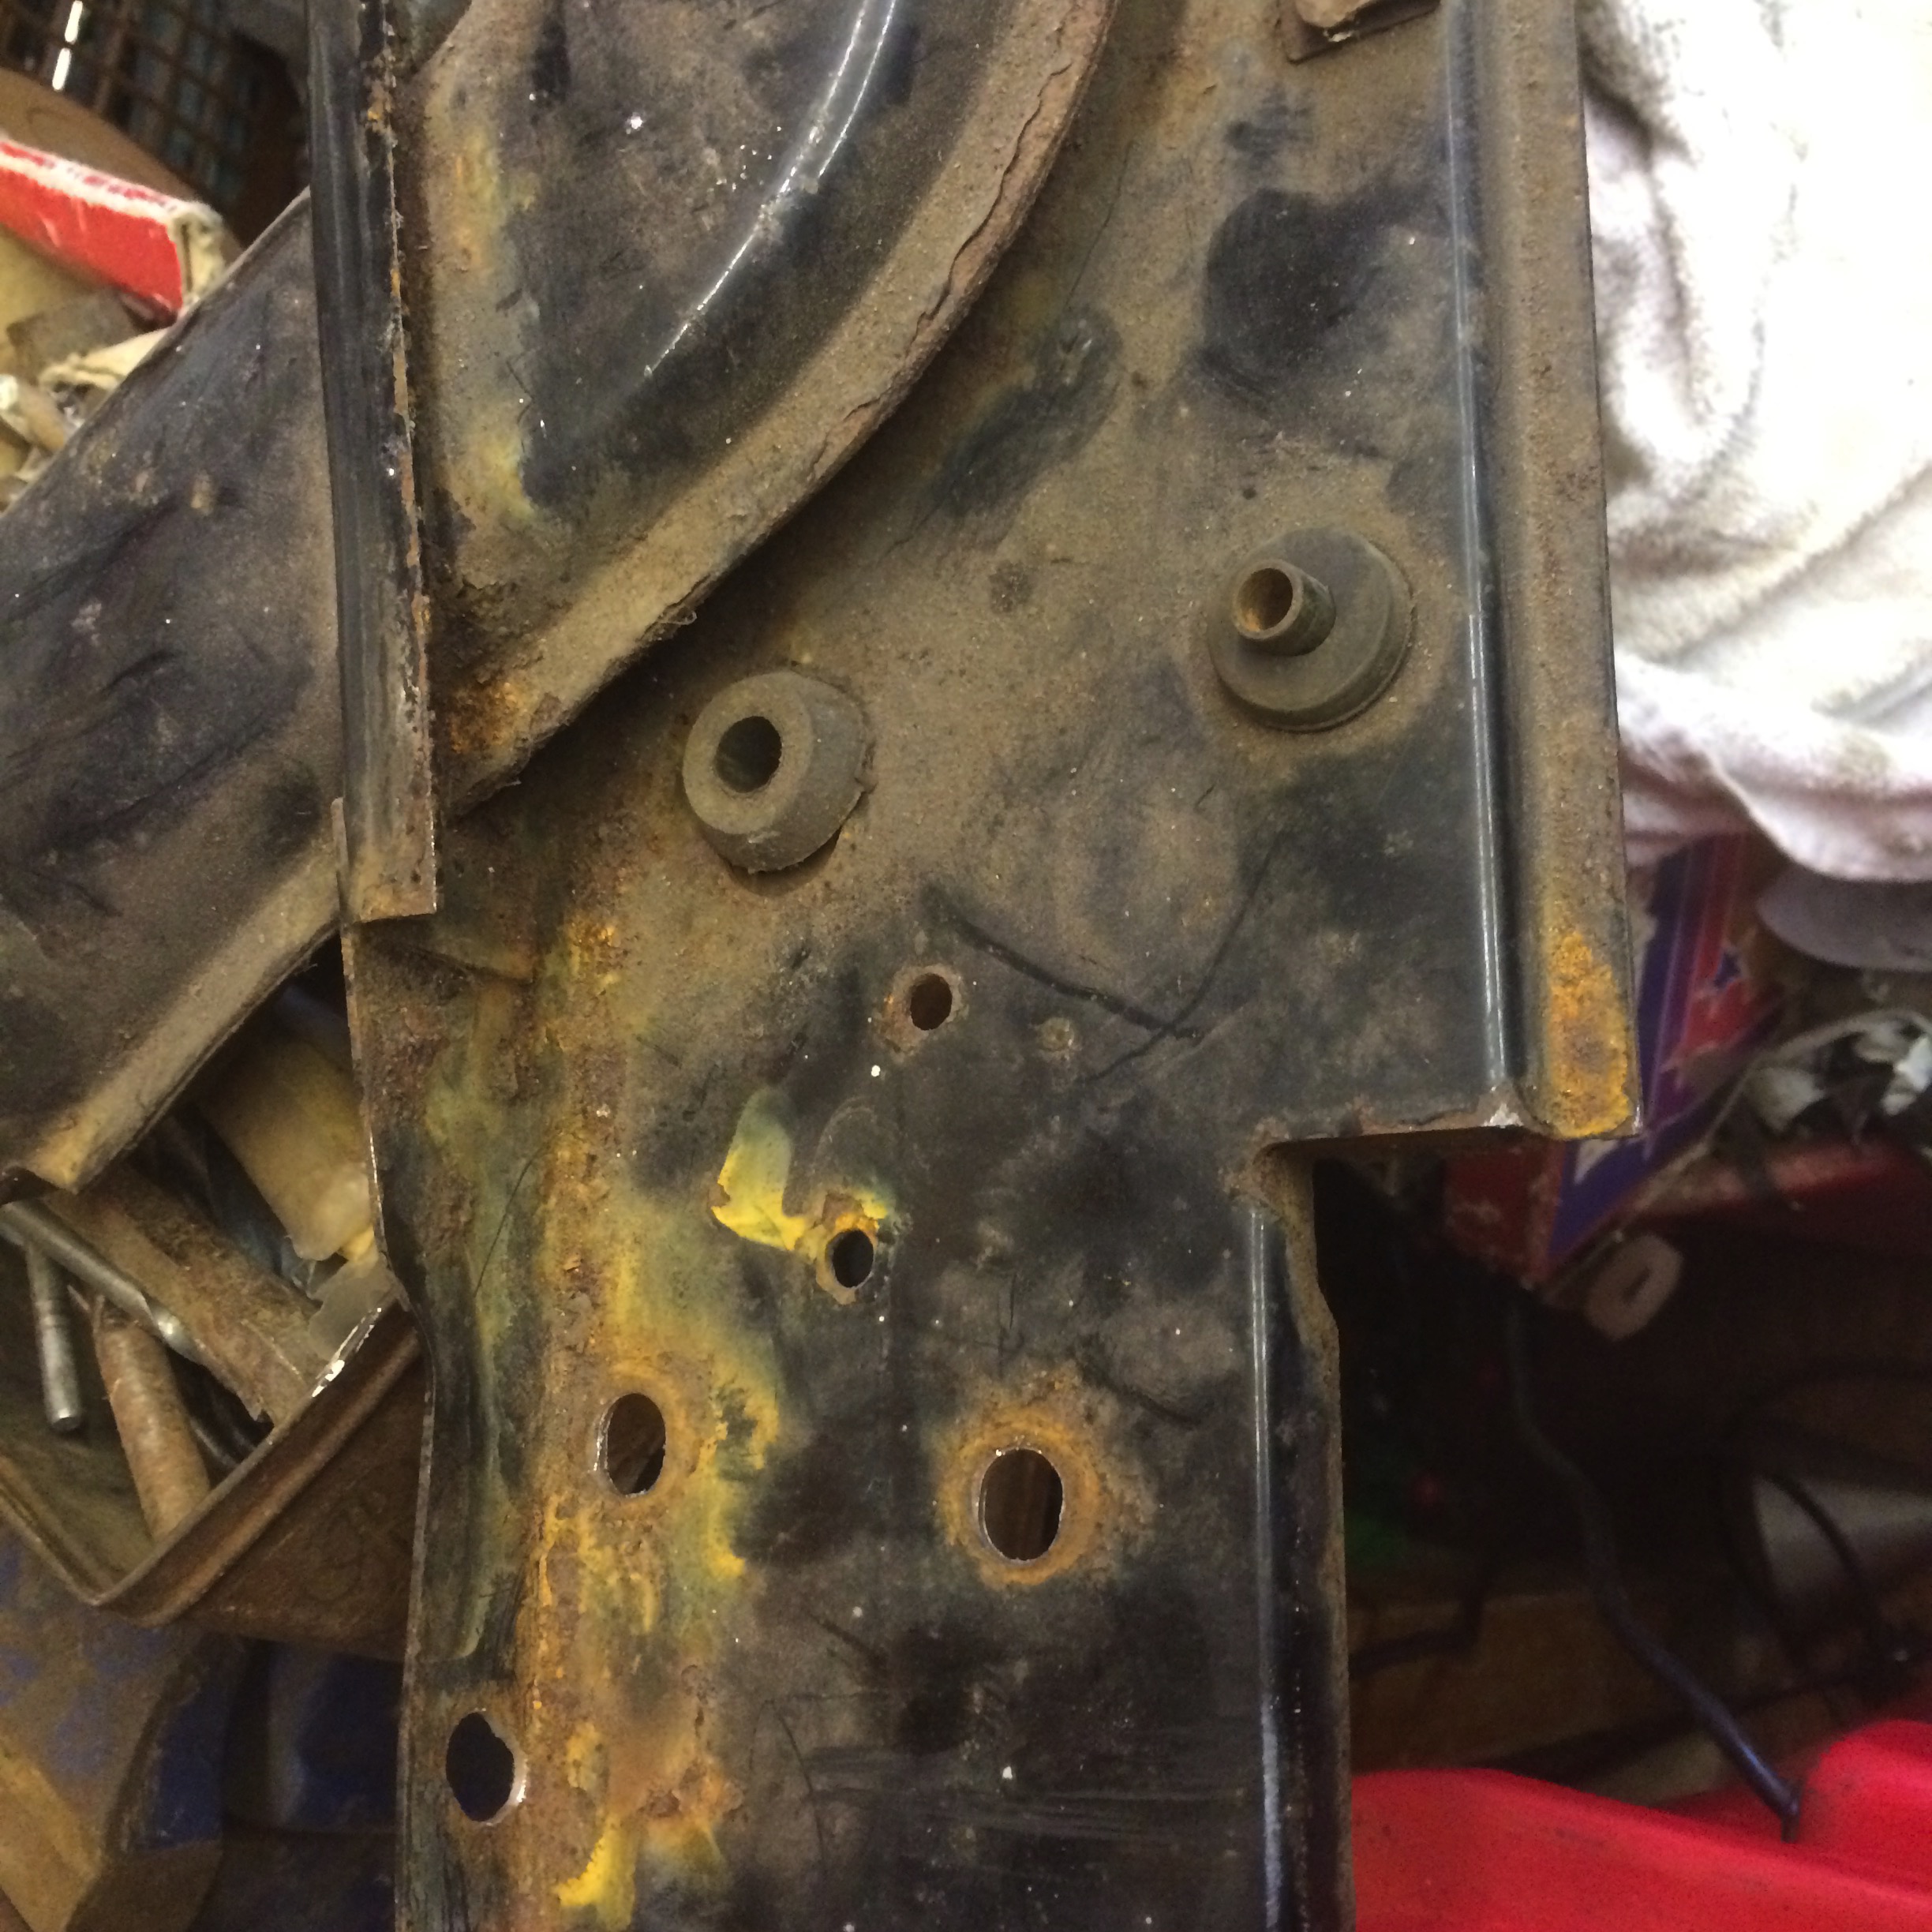
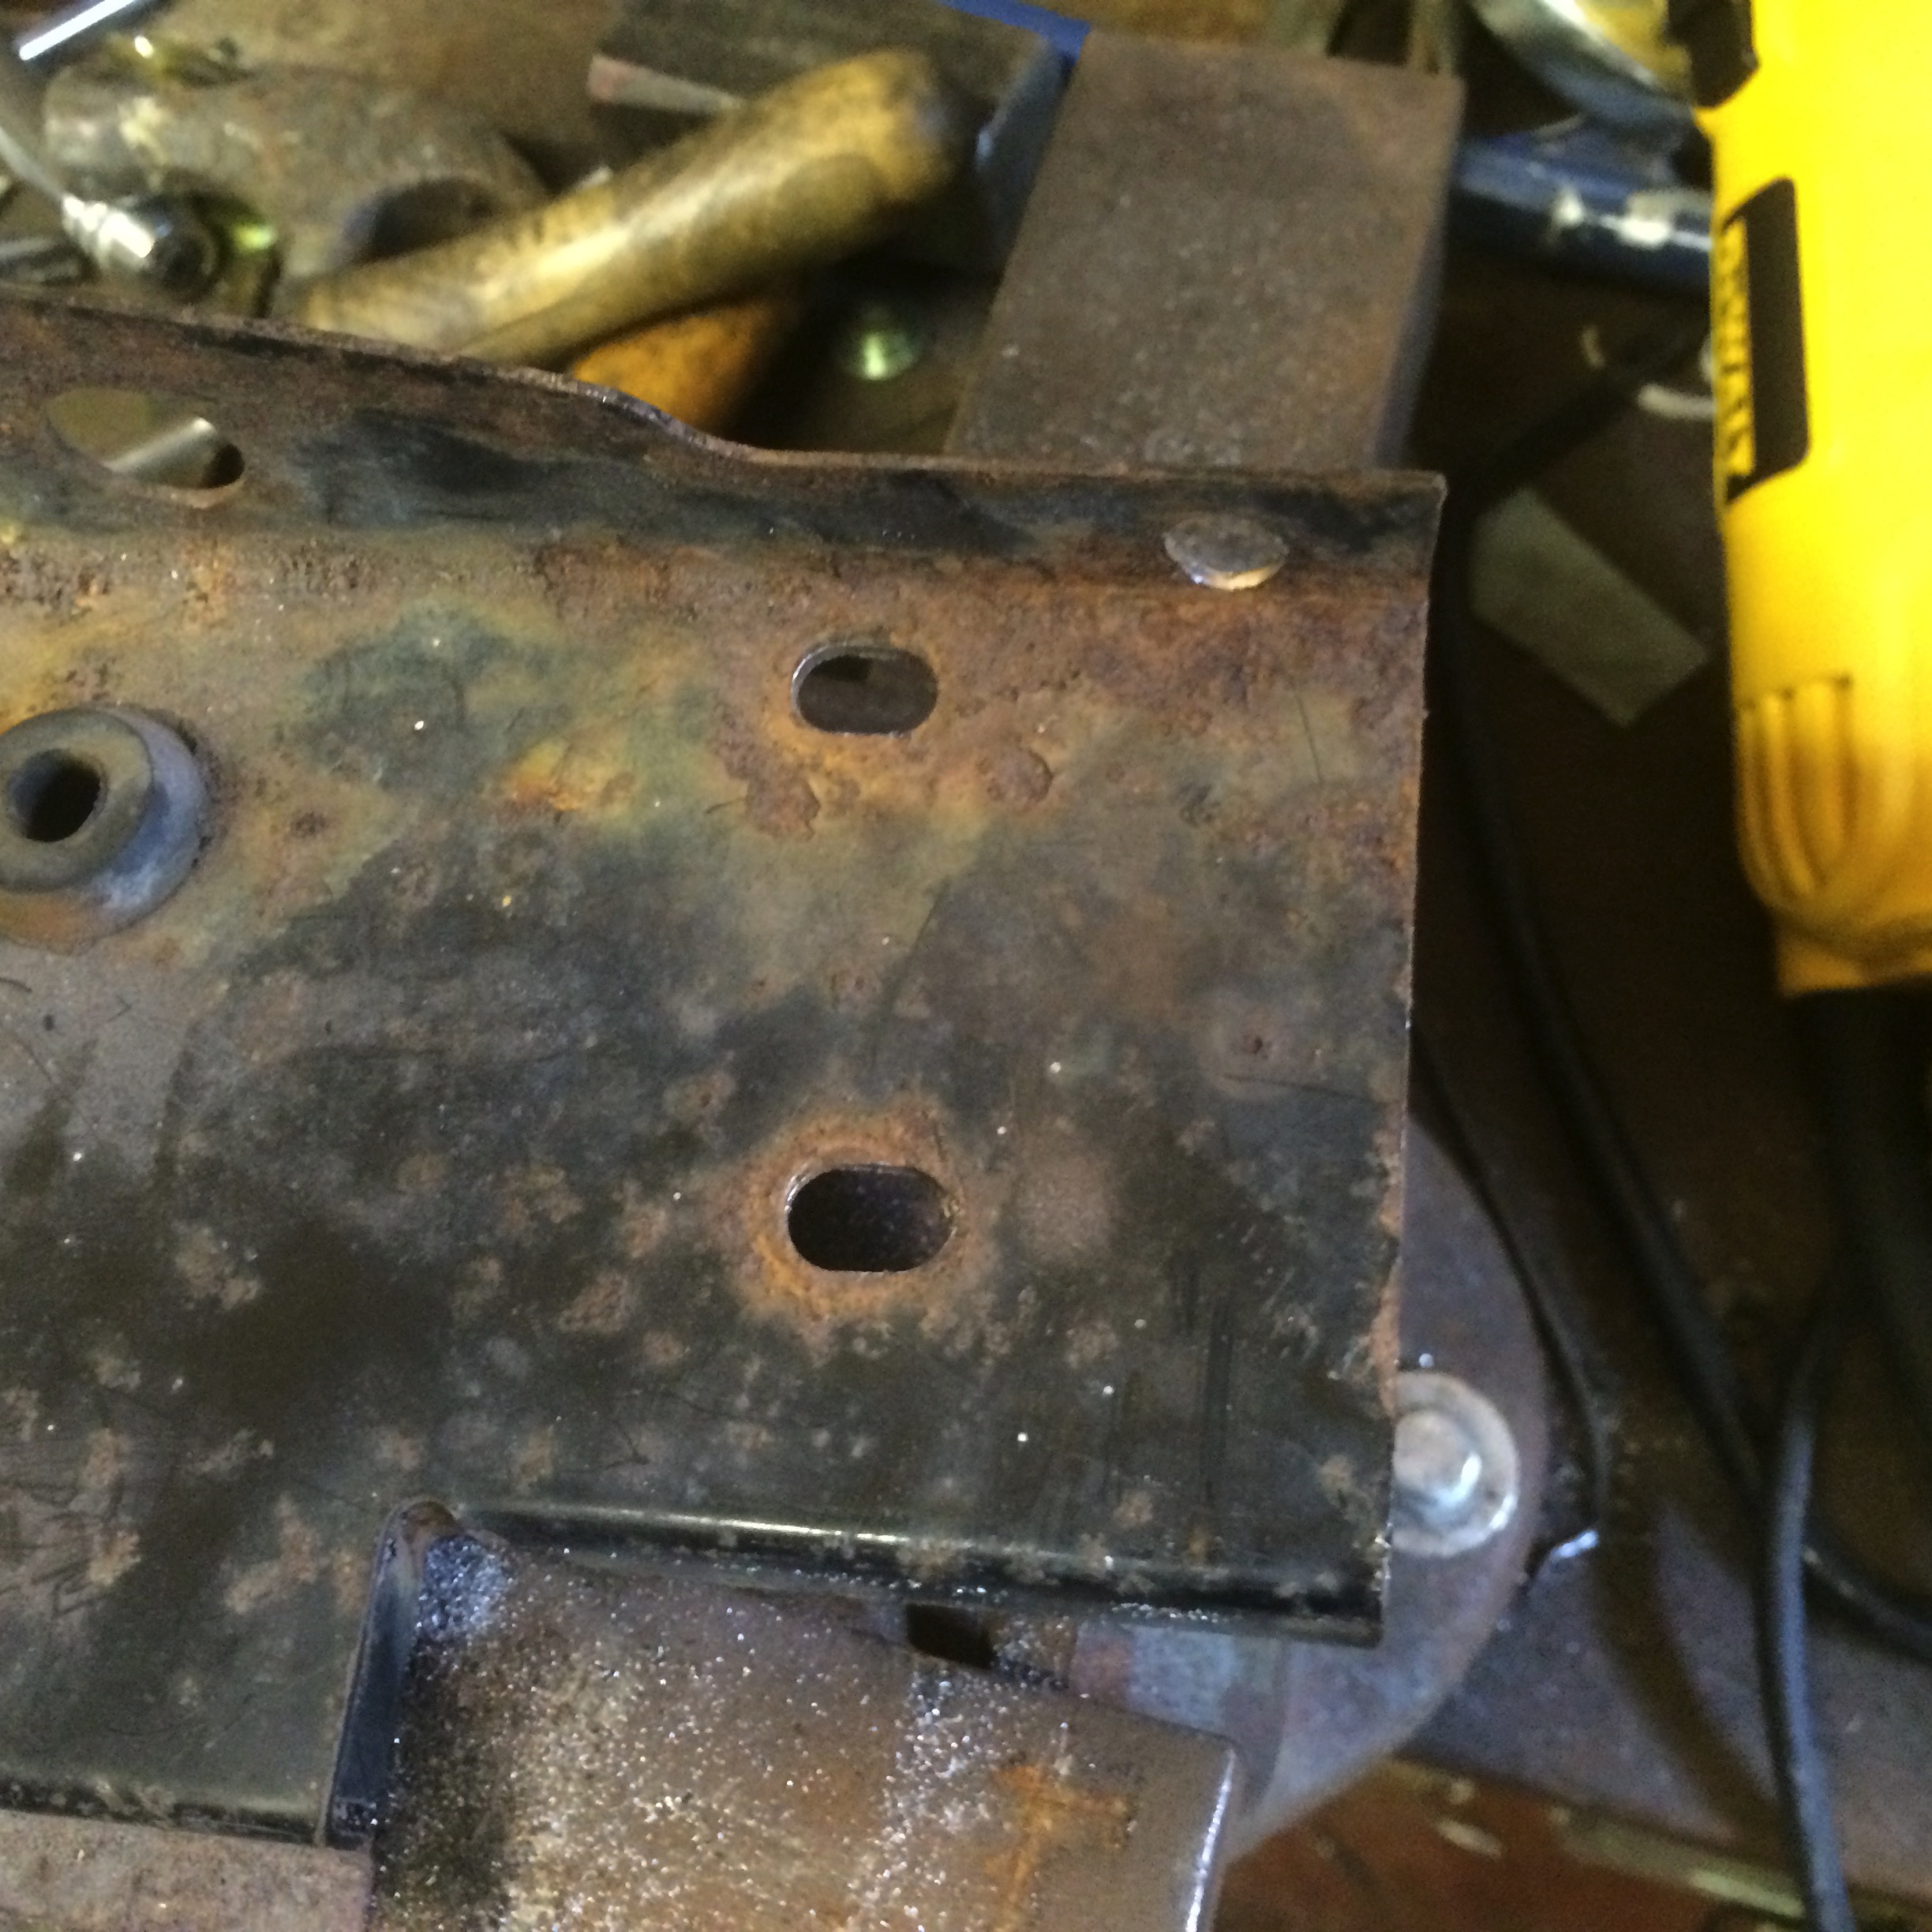
To get the ECU loom from the engine bay into the passenger foot well I needed to make the LHD steering column hole larger. This hole is used to feed the engine vacuum to the AC unit to drive the various flaps and valves.
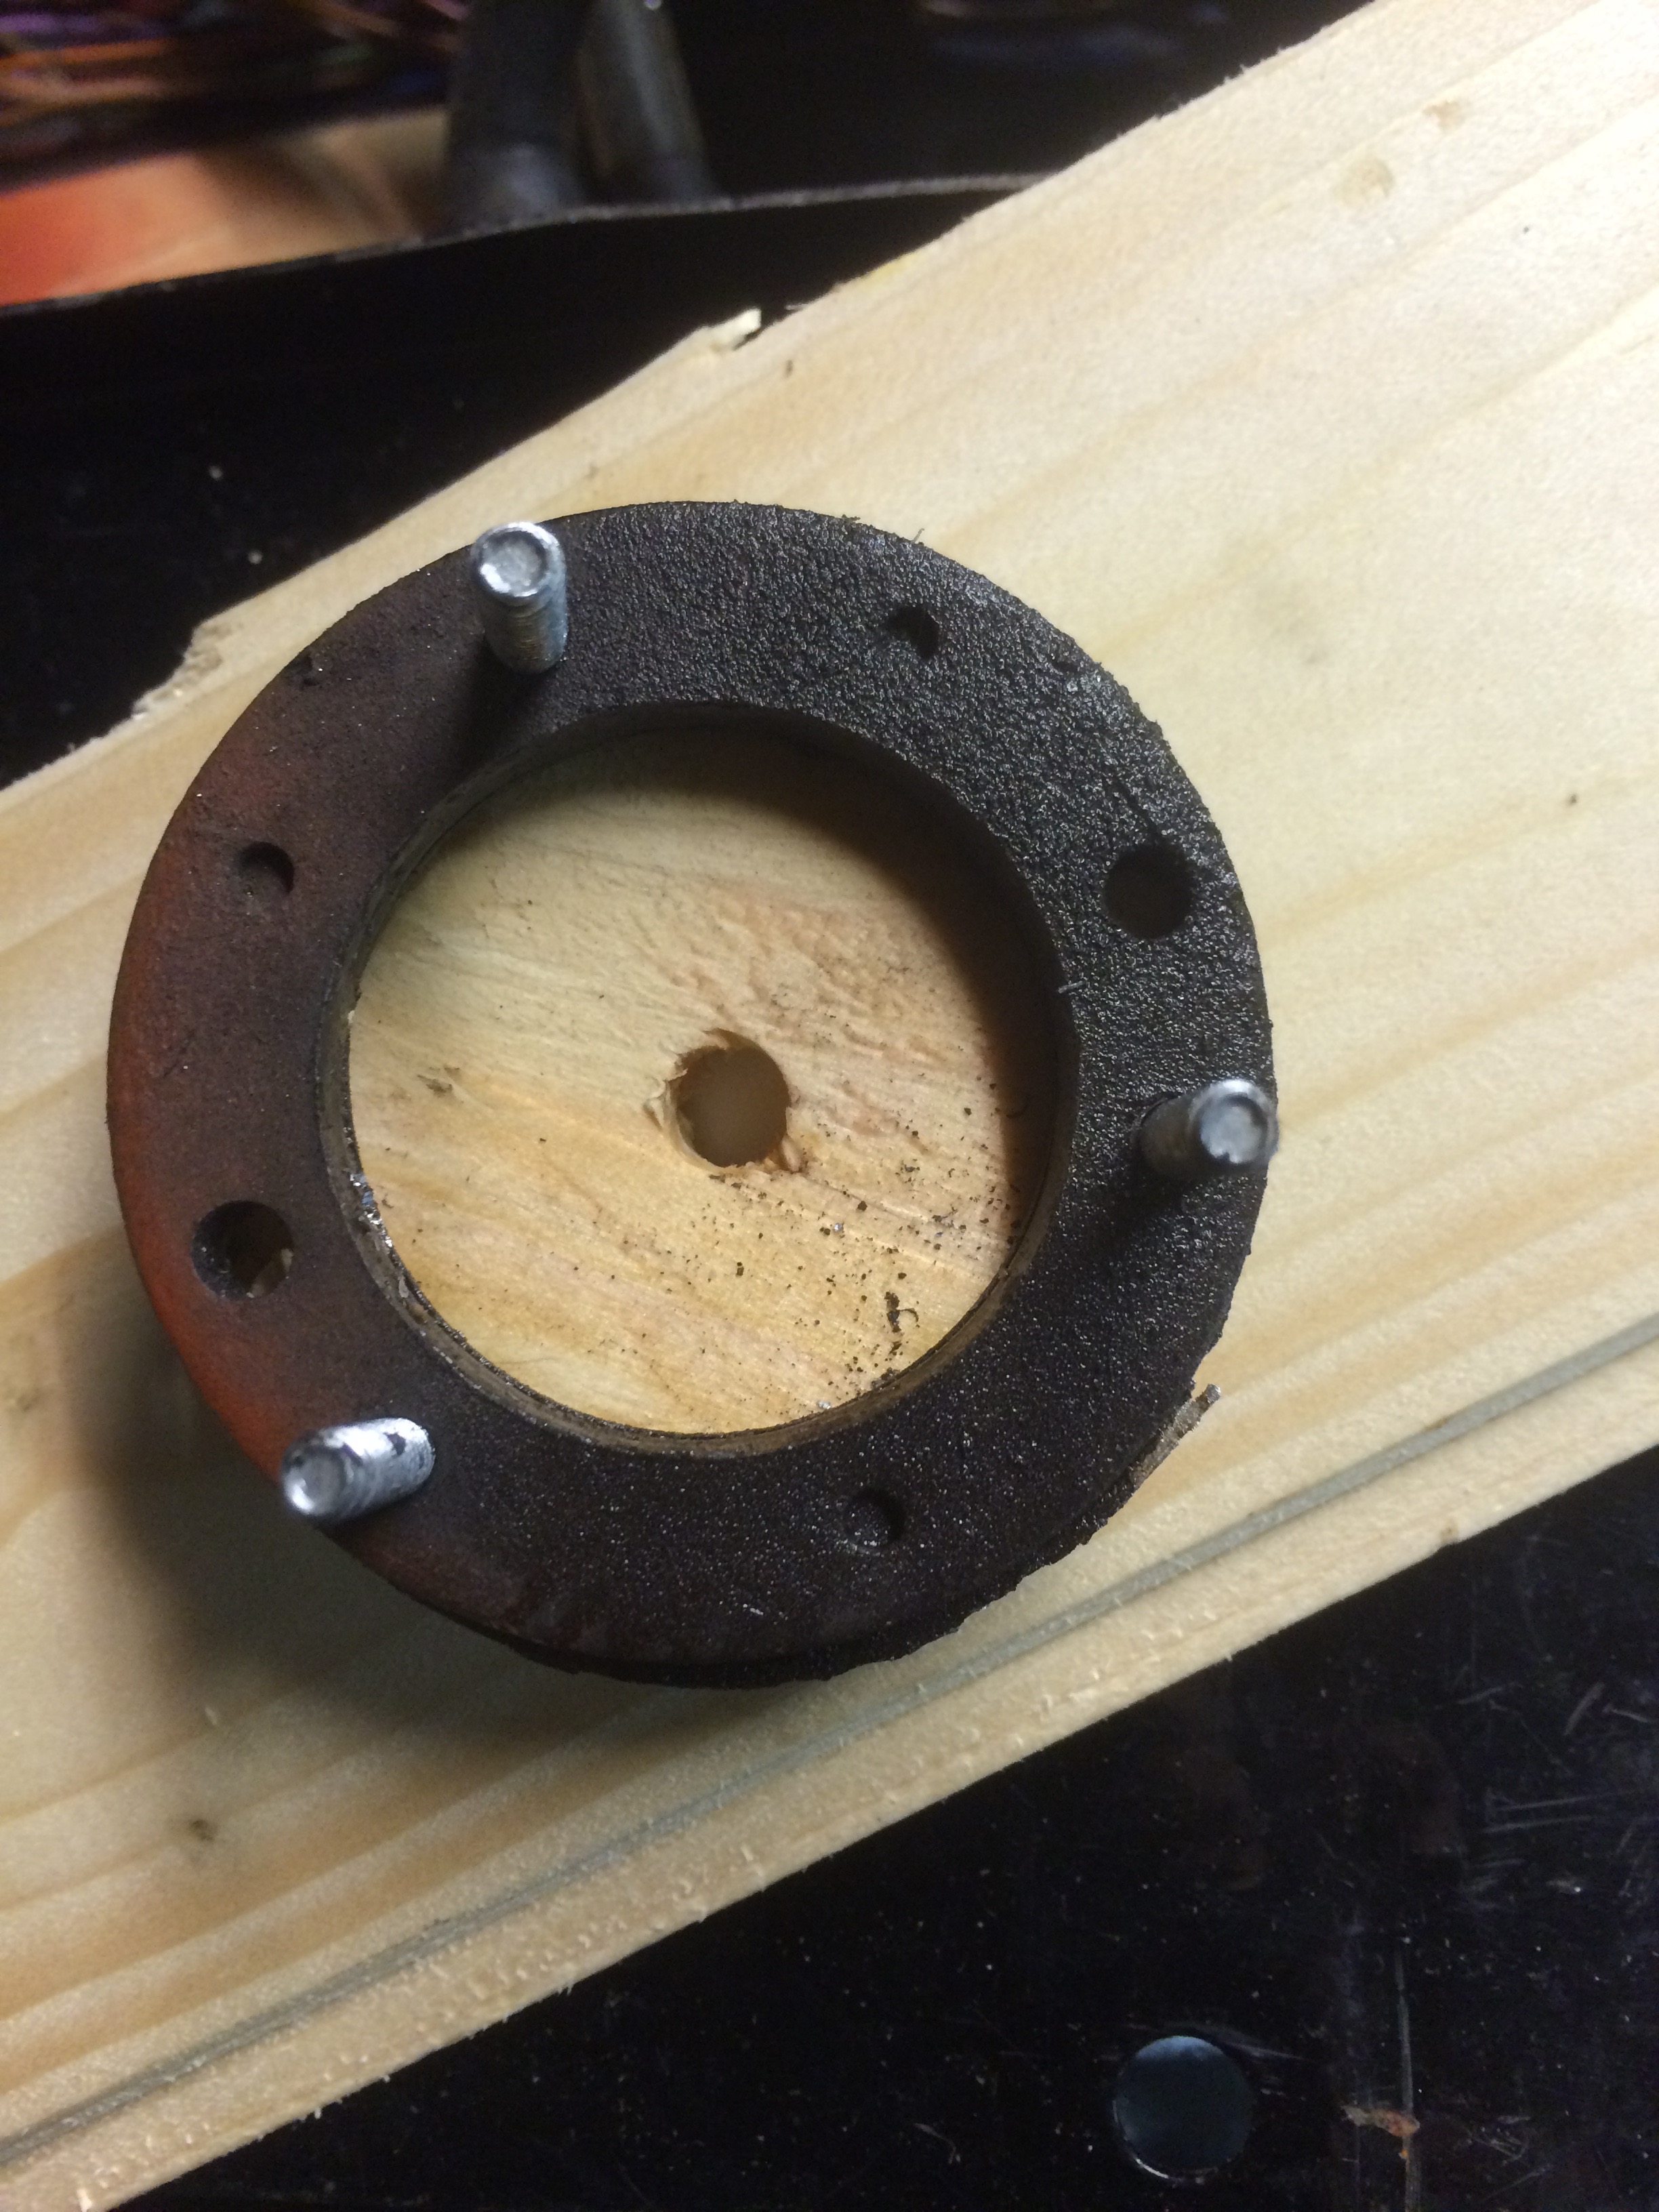
Vacuum pipe panelStrengthening ring (after cut out)
There is a thick strengthening ring surrounding the standard hole so I decided to cut around that meaning the hole would be around 60mm in diameter. The plugs on the loom would not fit through the standard hole as they are quite bulky.
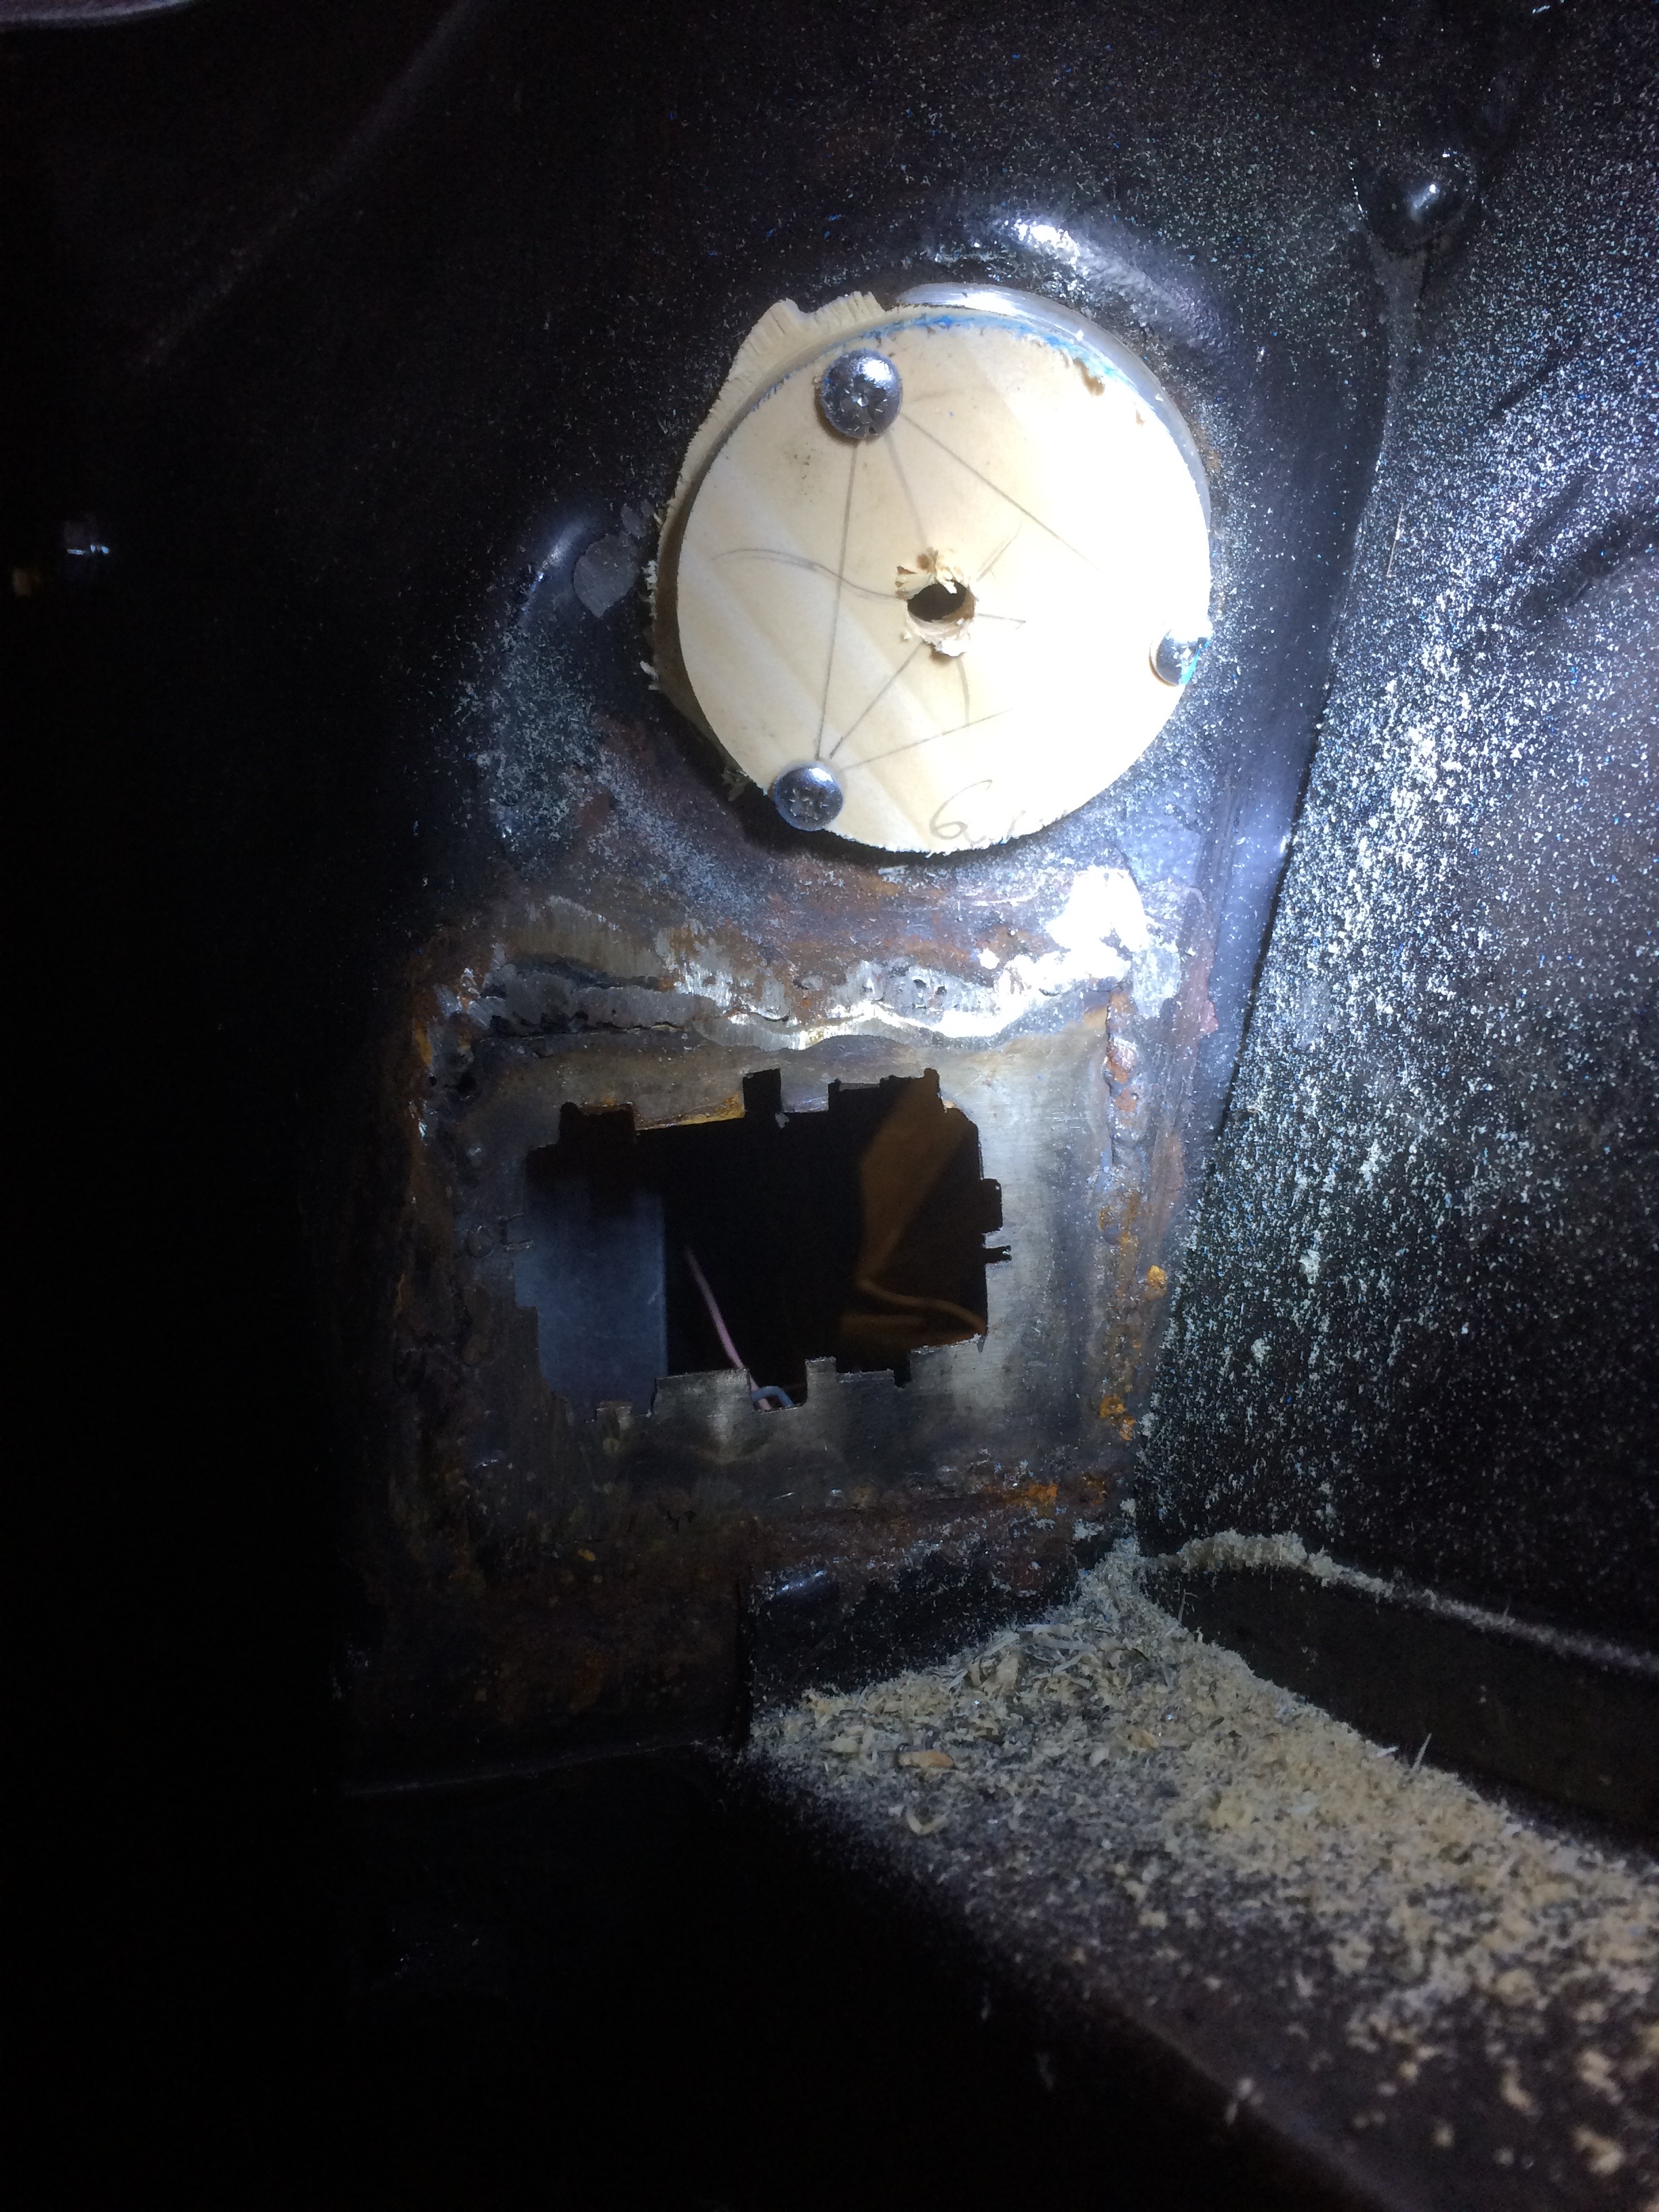
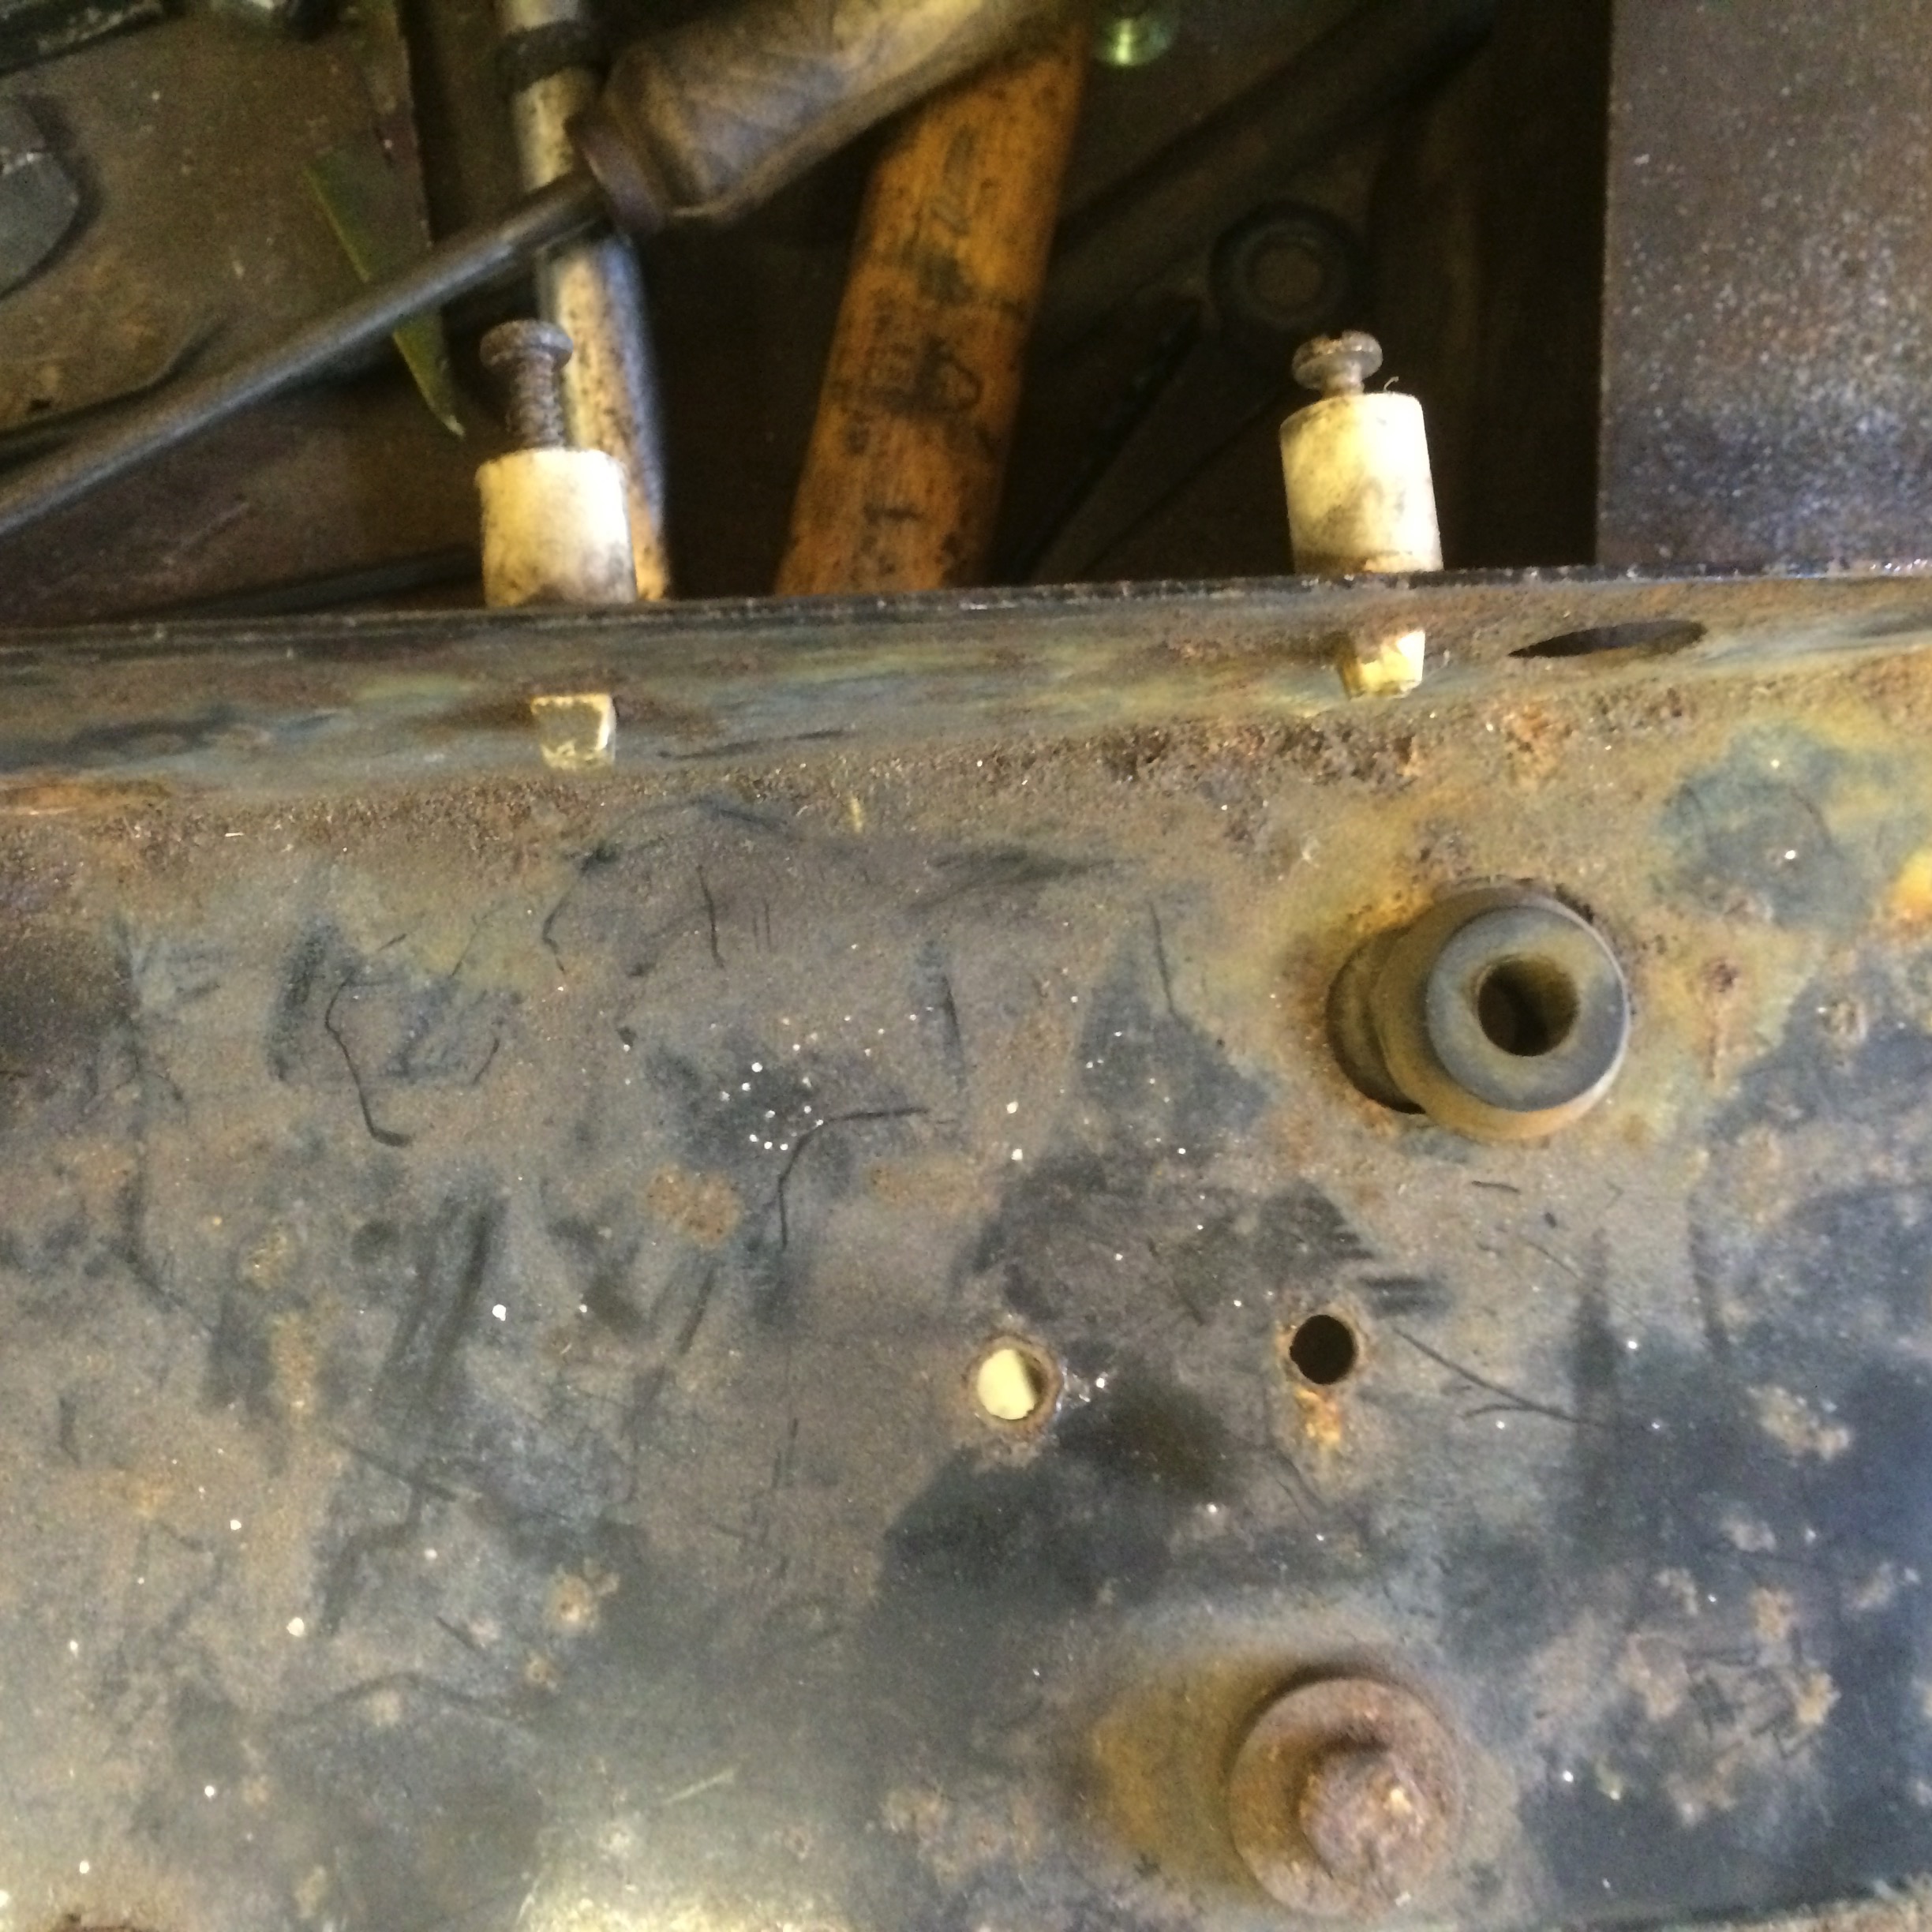
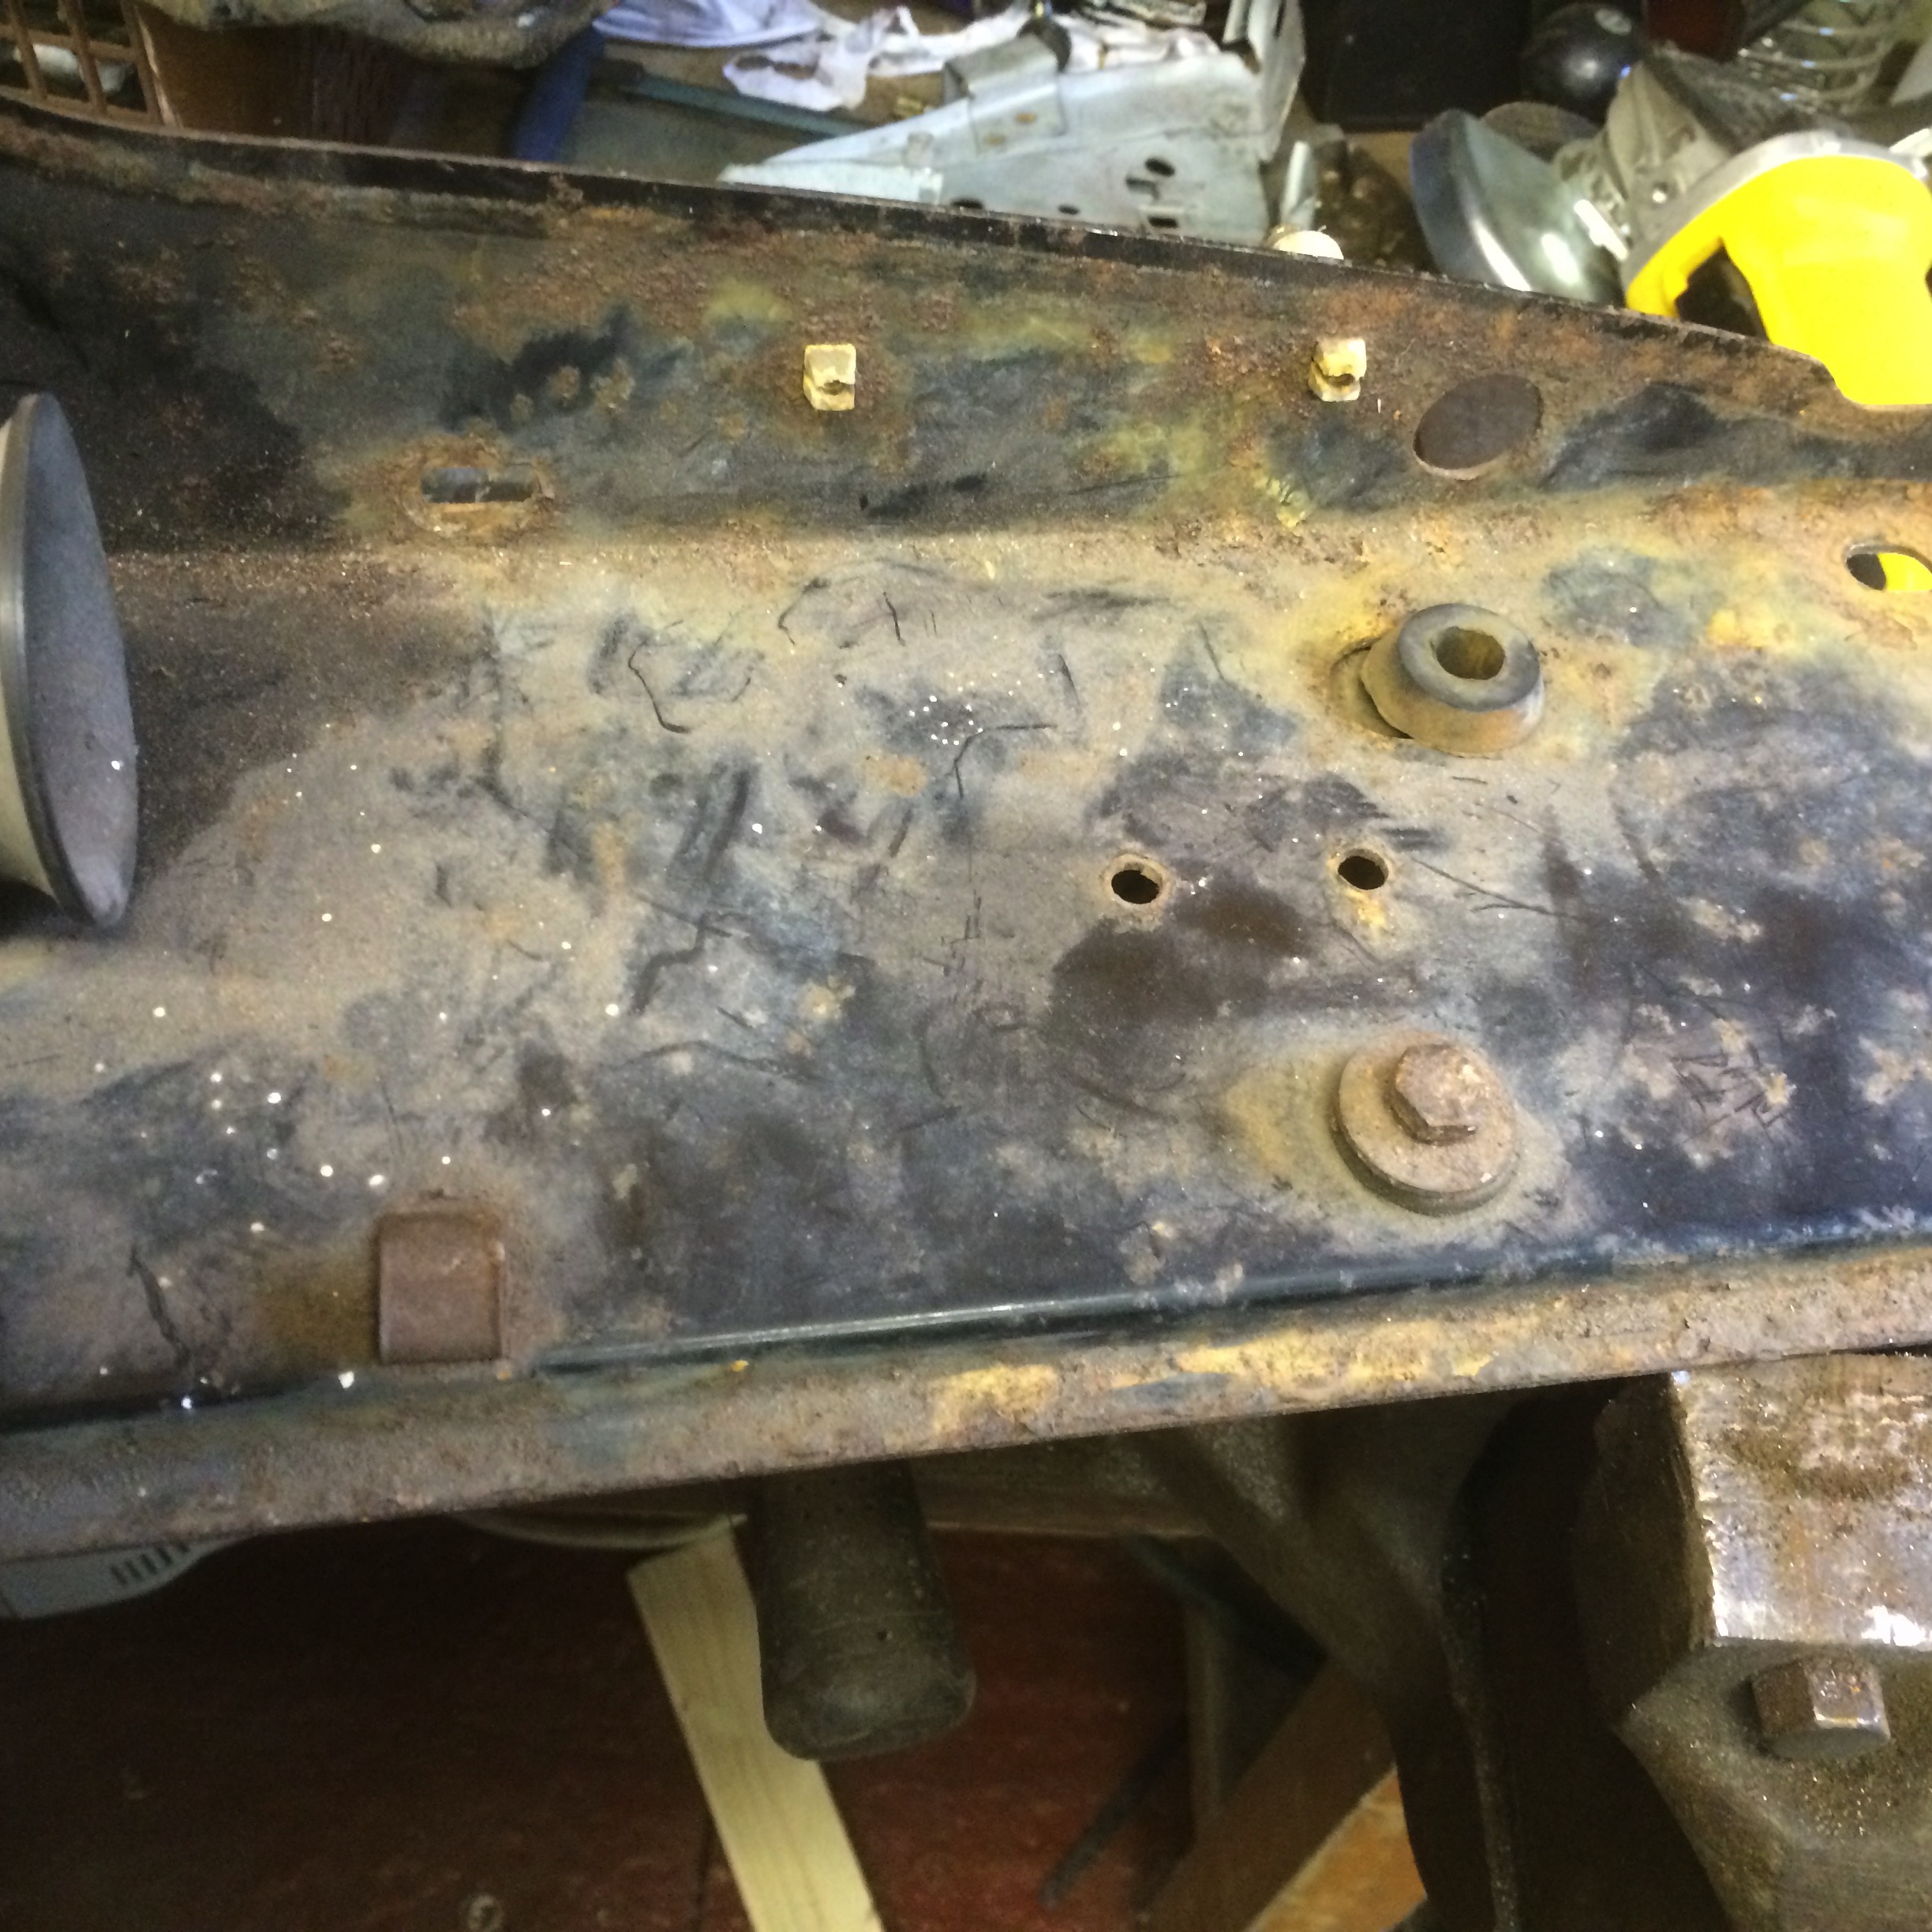
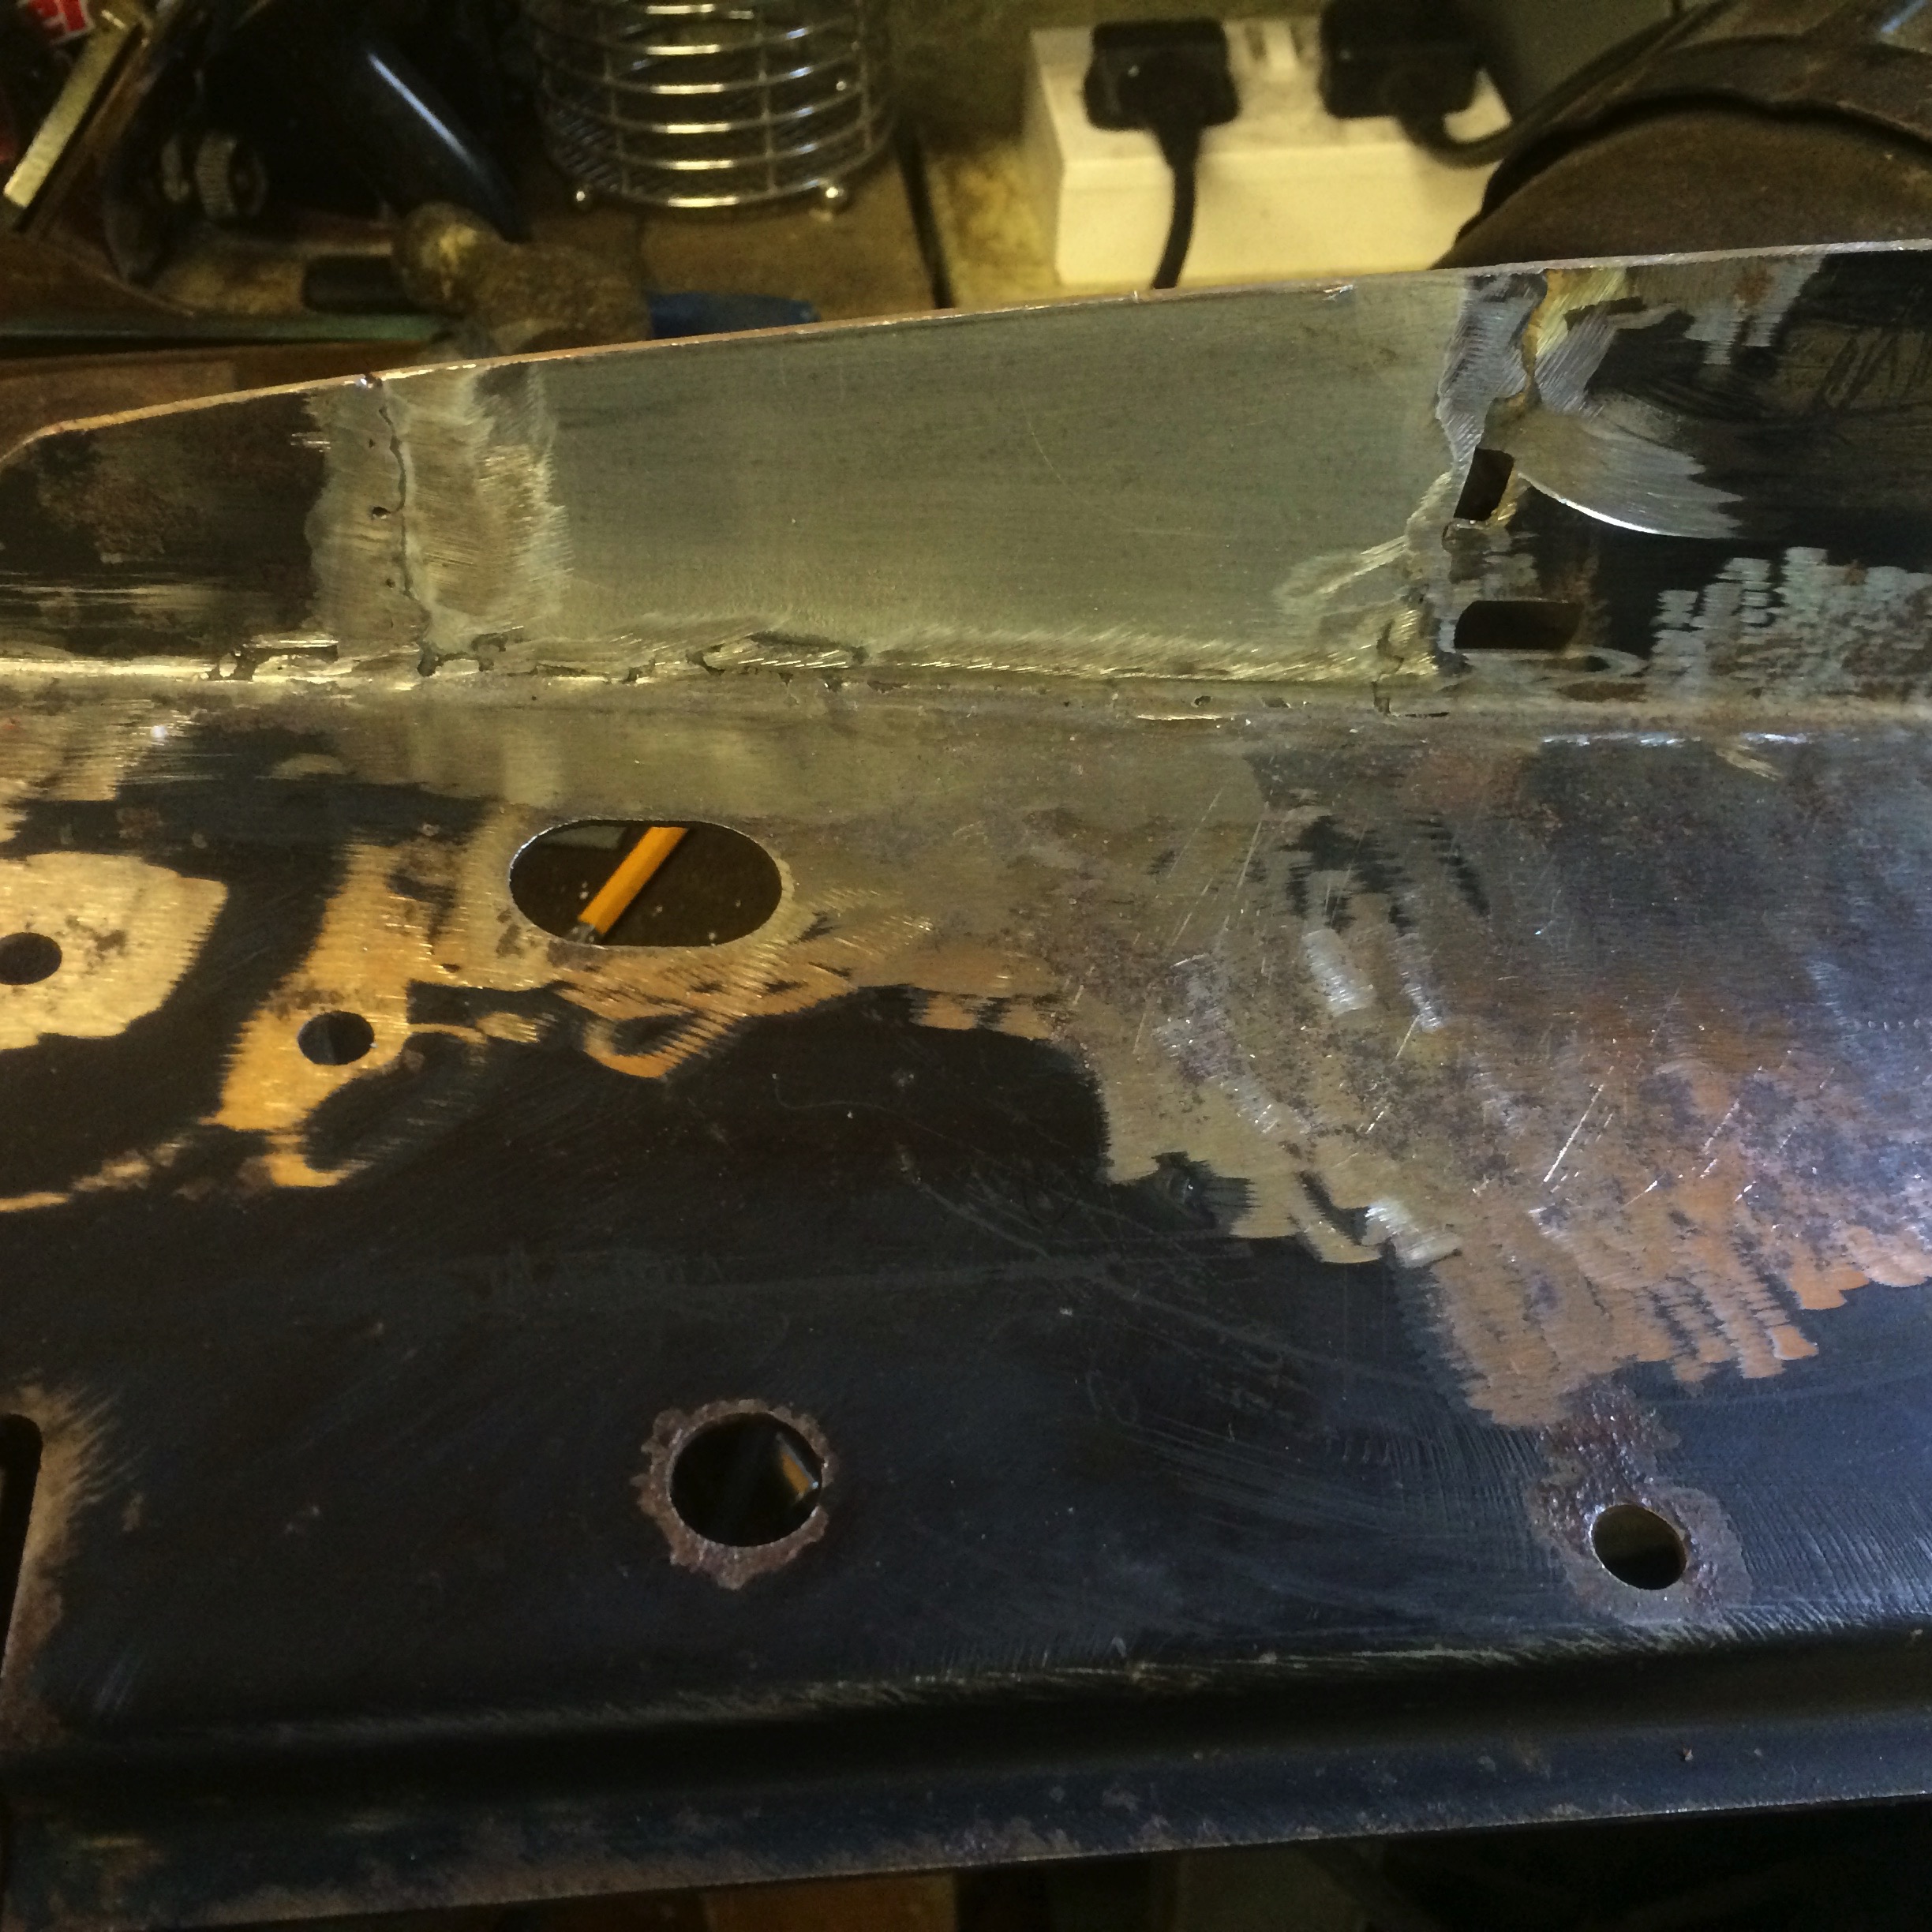
ECU PlugsWooden template notice the bulkhead cutout below it for the other required connections
I had to make up a simple wooden template to enable me to centre a holesaw in the right place. The holesaw, along with some cutting fluid made short work of the sheet metal and I was left with a nice clean cutout. Picture taken after a quick clean up and a bit of paint for protection.
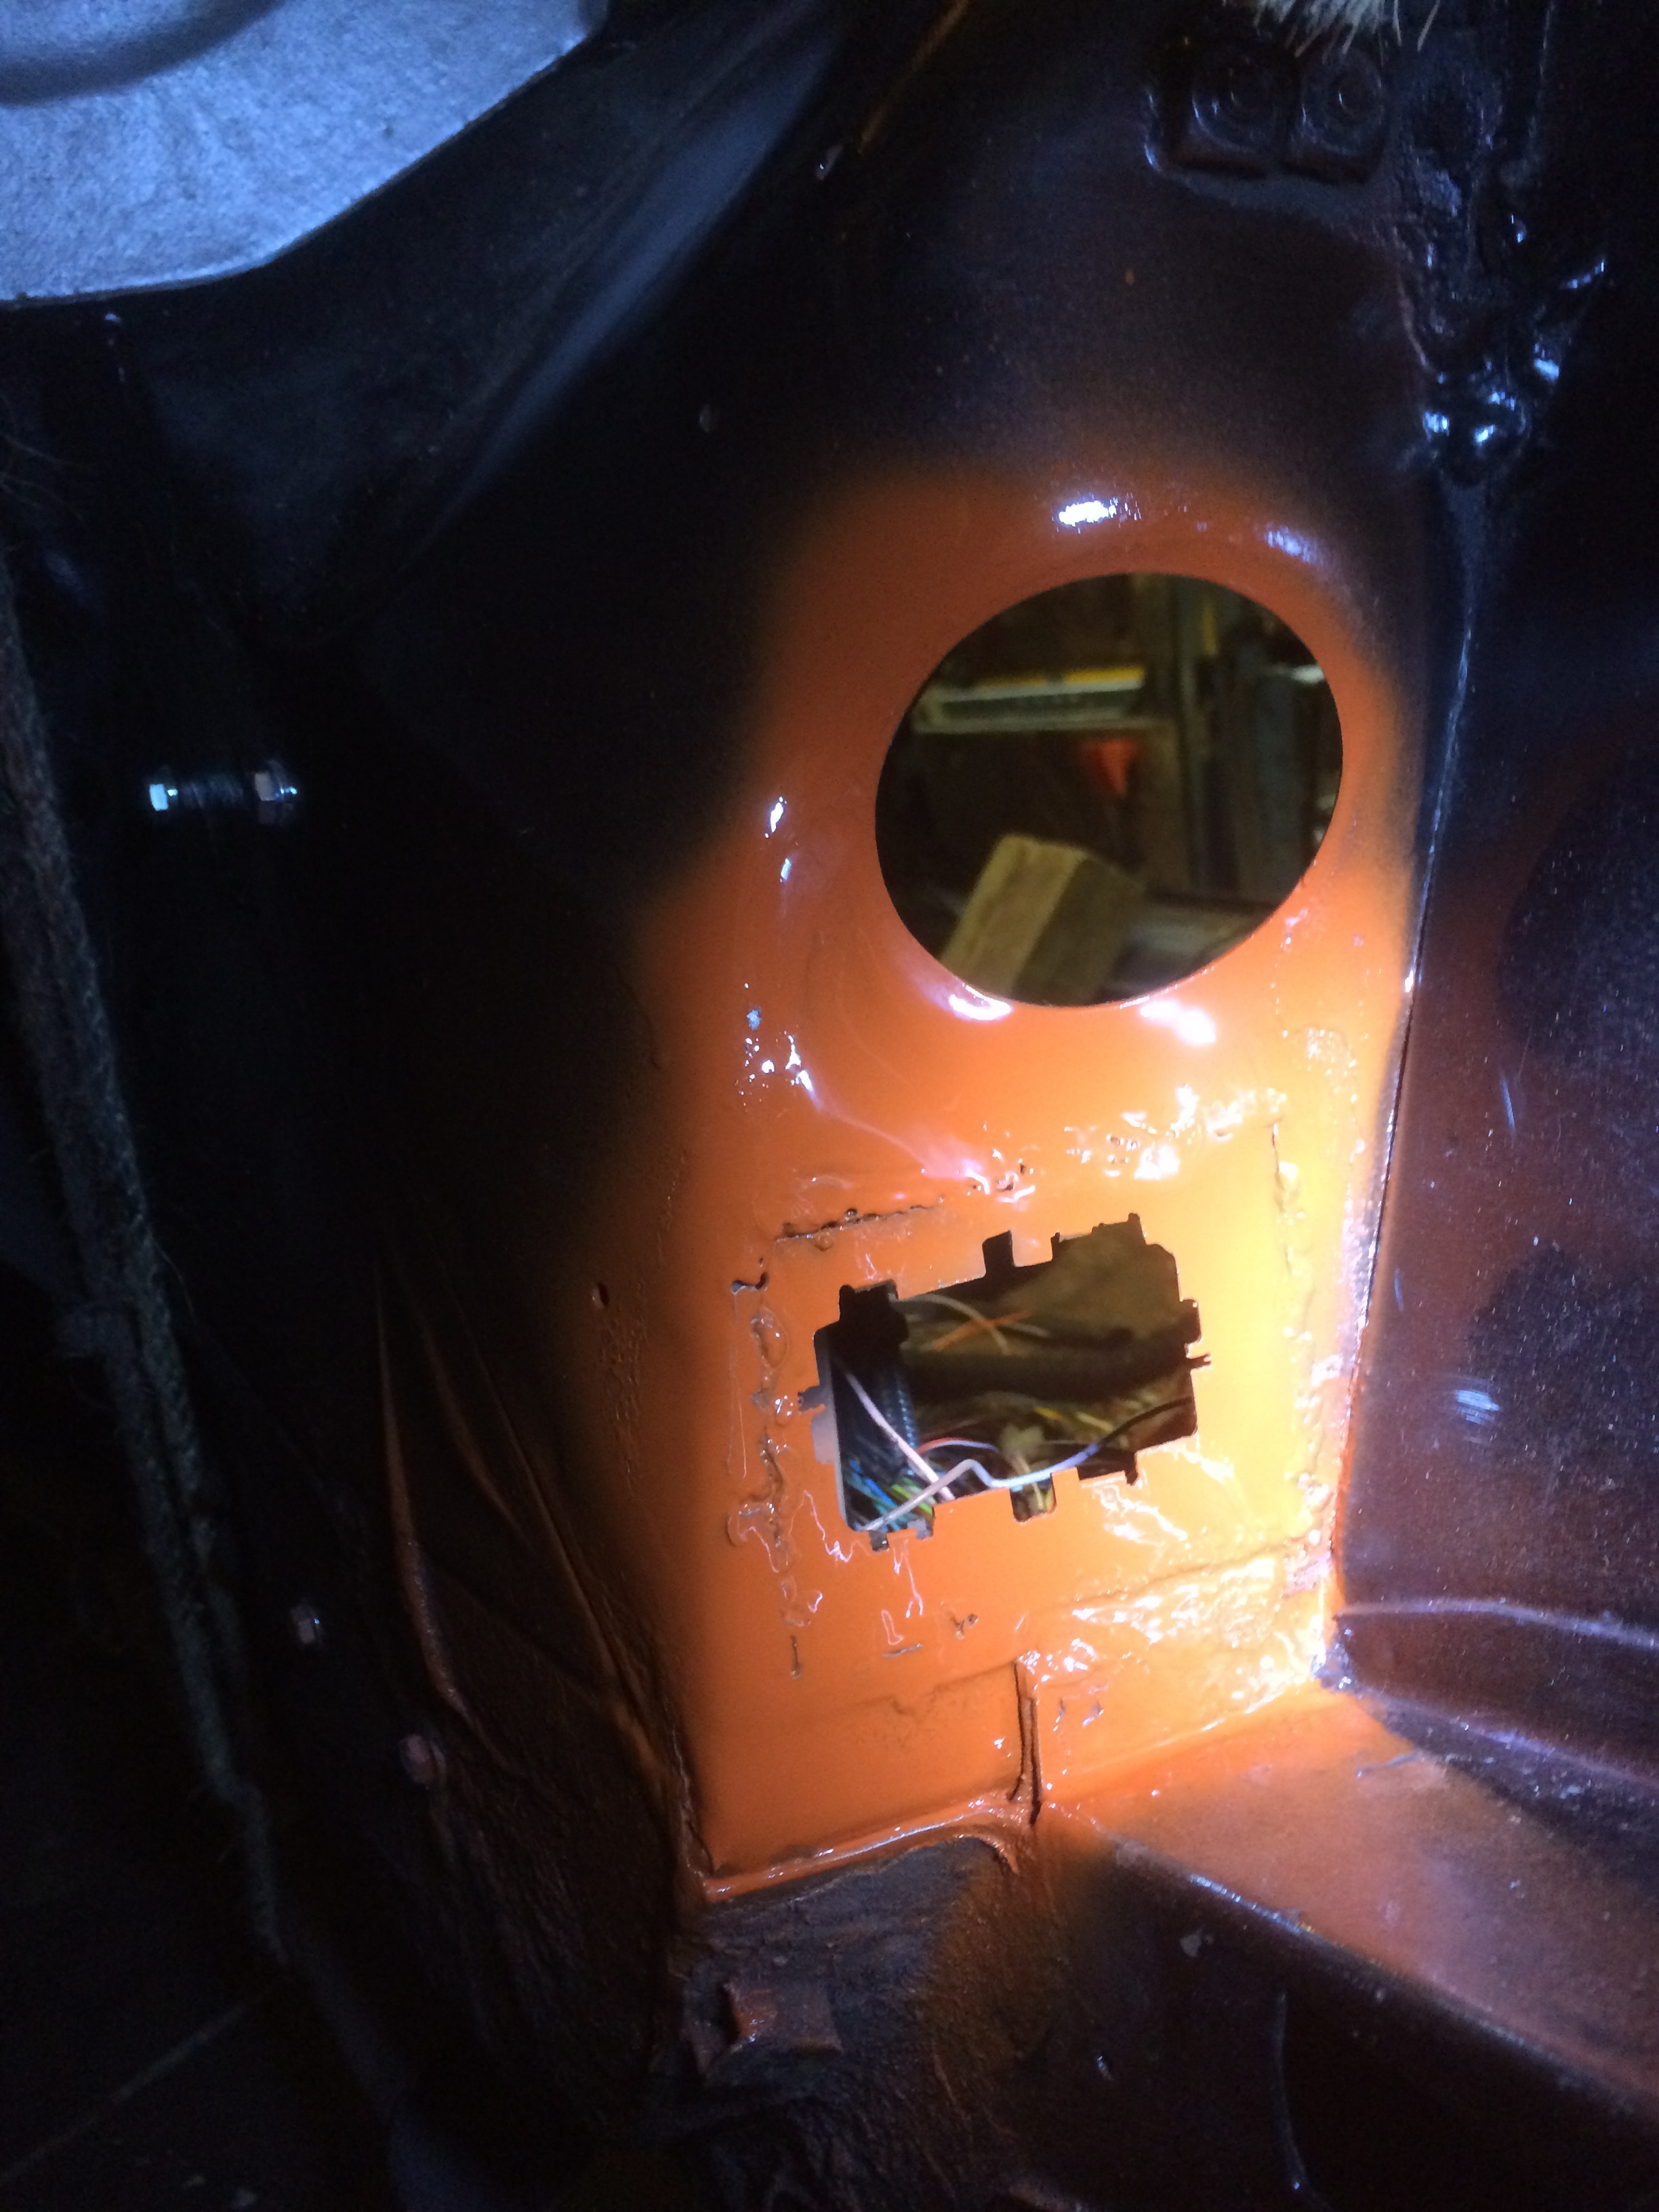
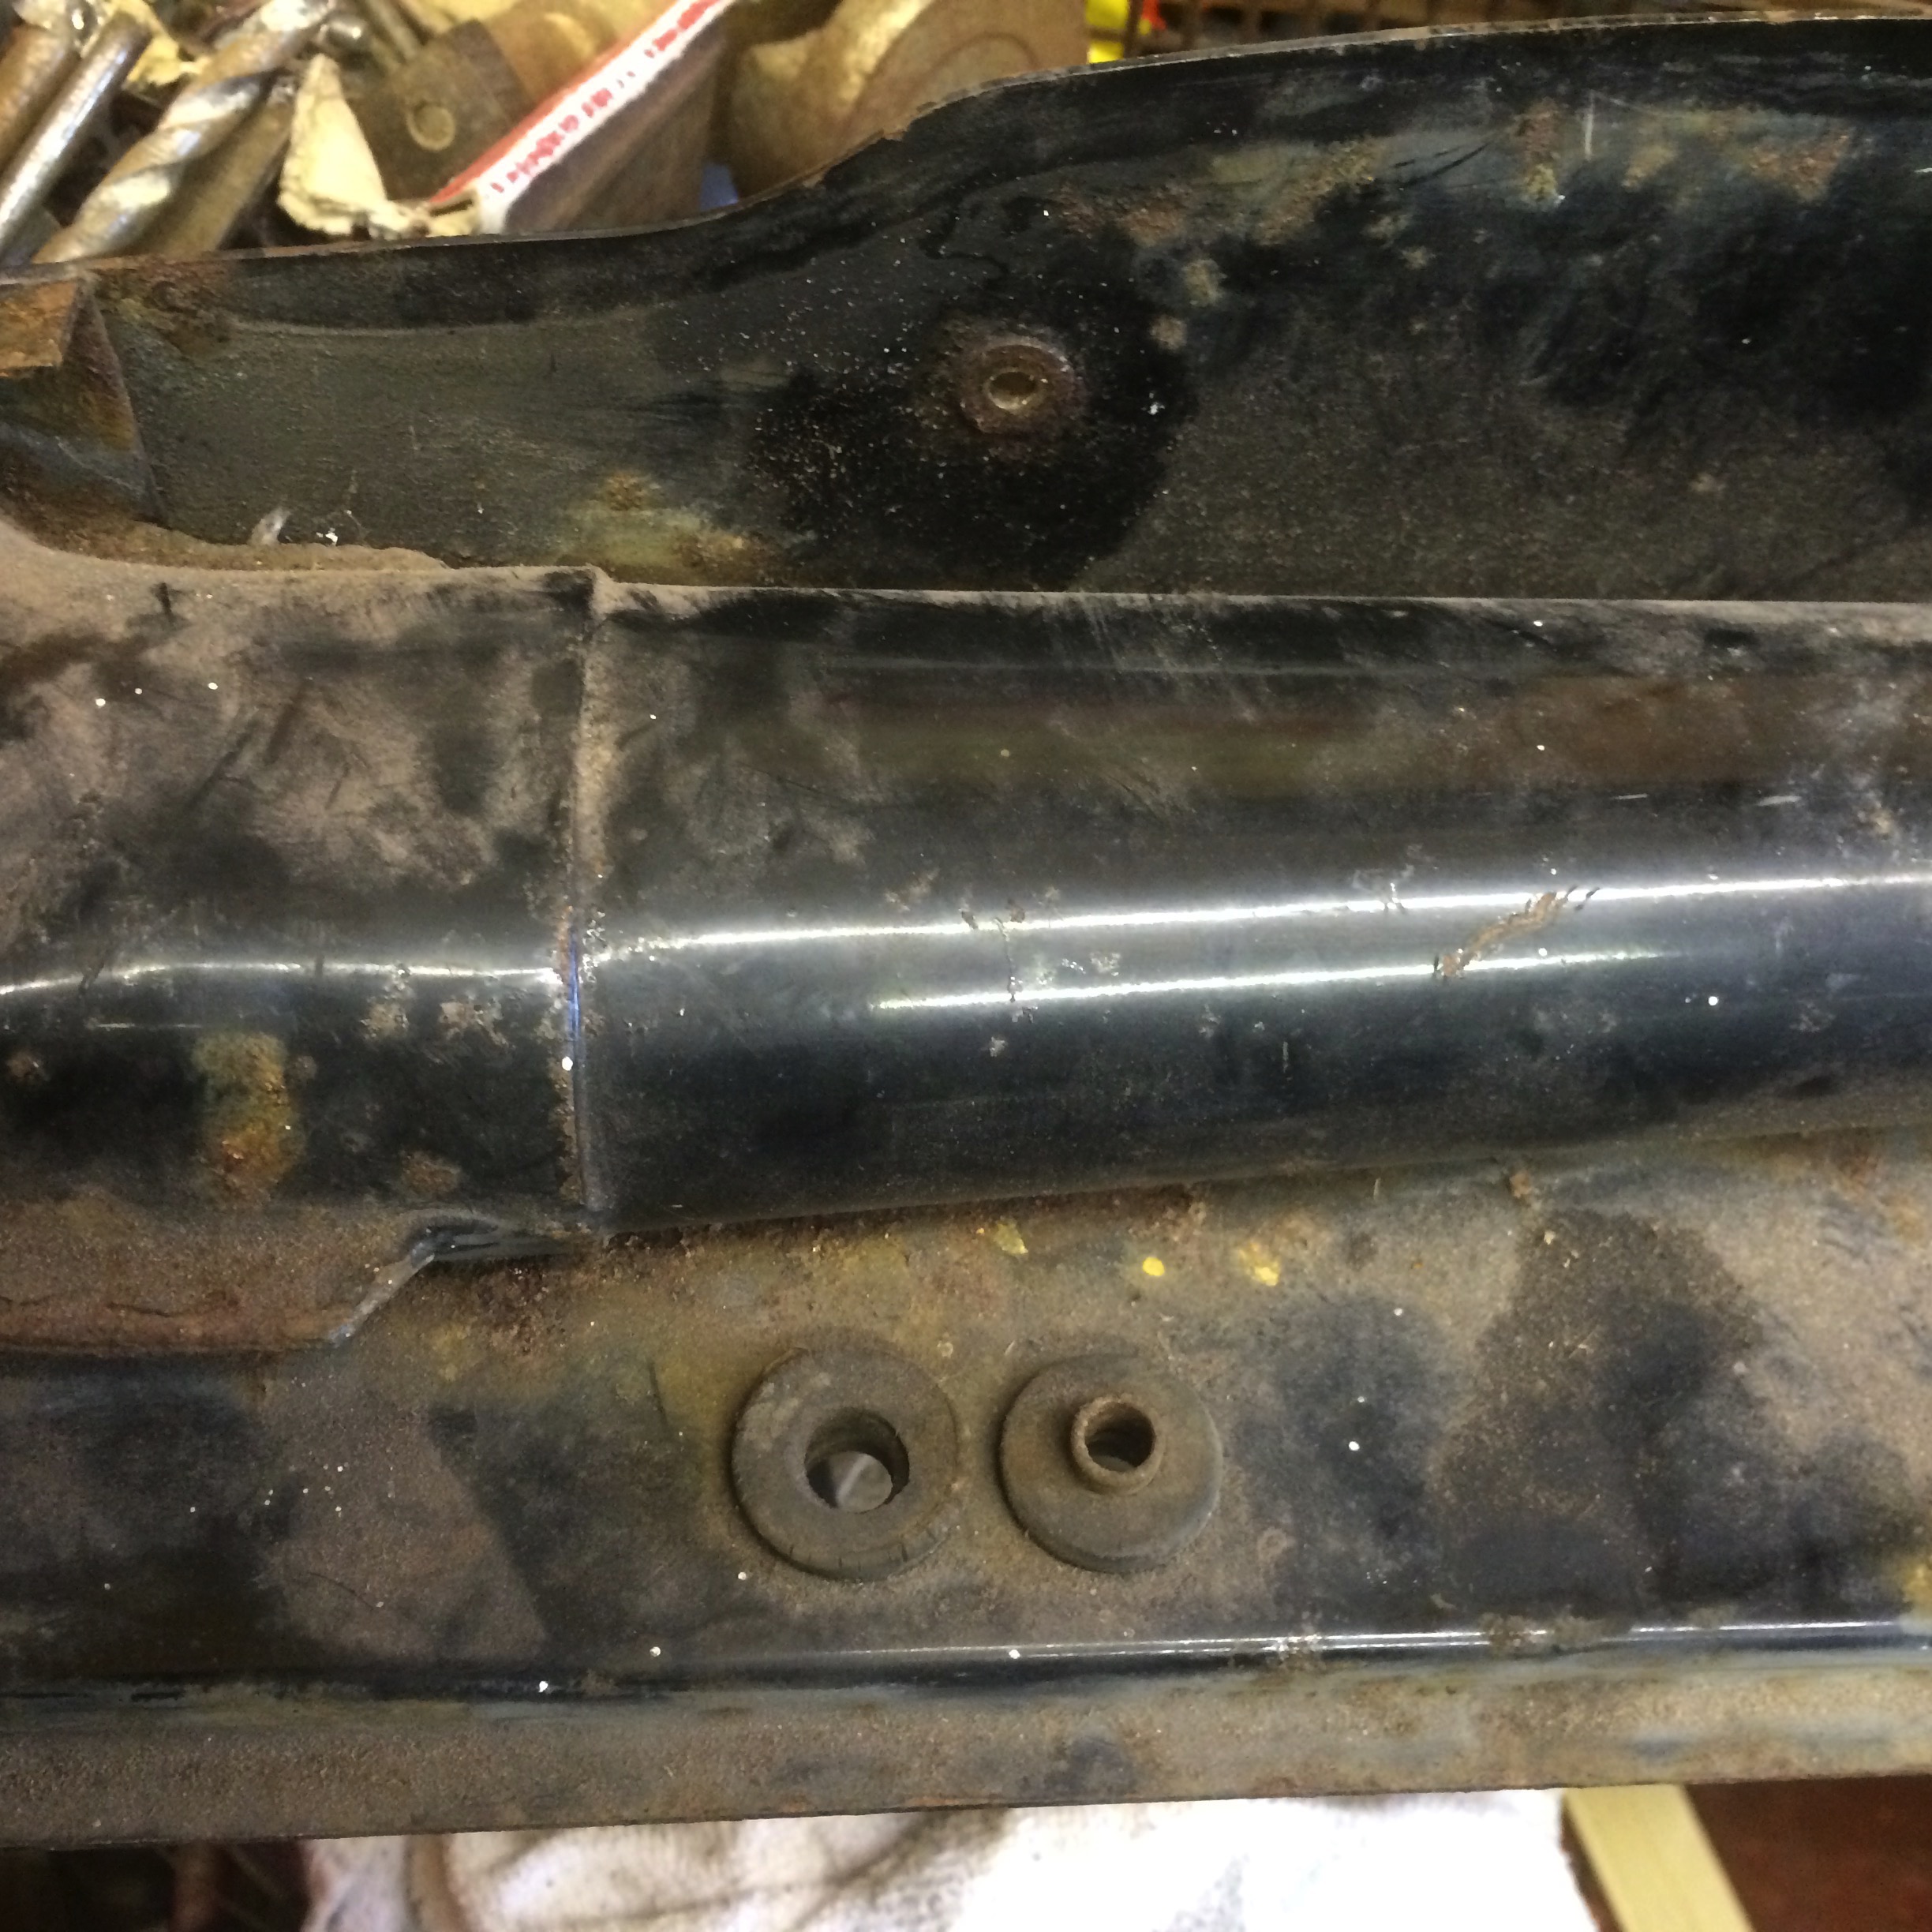
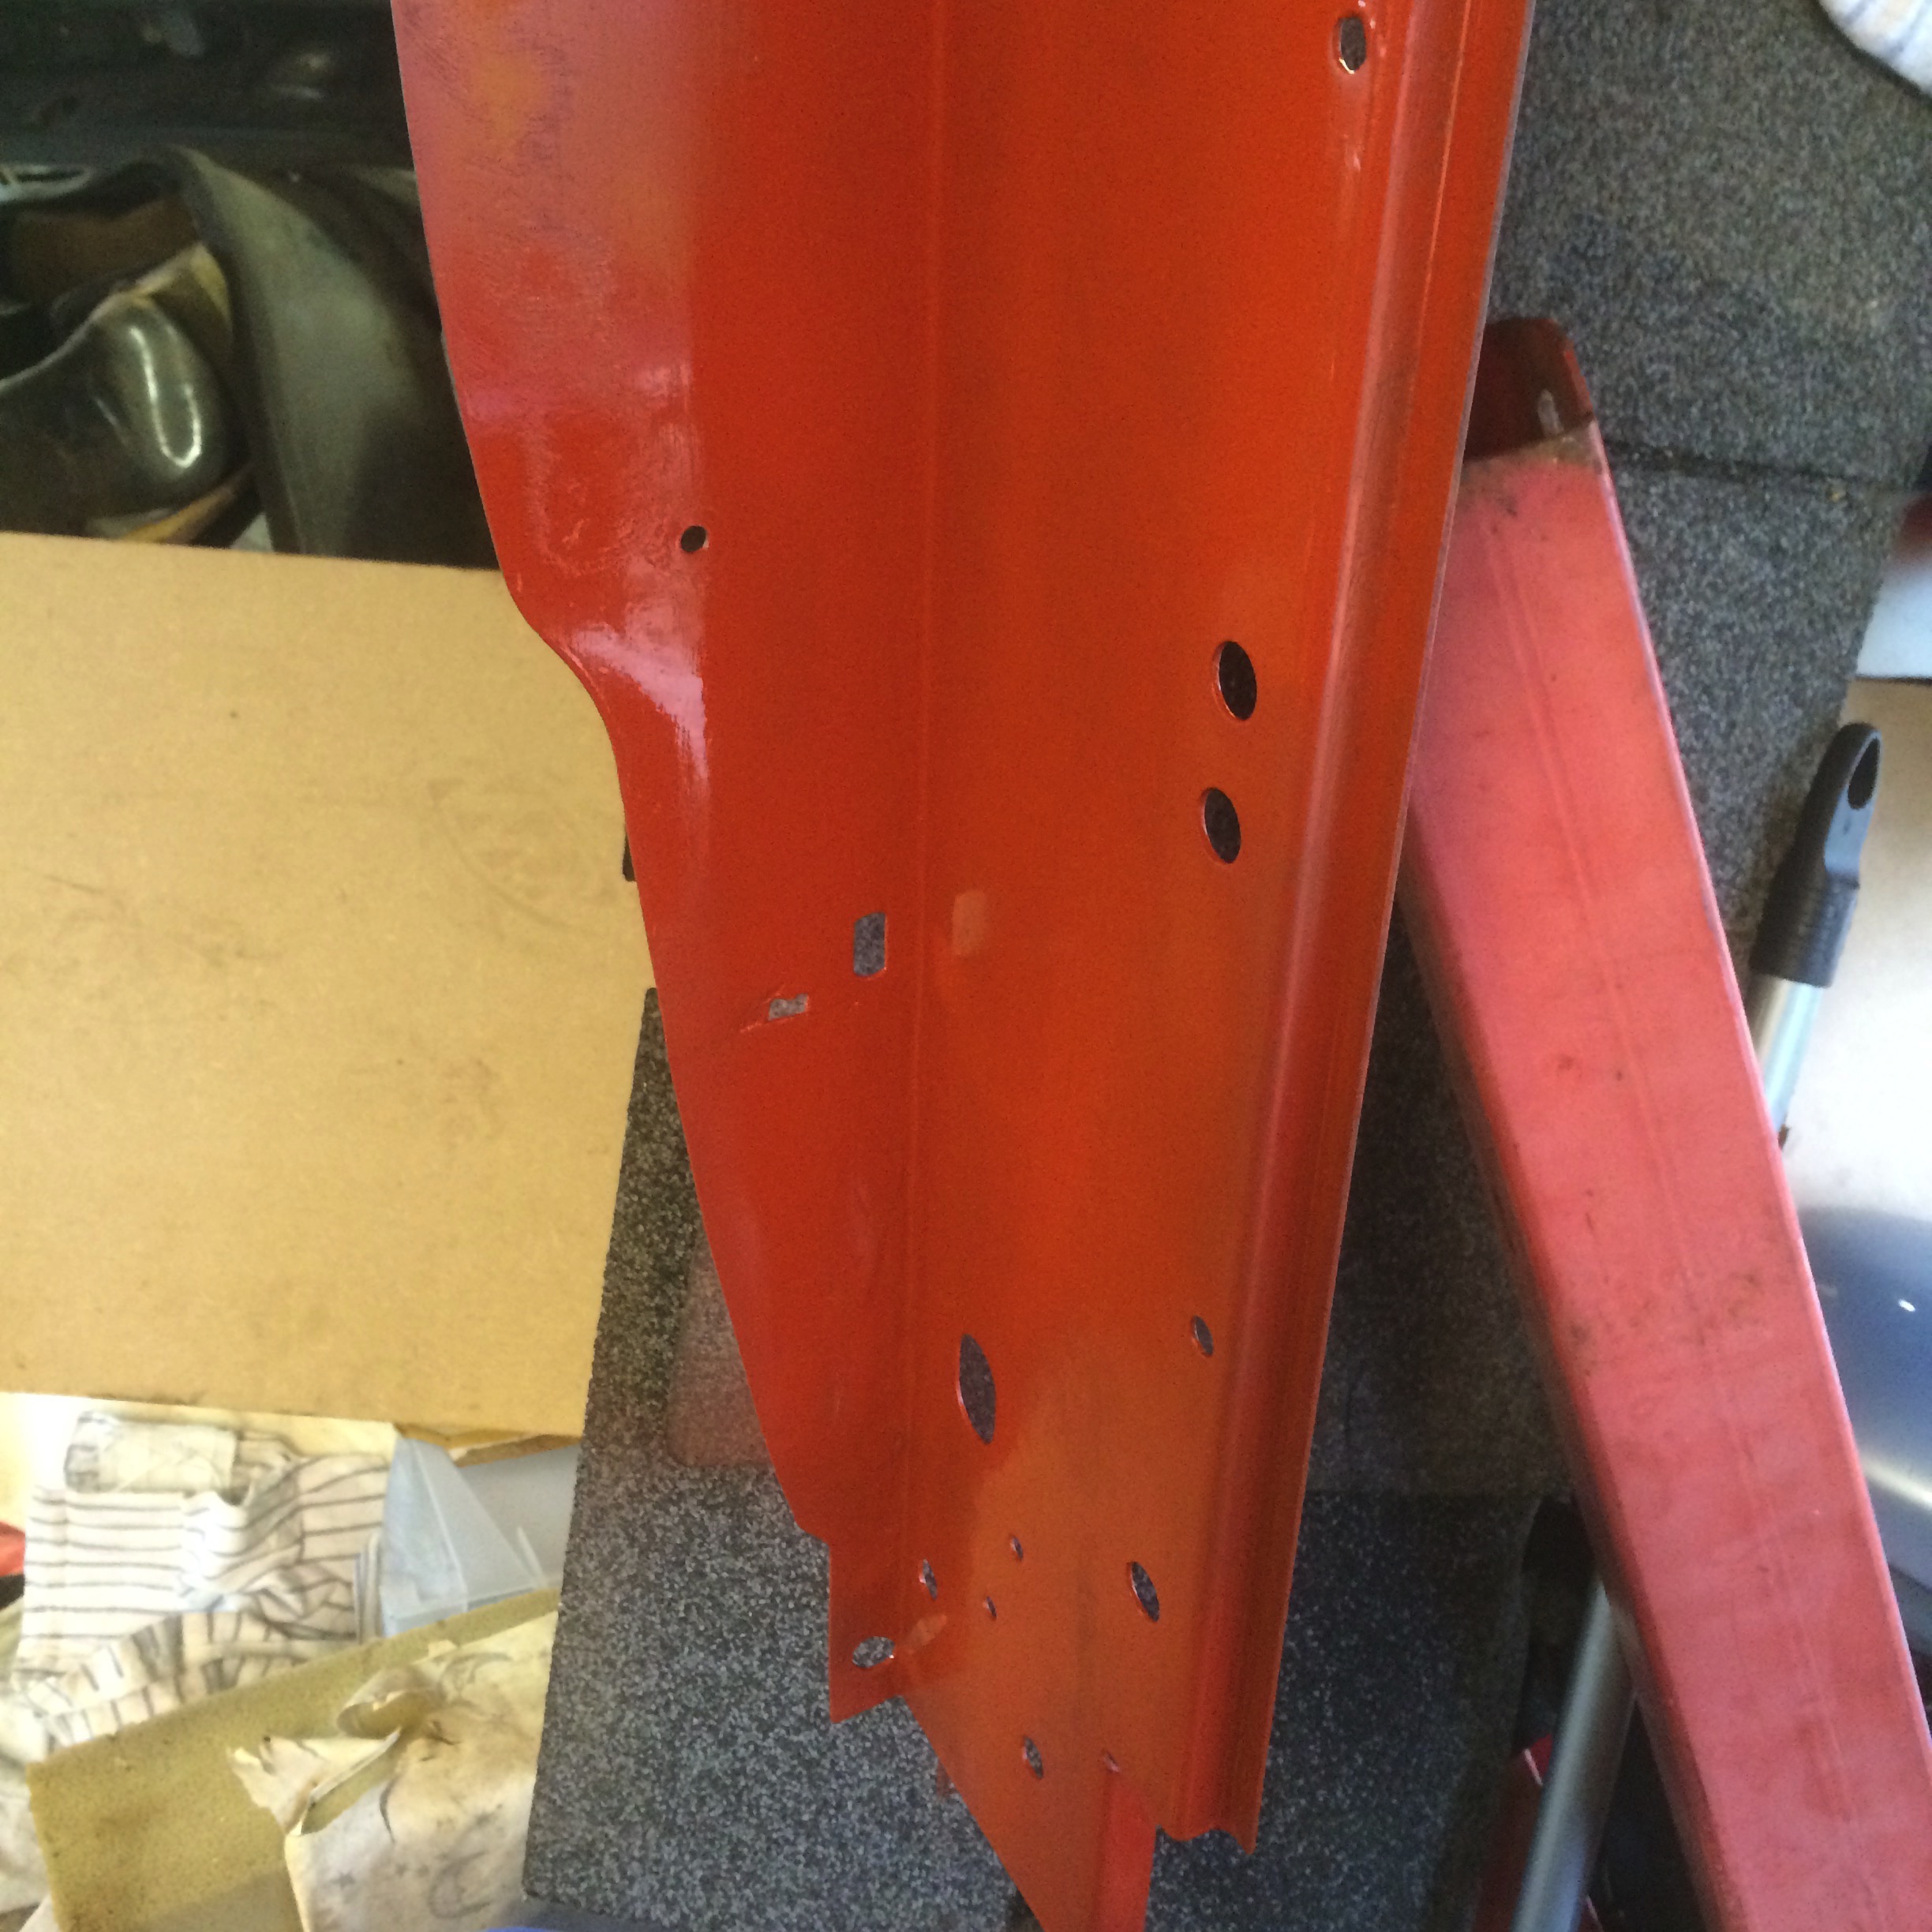
Hole cut out
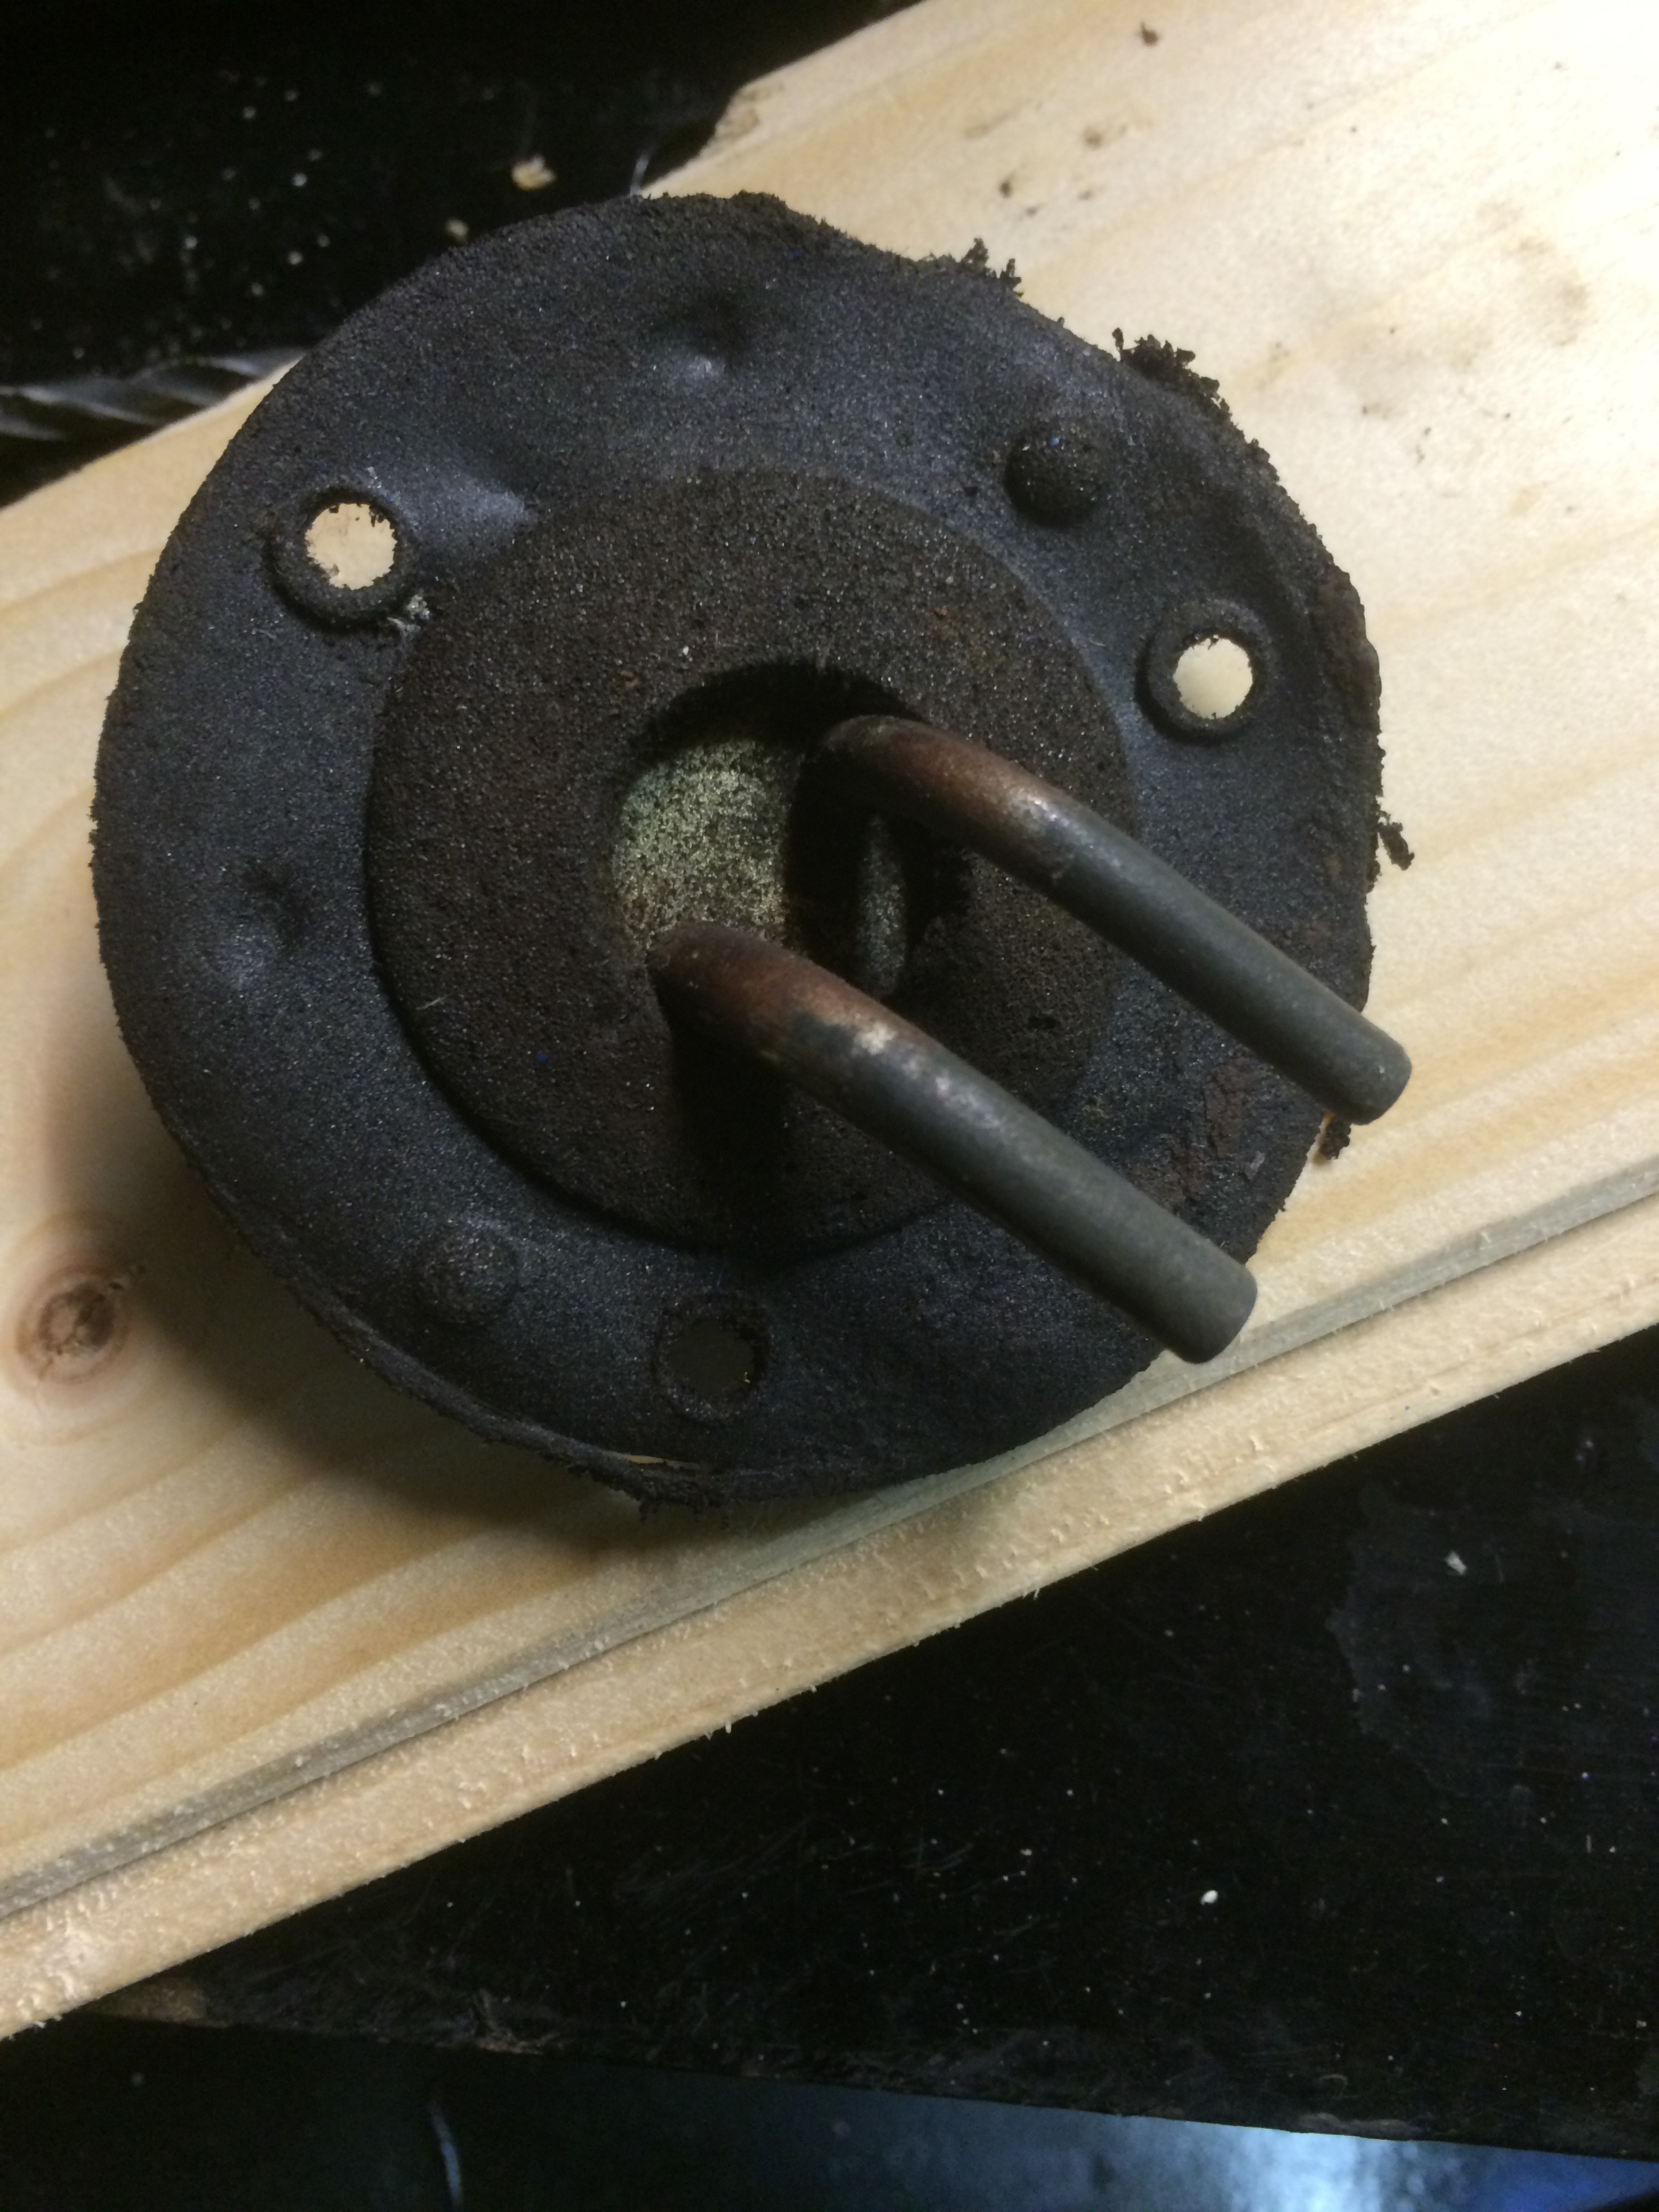
I will be using the rubber gaiter/plug to seal up the hole as used on the original XJR.
As its minus 3 degrees outside I decided not to go work in the garage so I’m writing up some of the work I did last year. As I already discussed hereI am attempting to use the minimum of the electronics from the original XJR without having to install all of the wiring as it was a lot, as you can see to the right! The main controllers I need are the following:
Engine Control unit (ECU)
Transmission Control unit (TCU)
Body Control unit (BCU)
Security and Control unit (SCU)
Instrument Display unit
Now I obviously have these from the XJR along with all the wiring however however I am not going to use all of the rest of the systems. That will of course cause some errors but I am hoping that I can resolve enough of them to allow the engine to run without going into limp home mode. The basic goal is to make the electronics think that it is still in the original XJR with some issues but not enough to shut the engine down.
For example, I need the SCU plus the module that senses that the key is in the lock to unlock the engine immobiliser system. Well I don’t need the actual lock from the XJR. In fact, all I need is to place the key (or just the RFID chip in the key) inside the coil that was around the key lock for that to signal the system that the key is there and to unlock the engine inhibitor.
Another example is the central locking and the door lock sensor system. I am hoping that I can just tie all the signals to either high or low and trick the system into think all is well.
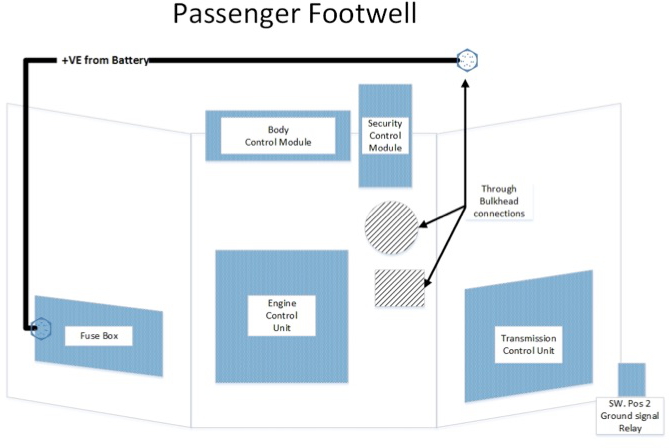
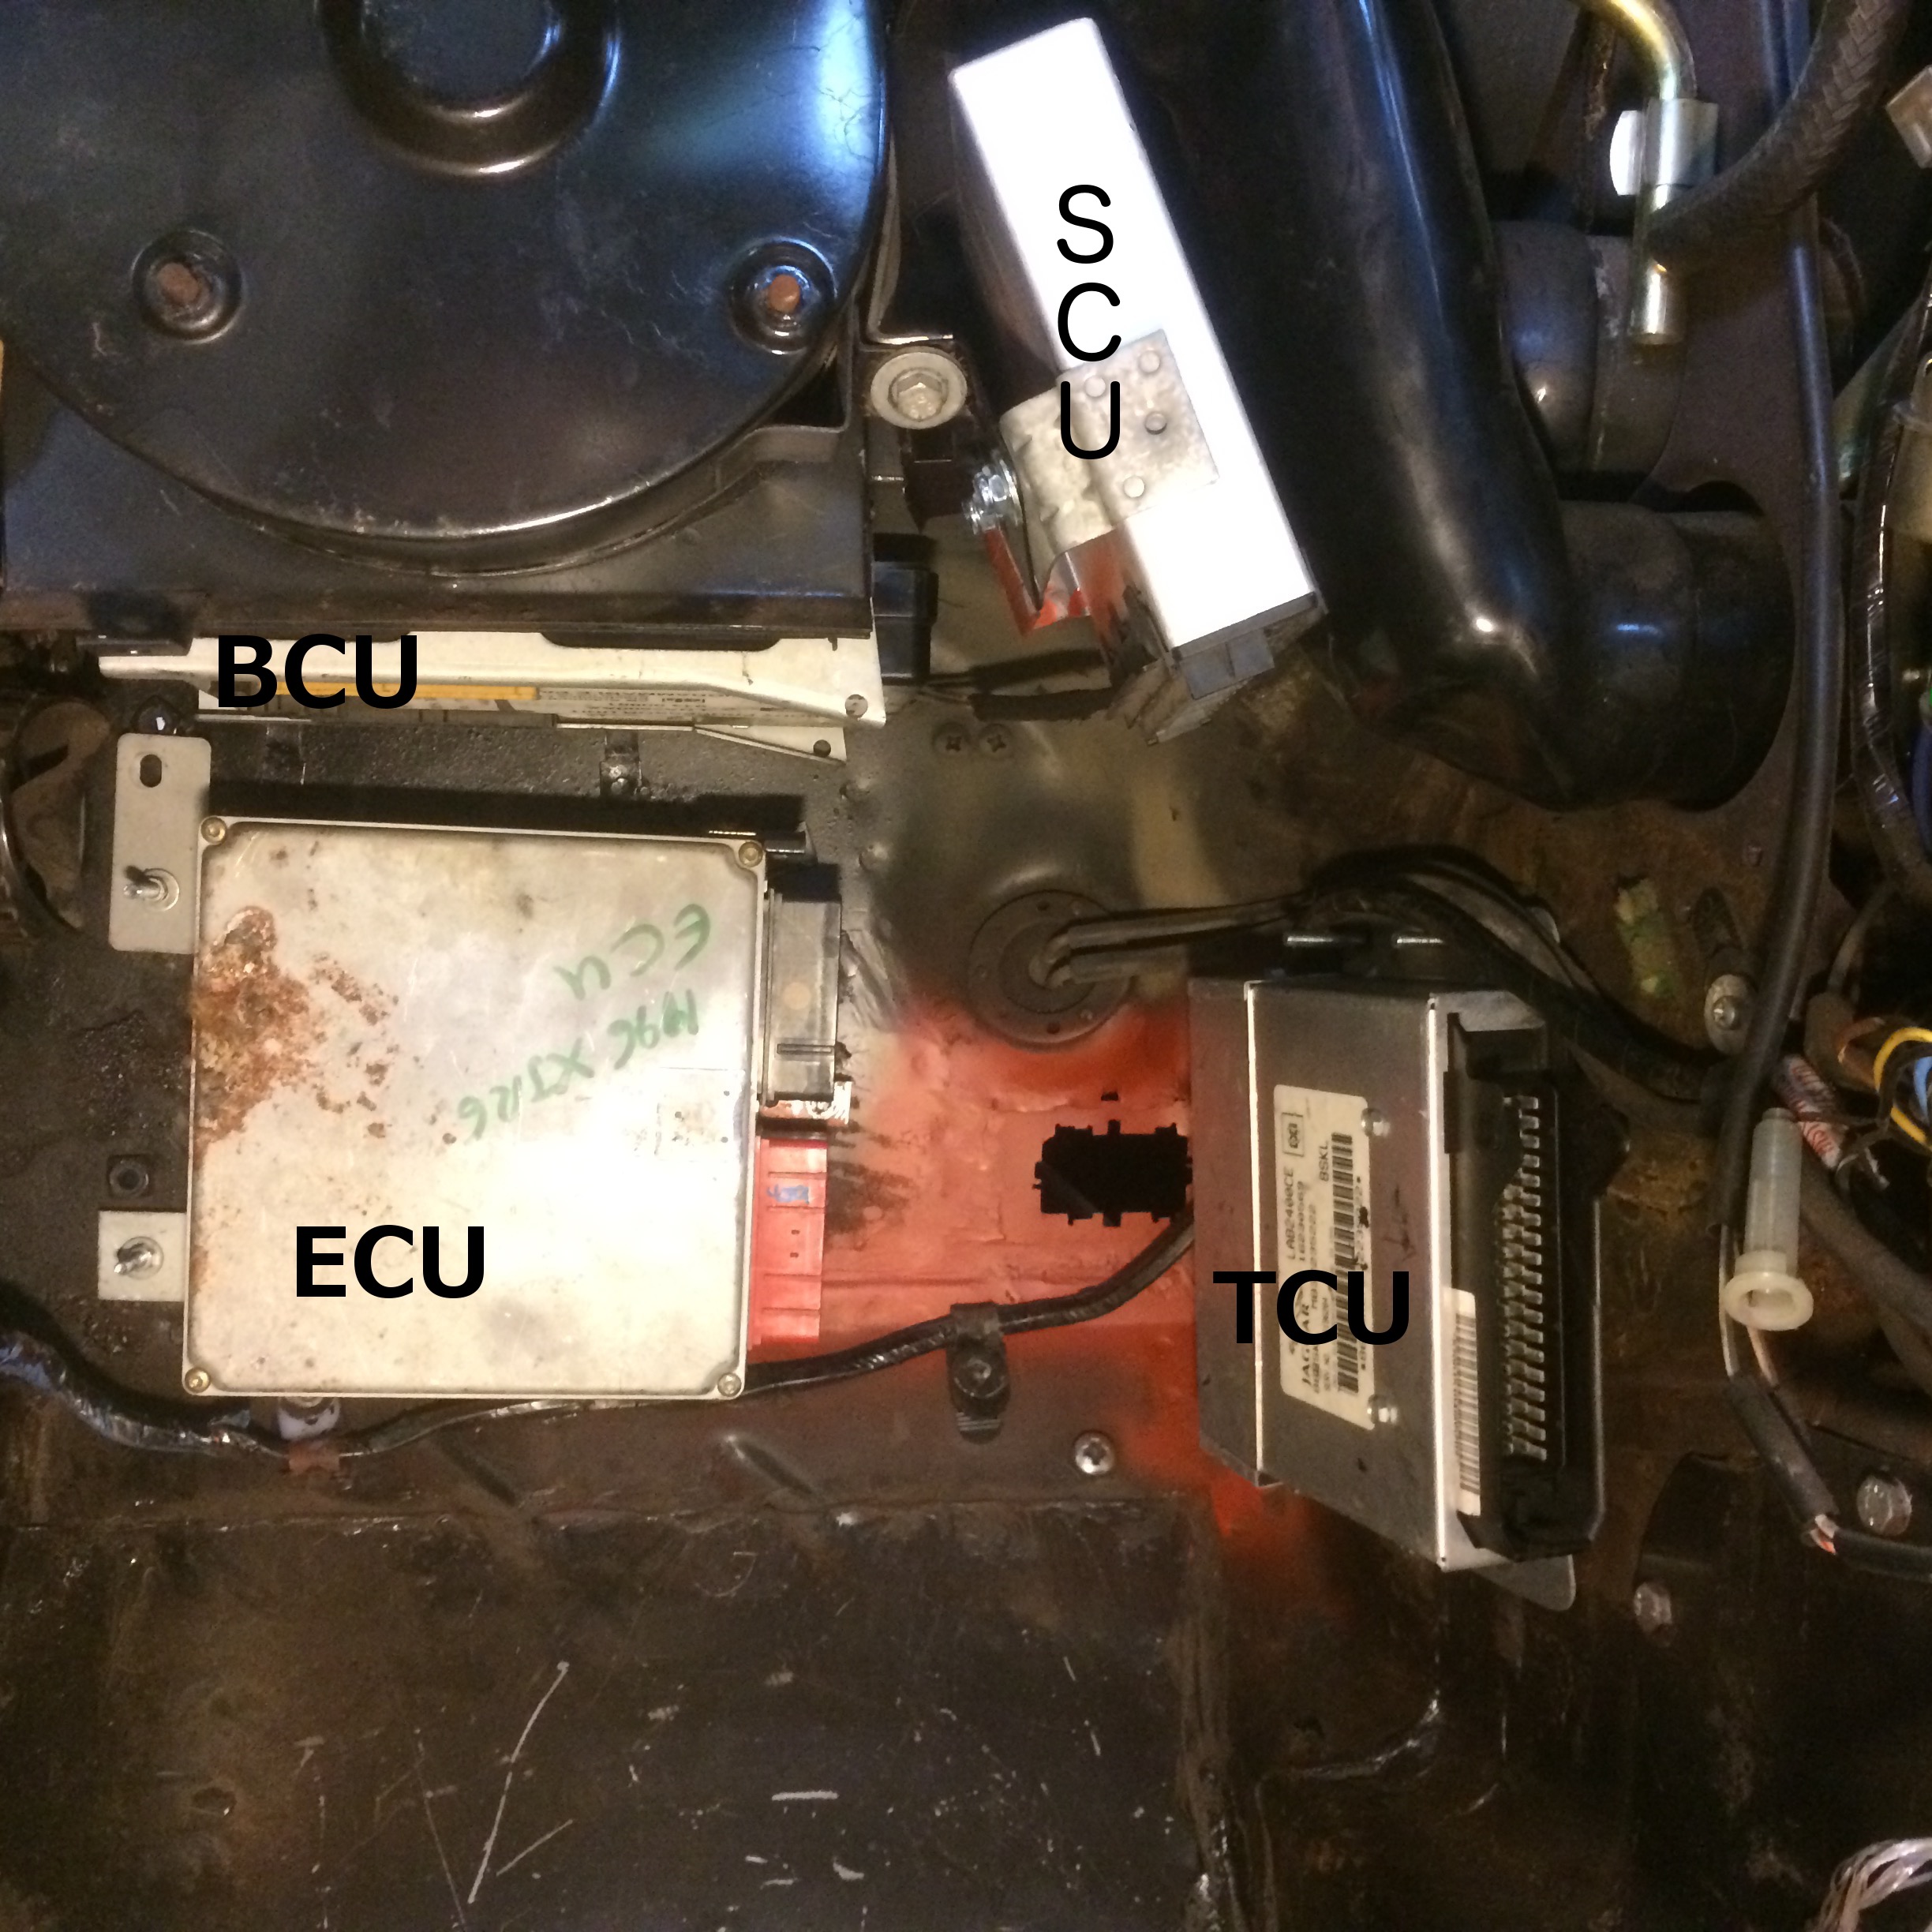
There are a fair few modules that I need to mount somewhere and a lot of wiring that I need to do. I am putting the modules in the passenger foot well. After a lot of thought and trial fitting I have installed the control units as follows.
ECU vertically where a passengers soles would go. I plan to put a false panel across this area covering/protecting the modules.
TCU Vertically, to the Right hand side of the foot well
BCU Horizontally, directly under the battery tray between the bulkhead and the round Fan assembly
SCU vertically and at an angle between the round Fan assembly and one of the output pipes.
I also installed one of the XJR Fuse boxes into the left hand side of the foot well behind the door hinges and powered from the through bulkhead bolts used to distribute DC positive power into the interior.
The layout can be seen in the images below:
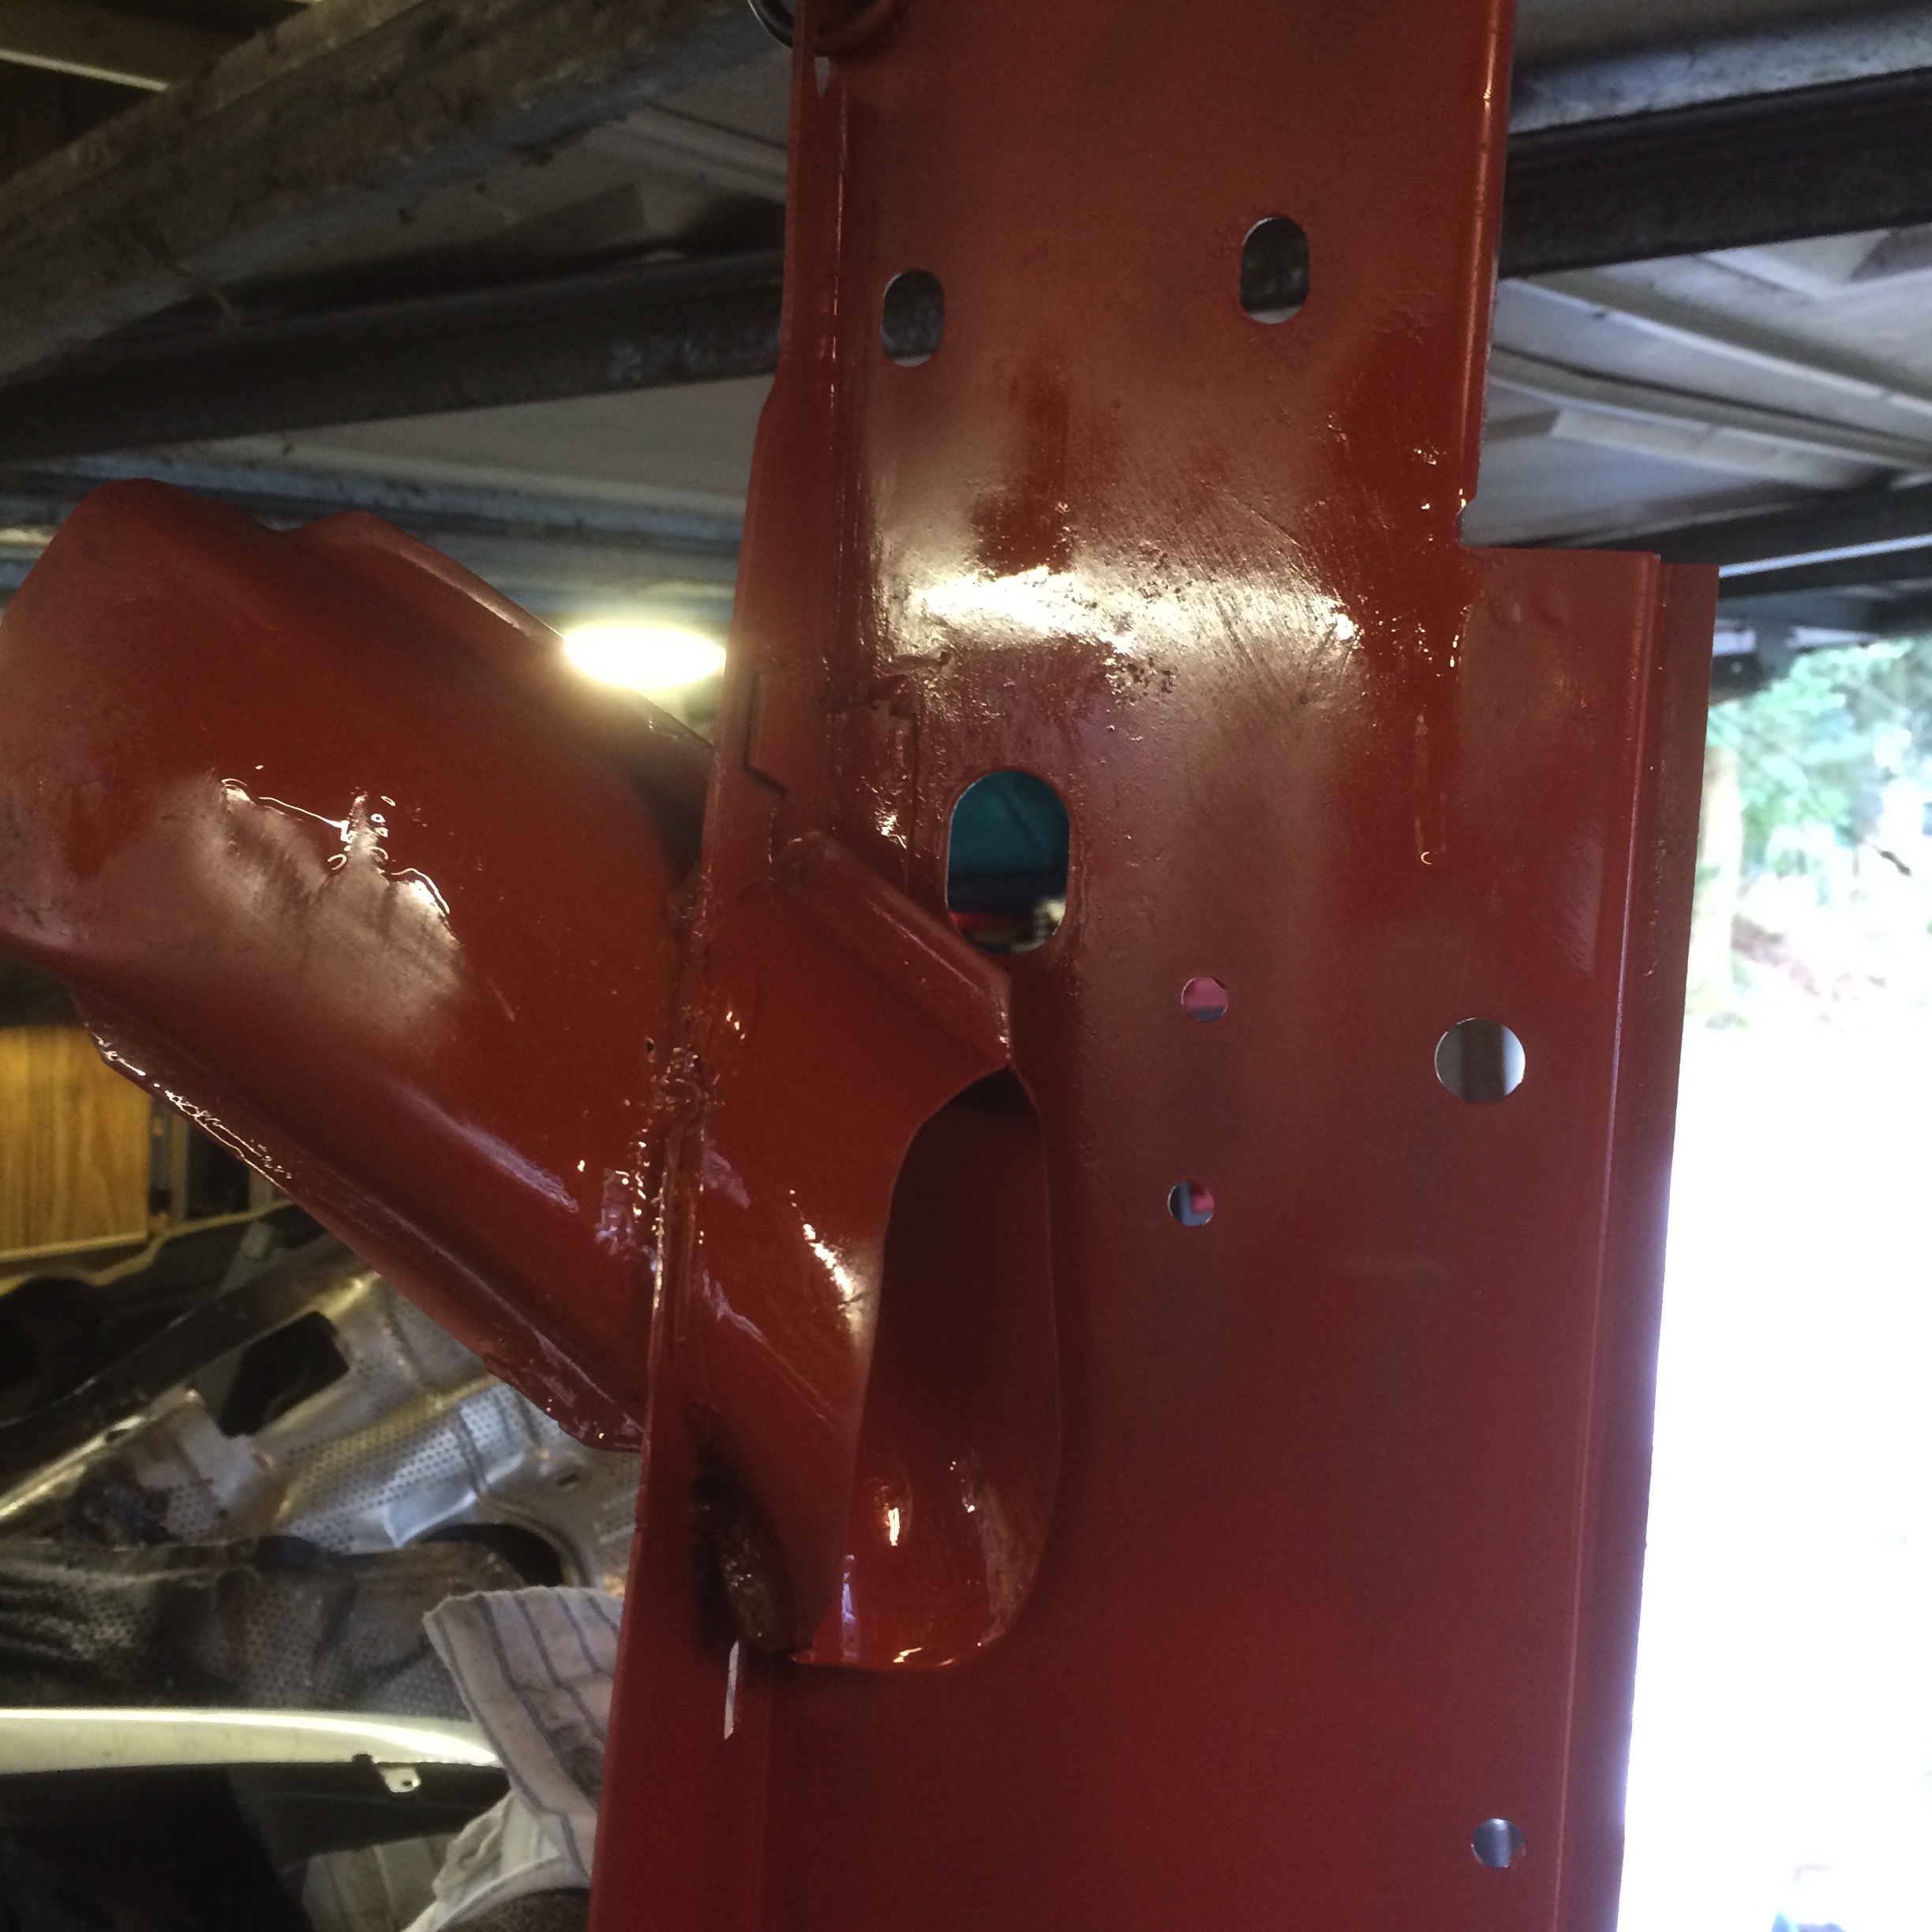
Control unit locationController Unit locations in footwell.
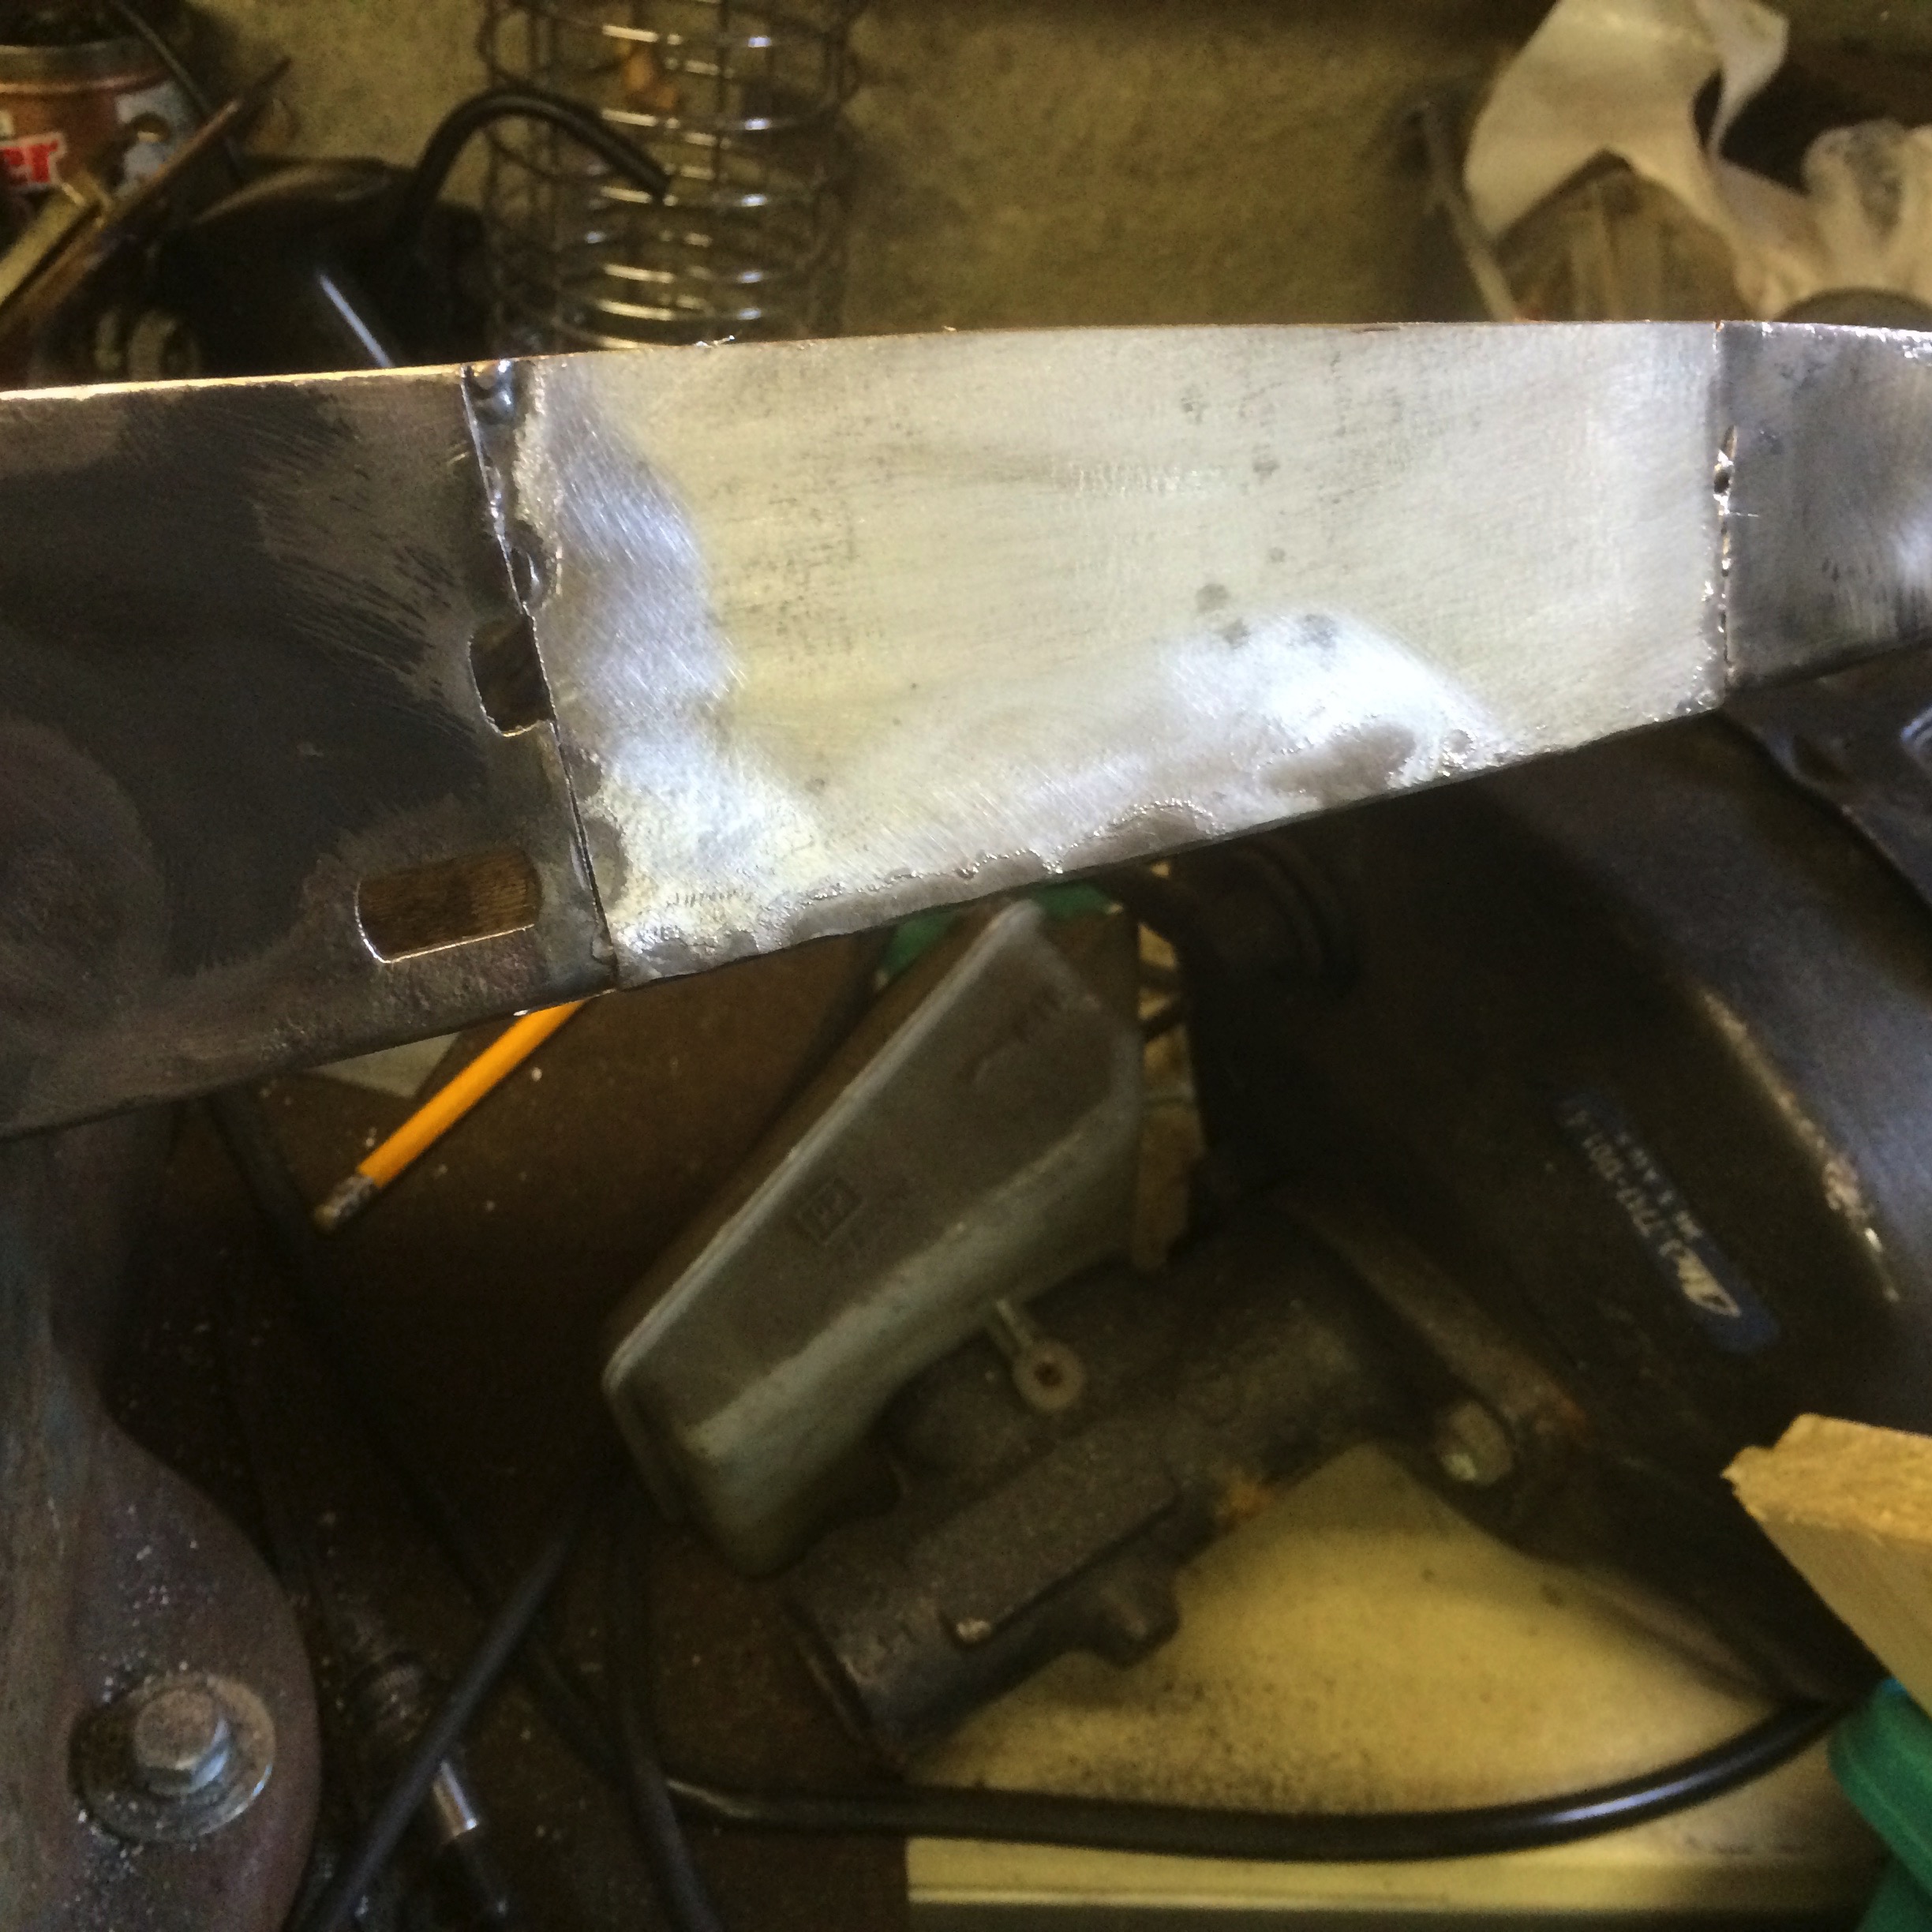
Above, you can see the inserted panel (red paint) with the rectangular hole for the through-bulkhead connector. I had to make quite a complex and accurate hole in the bulkhead to get a good fit for the bulkhead connector as used in the XJR. I should have cut it out of the XJR body but I scrapped the body without thinking about it. It was easier to make up a small panel on the bench with the required cut out and then weld the small square panel into the XJ6 than try to do it upside down in the foot well. The circular item above the red painted area with two pipes in it, is the access point for the Vacuum pipes from the AC unit. That is the hole used for the steering column on a LHD car. I will use it to get the ECU plugs and cables from the engine to the ECU. I will actually have to cut out the outer edge of this factory made hole as the plugs are quite big. There is a rubber gaiter on the XJR loom which should make a nice fit into this hole keeping the engine bay fumes out of the interior of the car. having to make these holes is a shame as I really don’t want to make too many changes to the body as part of this modification.
At least I stayed warm this evening. I hope the weather breaks soon as I have not really done anything to the XJ6 since New Years day. I did work on the XKR regarding the tweeting. I have however, earned some brownie points doing quite a few DIY jobs in the house.
There was a strange tweeting/squealing noise emanating from the engine bay on the XKR which started a few months ago. It stopped once the engine got warm. I did mention it at the last service and they changed the Supercharger belt. The nest full of hungry birds returned shortly after the service. I tried using a tube and an old funnel to isolate the noise which I deemed to be the water pump. There was some notoriety with early water pumps so I changed it before Christmas. The noise did stop for a couple of journeys however it returned again! Not needing to use the car for a little while, it sat while I decided what to do next. A friend of mine from the JEC (Thanks Neil), lent me an electronic listening device which has a long tube that you place onto the various parts you suspect are making the noises and listen via a pair of headphones. You could not hear the tweeting but a rumbling noise and some were worse than others. One of the tensioners was noisier than the rest so that was the initial target.
I did a little research and there is a replacement tensioner and idler wheel set for the princely sum of £200. The set also included the Supercharger belt which I had just changed so I did not want to go down that route. I then came across a post on a Jaguar forum.
The solution is to replace the bearings in the various wheels and idlers and the post included details suitable part numbers. I ordered four bearing for a total of just over £14 so a big saving. I changed one idler wheel bearing without removing the Fan assembly but you do have to remove it so you can get to the bolts holding some of the other idler wheels on. This is reasonably straight forward.
Ratchet Spanner from Aldi
Once you have struggled to get the two nuts off of the fan assembly, they are not tight or anything just there is no access to them. I used a small ratchet type ring spanner that also could be angled enough to get into the tight spot. (from a cheap set I brought myself last time I was in Aldi)
I removed the top plate holding the radiator in position and I found I needed to remove the top radiator hose and the air filter top to allow the Fan Assembly to be juggled out of the way. Once the Fans were out of the way you can undo the various wheels as needed.
I used a socket, a long threaded bolt & nut plus a large metal bar to pull out the bearings and tapped them back in using a suitably sized socket and hammer.
Made famous by Haynes, Reassembly is the reverse of removal, and once all back together, topped up the coolant that I lost disconnecting the pipe and went for a test drive. All seems well except for I started the engine with the plug into the air box unplugged so I have an engine MIL light illuminated. I’ll see if it goes off on its own after a few journeys otherwise I’ll plug in the ODB2 device I have and turn it off myself.
Back on the road and no tweeting …. for now anyway!
No good 🙁
A couple of days later, the noise was back see the video below:
Finding the “Needle in the Haystack” is an often used analogy in discussions regarding Big Data and analytics. The problem is that having more data (A bigger Haystack) does not always mean you will find more needles. In fact it may make it harder to find those data nuggets you are searching for. I came across some great discussions/posts in the comments section of an article on “The Register” the other day. The story is “GCHQ mass spying will ‘cost lives in Britain,’ warns ex-NSA tech chief”
Some of the analogies and references used in the comments included
Setting fire to the haystack and using a magnet to pick up the needles
One problem was that the heat may damage the needle (corrupt your data)
The terrorists could change to Carbon Fibre Needles so your magnet will not find them!
A far more distasteful analogy was that of a septic tank where you are looking for a chunk of chocolate but to find it you have to sample everything. Yuck!
In summary I guess the idea is to add as much “relevant” data as you can into your Data Lake but try not to pollute it with pointless additional data that makes it harder for you to find what you search for. The challenge is then, what is relevant data!
Welcome to 2016, hope it treats you well and you keep healthy 🙂
I did spend a little time in the garage on New Years Day and did some work on the XJ6.
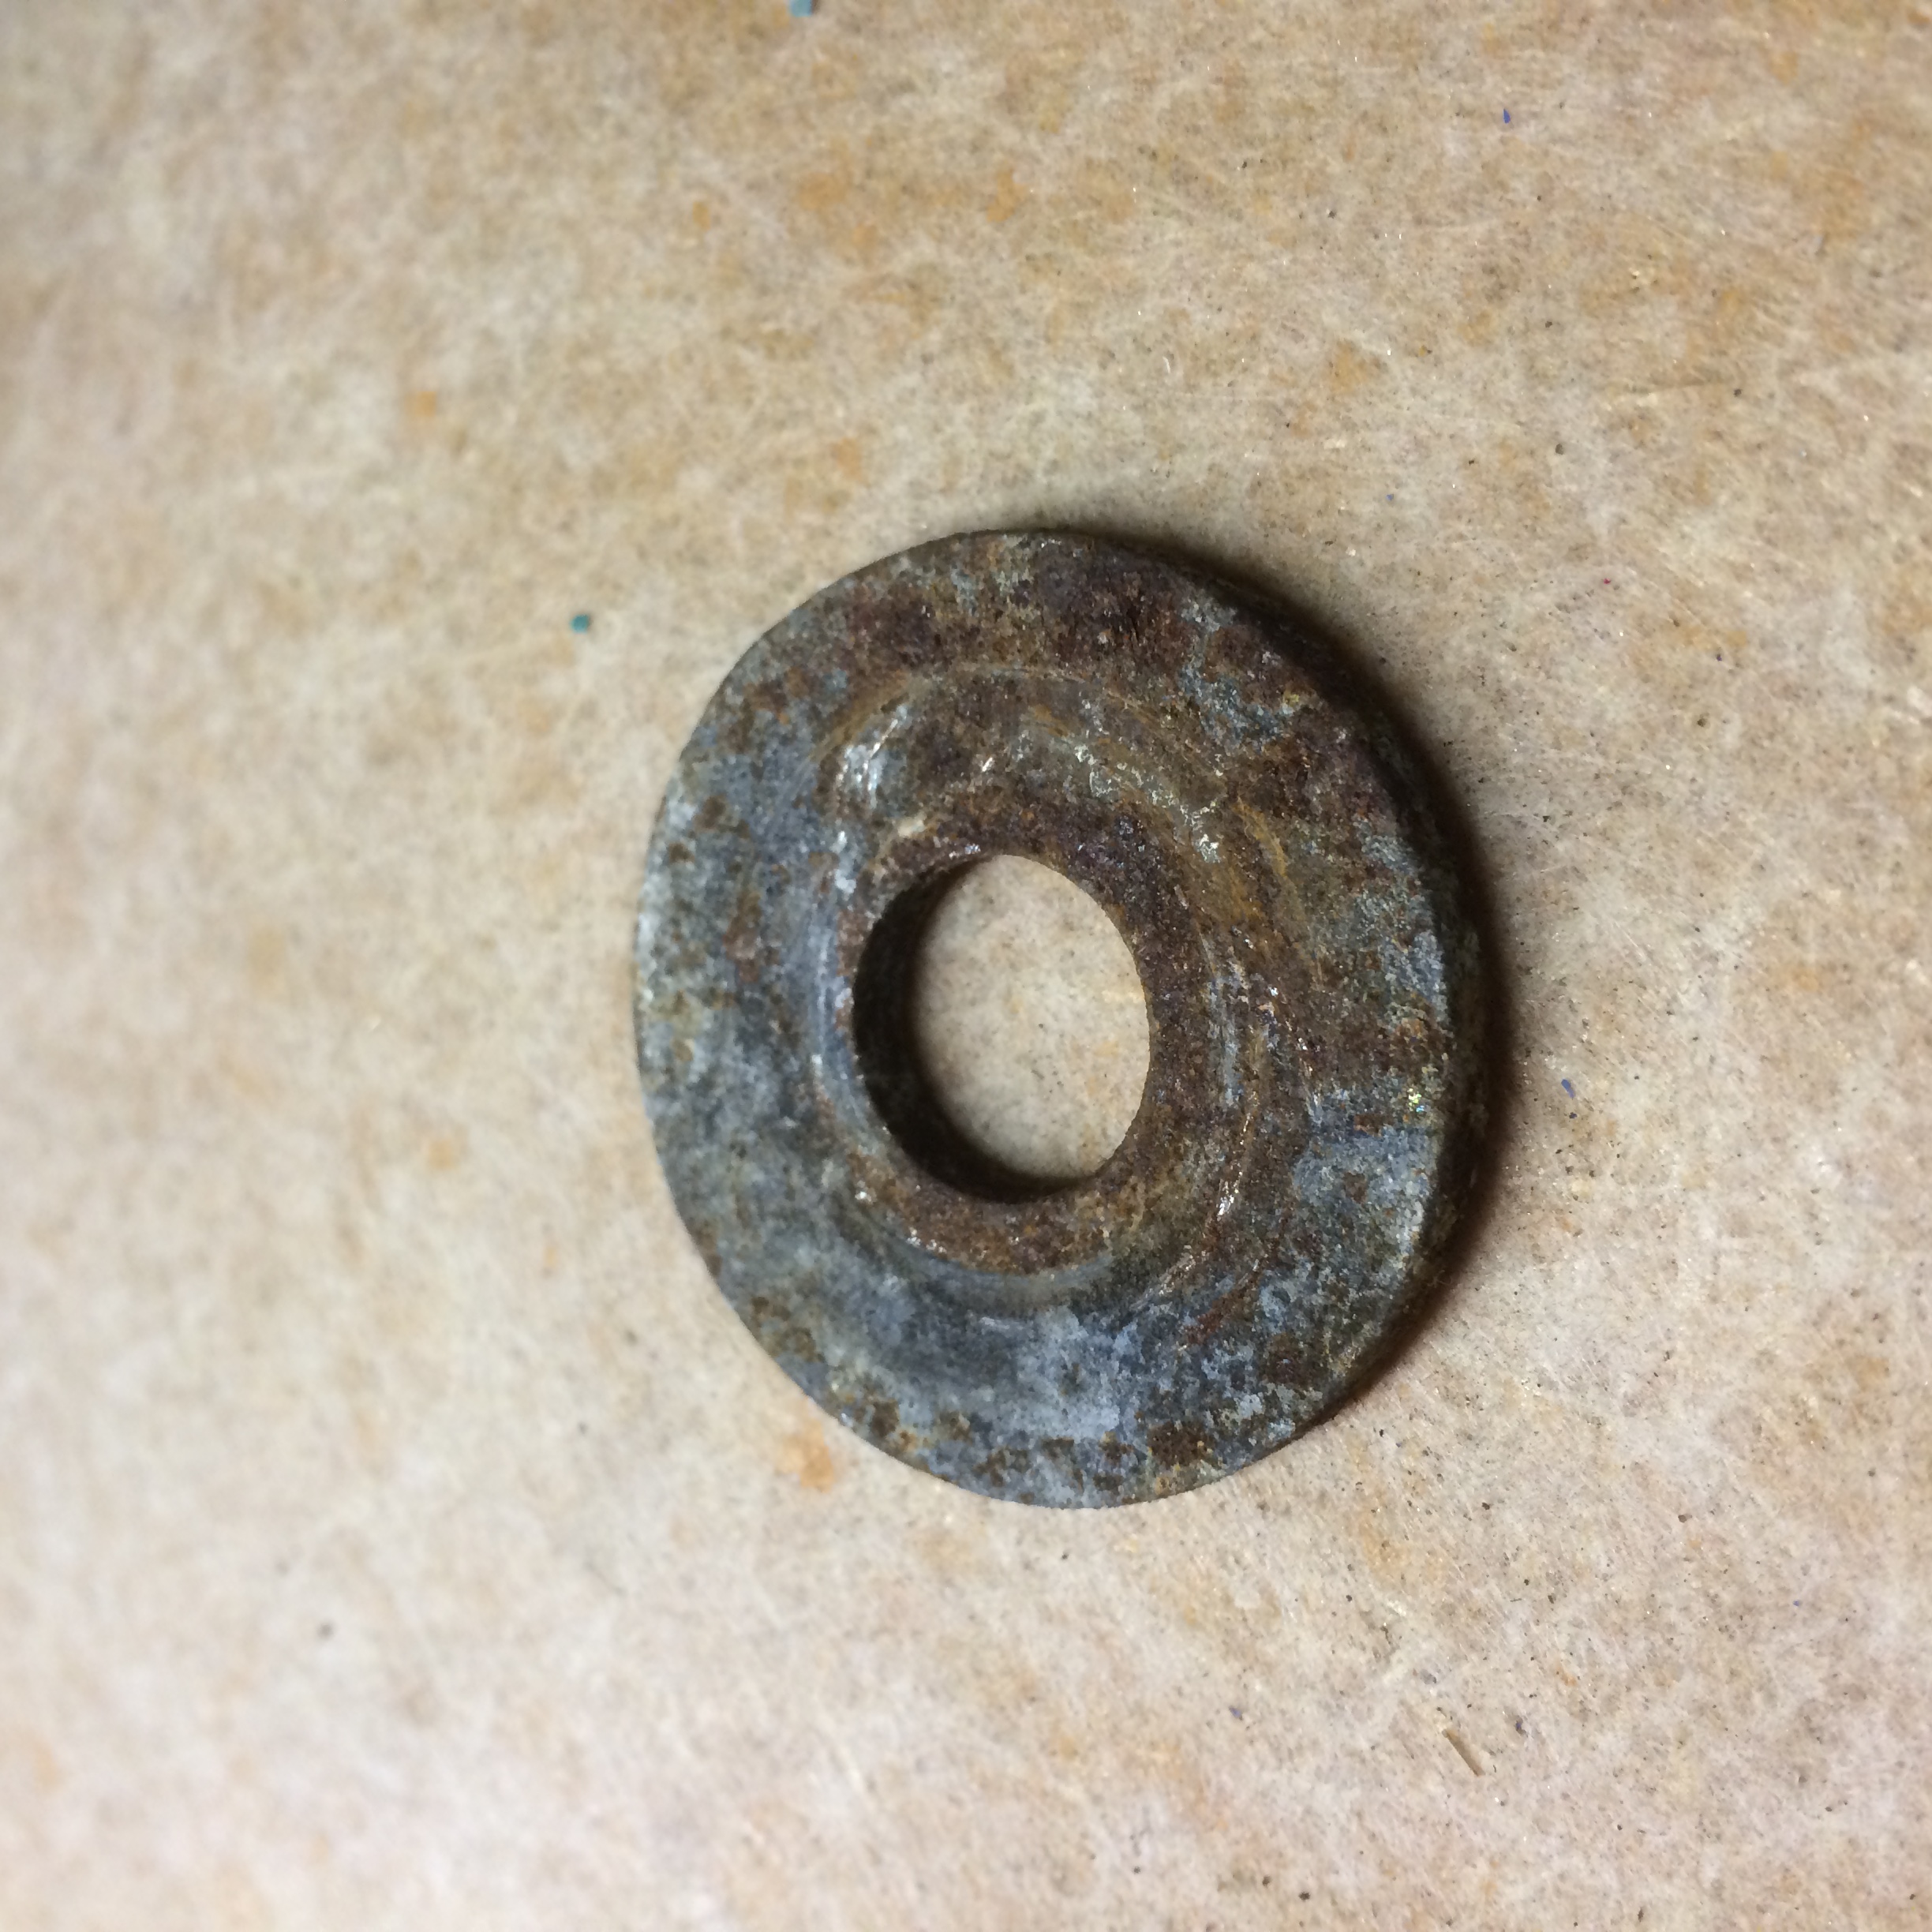
Cleaned up and sprayed a bit of clear lacquer onto the two washers and large nut heads that are used to hold on the bulkhead heat insulation panel. See the before and after pictures below
I also tidied up the wiring a little
Made up a gasket, found some suitable bolts and installed the brake pedal assembly and servo unit.
Washer “Before” imageRight hand “shiney” Nut & Washer
The top of the radiator mounting panel needed some modification. The panel has an inlet pipe for directing air towards the air filter on the standard Series 2 normally aspirated engine. As I am installing a Supercharged AJ16 engine, the air inlet is on the other side of the engine. Rather than leave the panel alone I decided to modify it to direct air to the right hand side of the engine bay. I dont think it is really necessary but it would look odd directing air towards the exhaust pipes. In addition it is a bolt on panel so could easily be swapped out for an original panel if preferred later on.
The pictures below show the panel before and after modification.
Top Rad Rail & inlet pipe LHSTop Rad Rail & inlet pipeTop Rad Rail relay mountingsTop Rad Rail relay mountings insideRad top rail endRust grinded off, pipe removed and hole filledTop Rad panel hole filled, engine bay viewUndercoated blanked in panelRepositioned inlet
Just swapping out the engine for the SuperCharged version of the AJ16 4.0 Litre engine has a lot of consequences. These then have knock on consequences that can make the swap very difficult. I decided to use the AJ16 engine and Automatic gearbox and the minimum amount of the XJR electronics needed. The alternative is running a standalone engine management system although I may have to go this route if I cant get away from the dreaded “limp home mode” with the original electronics. Very little else from the XJR is needed, I hope 🙂 Below is a list of the bigger issues and I will mention my thought process for each one and the proposed solutions.
The XJR6 engine requires different engine mounts
I tried with the standard XJ6 mount and the engine is too far forward so the oil pan hits the subframe
I purchased XJS facelift mounts (they have the AJ16 non supercharged engine) and hooray the engine will fit into the space. It it very close to the passenger inner wing because of all the intercooler add-on parts. It is also “swapped over” compared to the NA engine for inlet and exhaust. On the NA engine the inlet is the drivers side and the exhaust is on the passenger side in the engine bay. Now it is reversed.
Swapping the exhaust over should be OK as there is an offset Y shaped part than can just be rotated. Not sure on the whole exhaust setup yet but thats a minor issue to resolve anyway. I will use the AJ16 SC down pipes and Catalytic Convertors for sure.
I will use the XJR radiator, Fan Assembly and the majority of the XJR ancillaries as needed
Power steering pipe will need modification to fit the old steering rack. Need to research the pressures involved too.
I will use a mixture of old and new electrics as needed. For example, the horn, lights, indicators will be completely using the old XJ6 Electrics whereas because there are now electric fans, these will be driven via the newer XJR electrics. The Reverse lamps will use the same wiring as old but be driven by a new relay that is engaged via the reverse switch on the J-Gate lever assembly so a mixture of old and new.
By far the biggest challenge is the Engine electronics. I have researched this quite a bit even before I decided to purchase the XJR. I aim to use the following ECUs and wire them up as if the engine was still in the original car. I will mount the Control units in the passenger footwell area
Engine Control unit – obviously
Gearbox control unit – obviously
Security and Control Unit – to get over the inhibitor issues (will use the original key and reader but see more on that in later post)
Body Control unit – needed along with the others to run things like the starter and gearbox interlock process
For the gauges and warning lights I will use the circuit board that drives the XJR display but merge the wiring into the old display to keep it looking like a classic Series 2 XJ6
Getting the wiring into/out of the engine bay is challenging.
I will use the hole for the LHD steering option that currently has two vacuum pipes for the AC system running through a circular plate and make another hole for a single XJR bulkhead connector. Not all the connections are needed but enough to make it worth wile using one of the original connector pairs.
Need to add some fuse boxes into the engine bay. The XJR had 2, I think I can get away with 1 as I will not require all the extra items such as the lighting, fog lights etc that were in the engine bay area because those are already catered for on the XJ6 wiring loom.
Not yet decided what to do about the fuel vapor evaporation control system. The system on the XJR is quite complex with a carbon canister, a pump and a valve. This is combined with pressure sensors in the fuel tank as well. As I am using two tanks now and neither has the pressure sensor I will have to do something different and maybe send some fake signals to the ECU to stop any limp home issues.
The XJR gearbox requires different mounting points and the change to a J-Gate gear leaver assembly
Need to modify the mounting plate to fit body
Need to modify the central console and the underlying metal work to fit the J-Gate set up
Need to upholster/cover with veneer the modified console to hide the changes
Need to modify/merge the old/new wiring to manage the gearbox interlock and reversing lights
Drive train – I am initially going to use the old XJ6 rear end as it stands. If the gearing appears poor in use and I want to change it I can revert to an outboard braking system and the full cage from a facelift XJS. Maybe the 4.0L or even the V12 setup.
The propshaft will need modification. The XJ6 is a long wheel base and a cursory look shows that there is a bearing assembly half way along the propshaft with a UJ joint. This means that I could potentially use the front half of the propshaft from the XJR and the rear half from the XJ6. Later investigations proved that although this looked like a simple change, the sizes of the UJ’s are different. The XJ6 is imperial and the XJR is metric. Still it was worth a check 🙂 I will get the propshaft sent off to a specialist to modify it to fit. I need to get the engine and gearbox fitted in their final resting places so I can measure up properly.
Knock on effects
Fuel pumps – The XJR has two fuel pumps inside the tank with the second pump to boost the pressue over 3,500 RPM. I did look at the potential use of the XJR tank and did remove it from the car but I will stick with the original tanks and set up a new system using a high pressure external pump and the change over valve system.
Speedo and Mileometer – These are mechanically driven by the old gearbox on the XJ6. On the XJR these are electronic with the speed signal pulse being generated by the ABS module and its sensors. I am not going down the ABS route so that will not work out for me. There is a output speed based square wave signal from the XJR automatic gearbox however it is 15 time faster than the signal provided by the ECU unit.
My plan is to use the small electronic gauges from the XJR inside the original gauges for speed and set the mileometer just under the dash somewhere discreetly to show the milage. I will use a mixture of the old and new sensors/gauges as required. The goal is to for the gauges to look the same as they do on a Series 2 XJ6 but working. I will wait to finalise this until the engine is in and working.
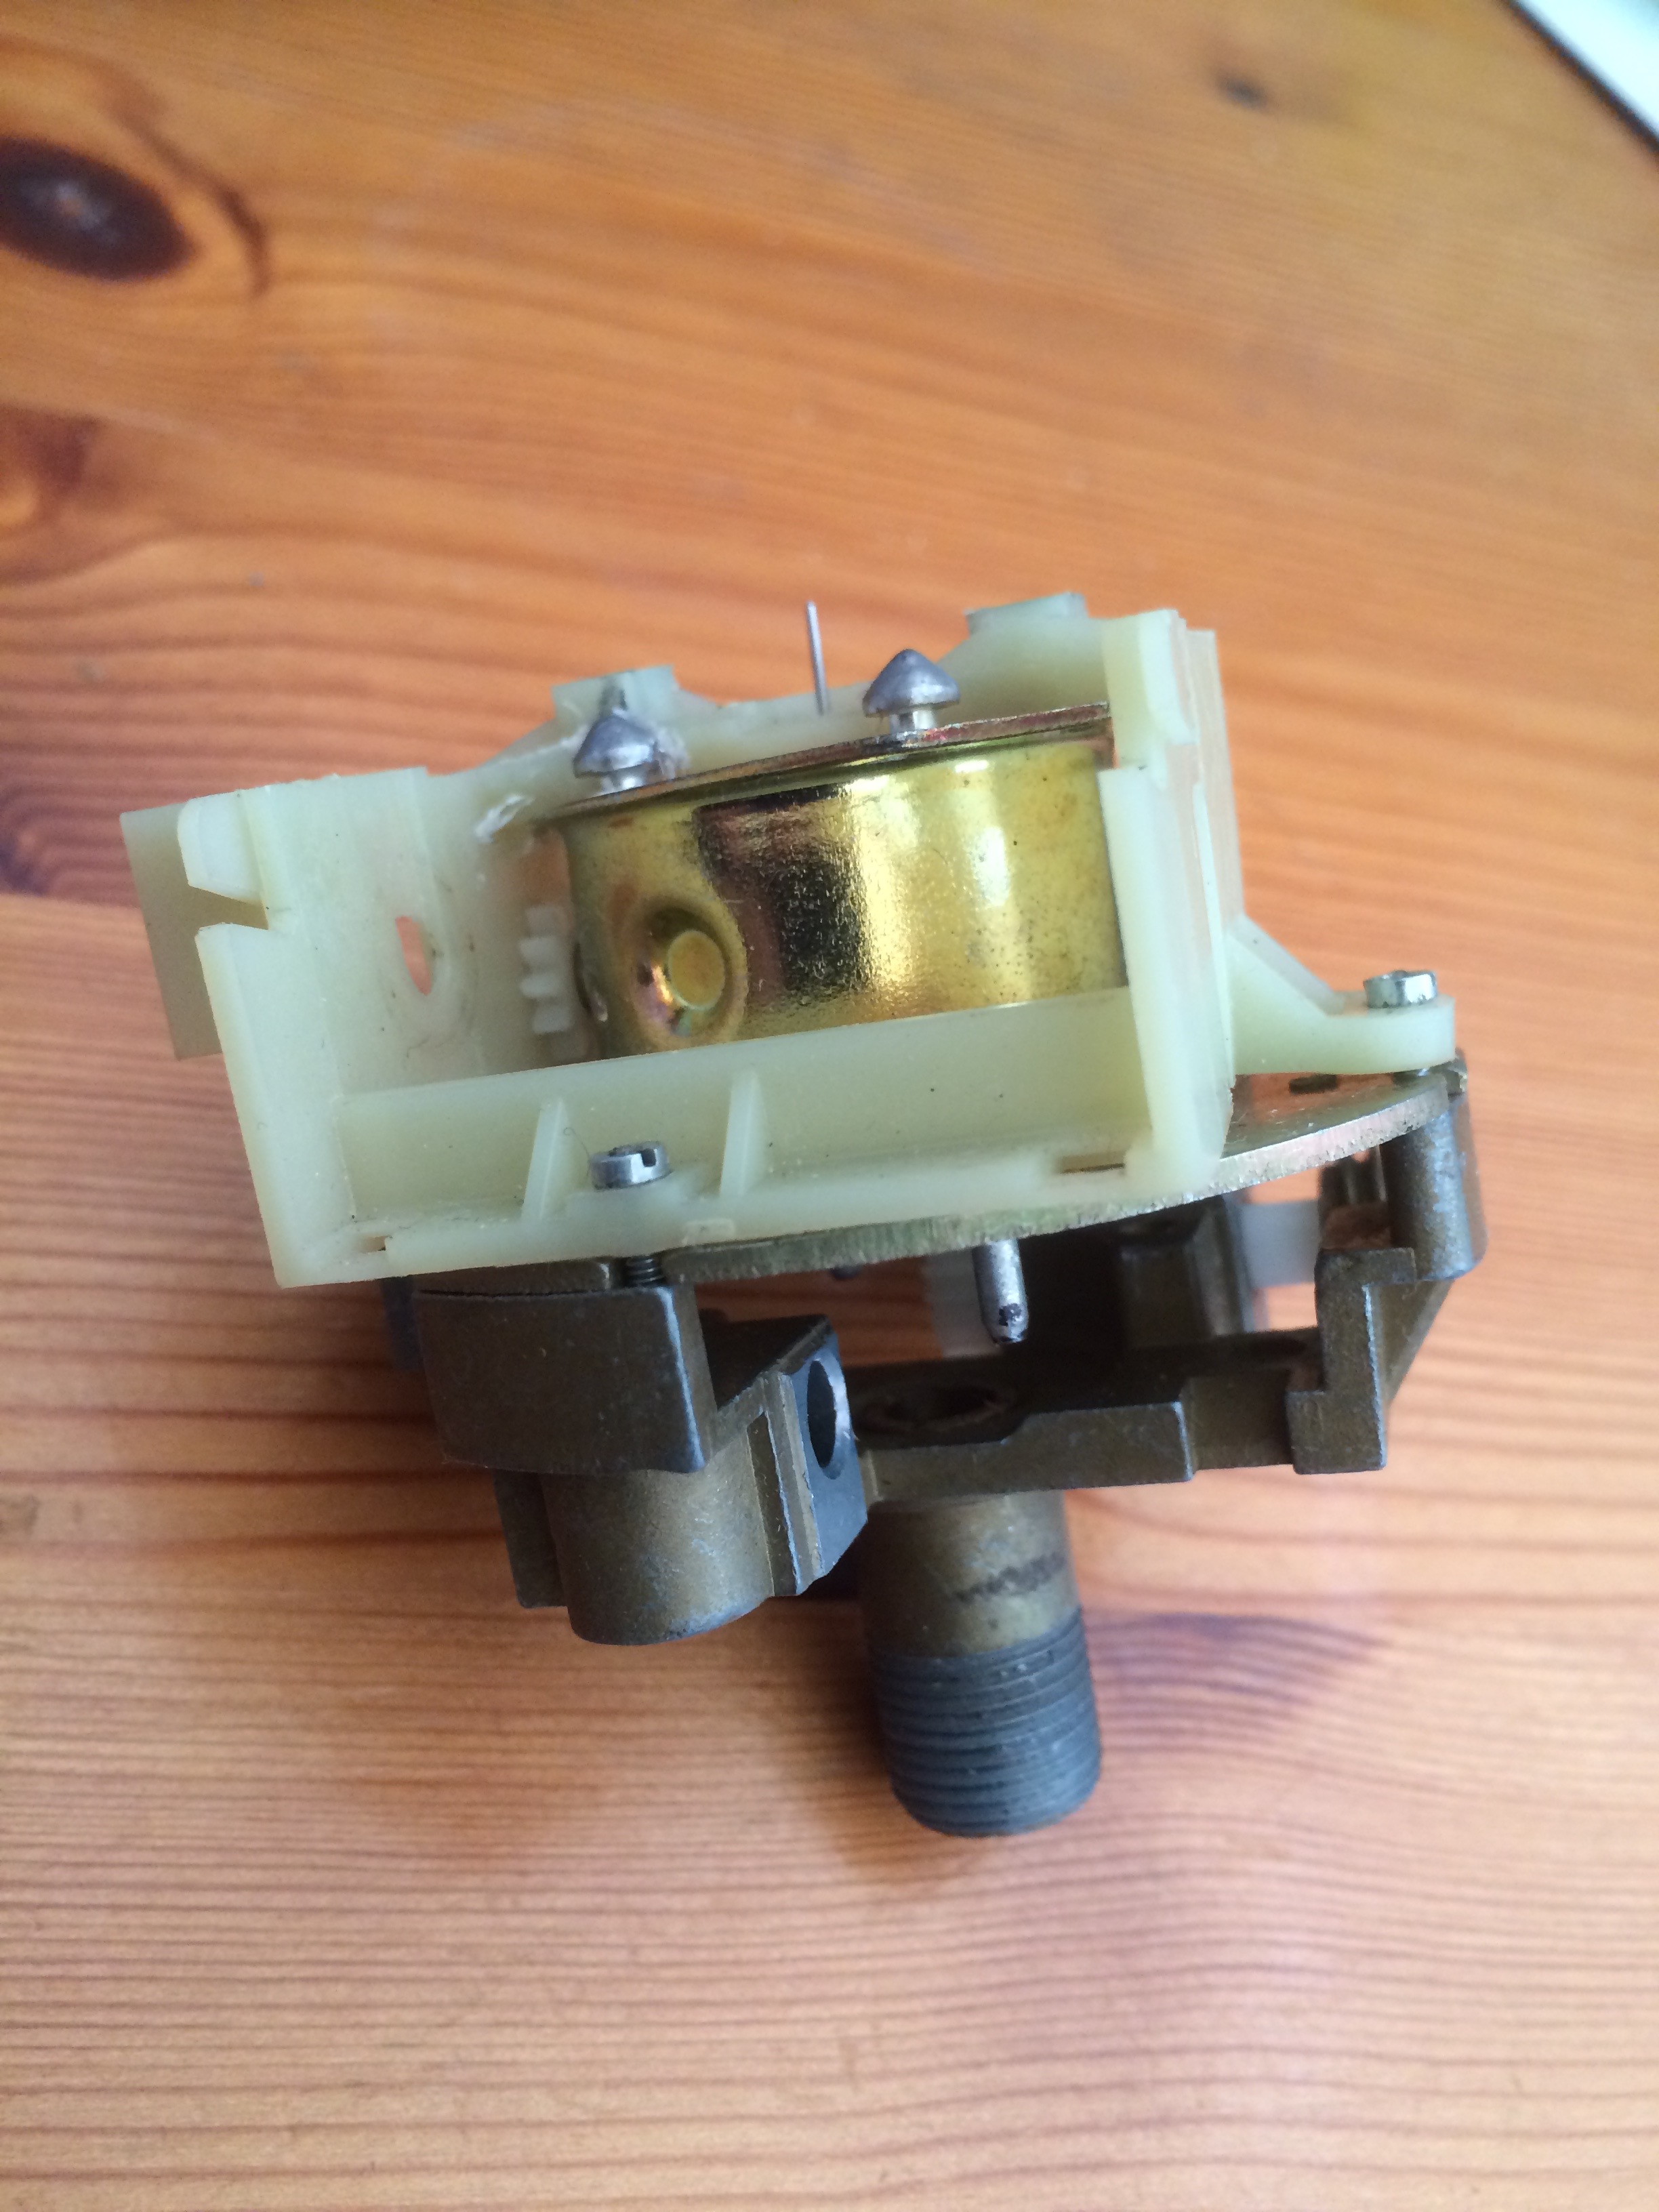
I did test fit the electronics to the original speedo and it looks like this will work out OK. The photos below show the initial attempt. It still requires some finessing so the plastic is not under stress, but it looks like I can get it to fit inside the original gauge.
Motor test fit
Initial motor test install
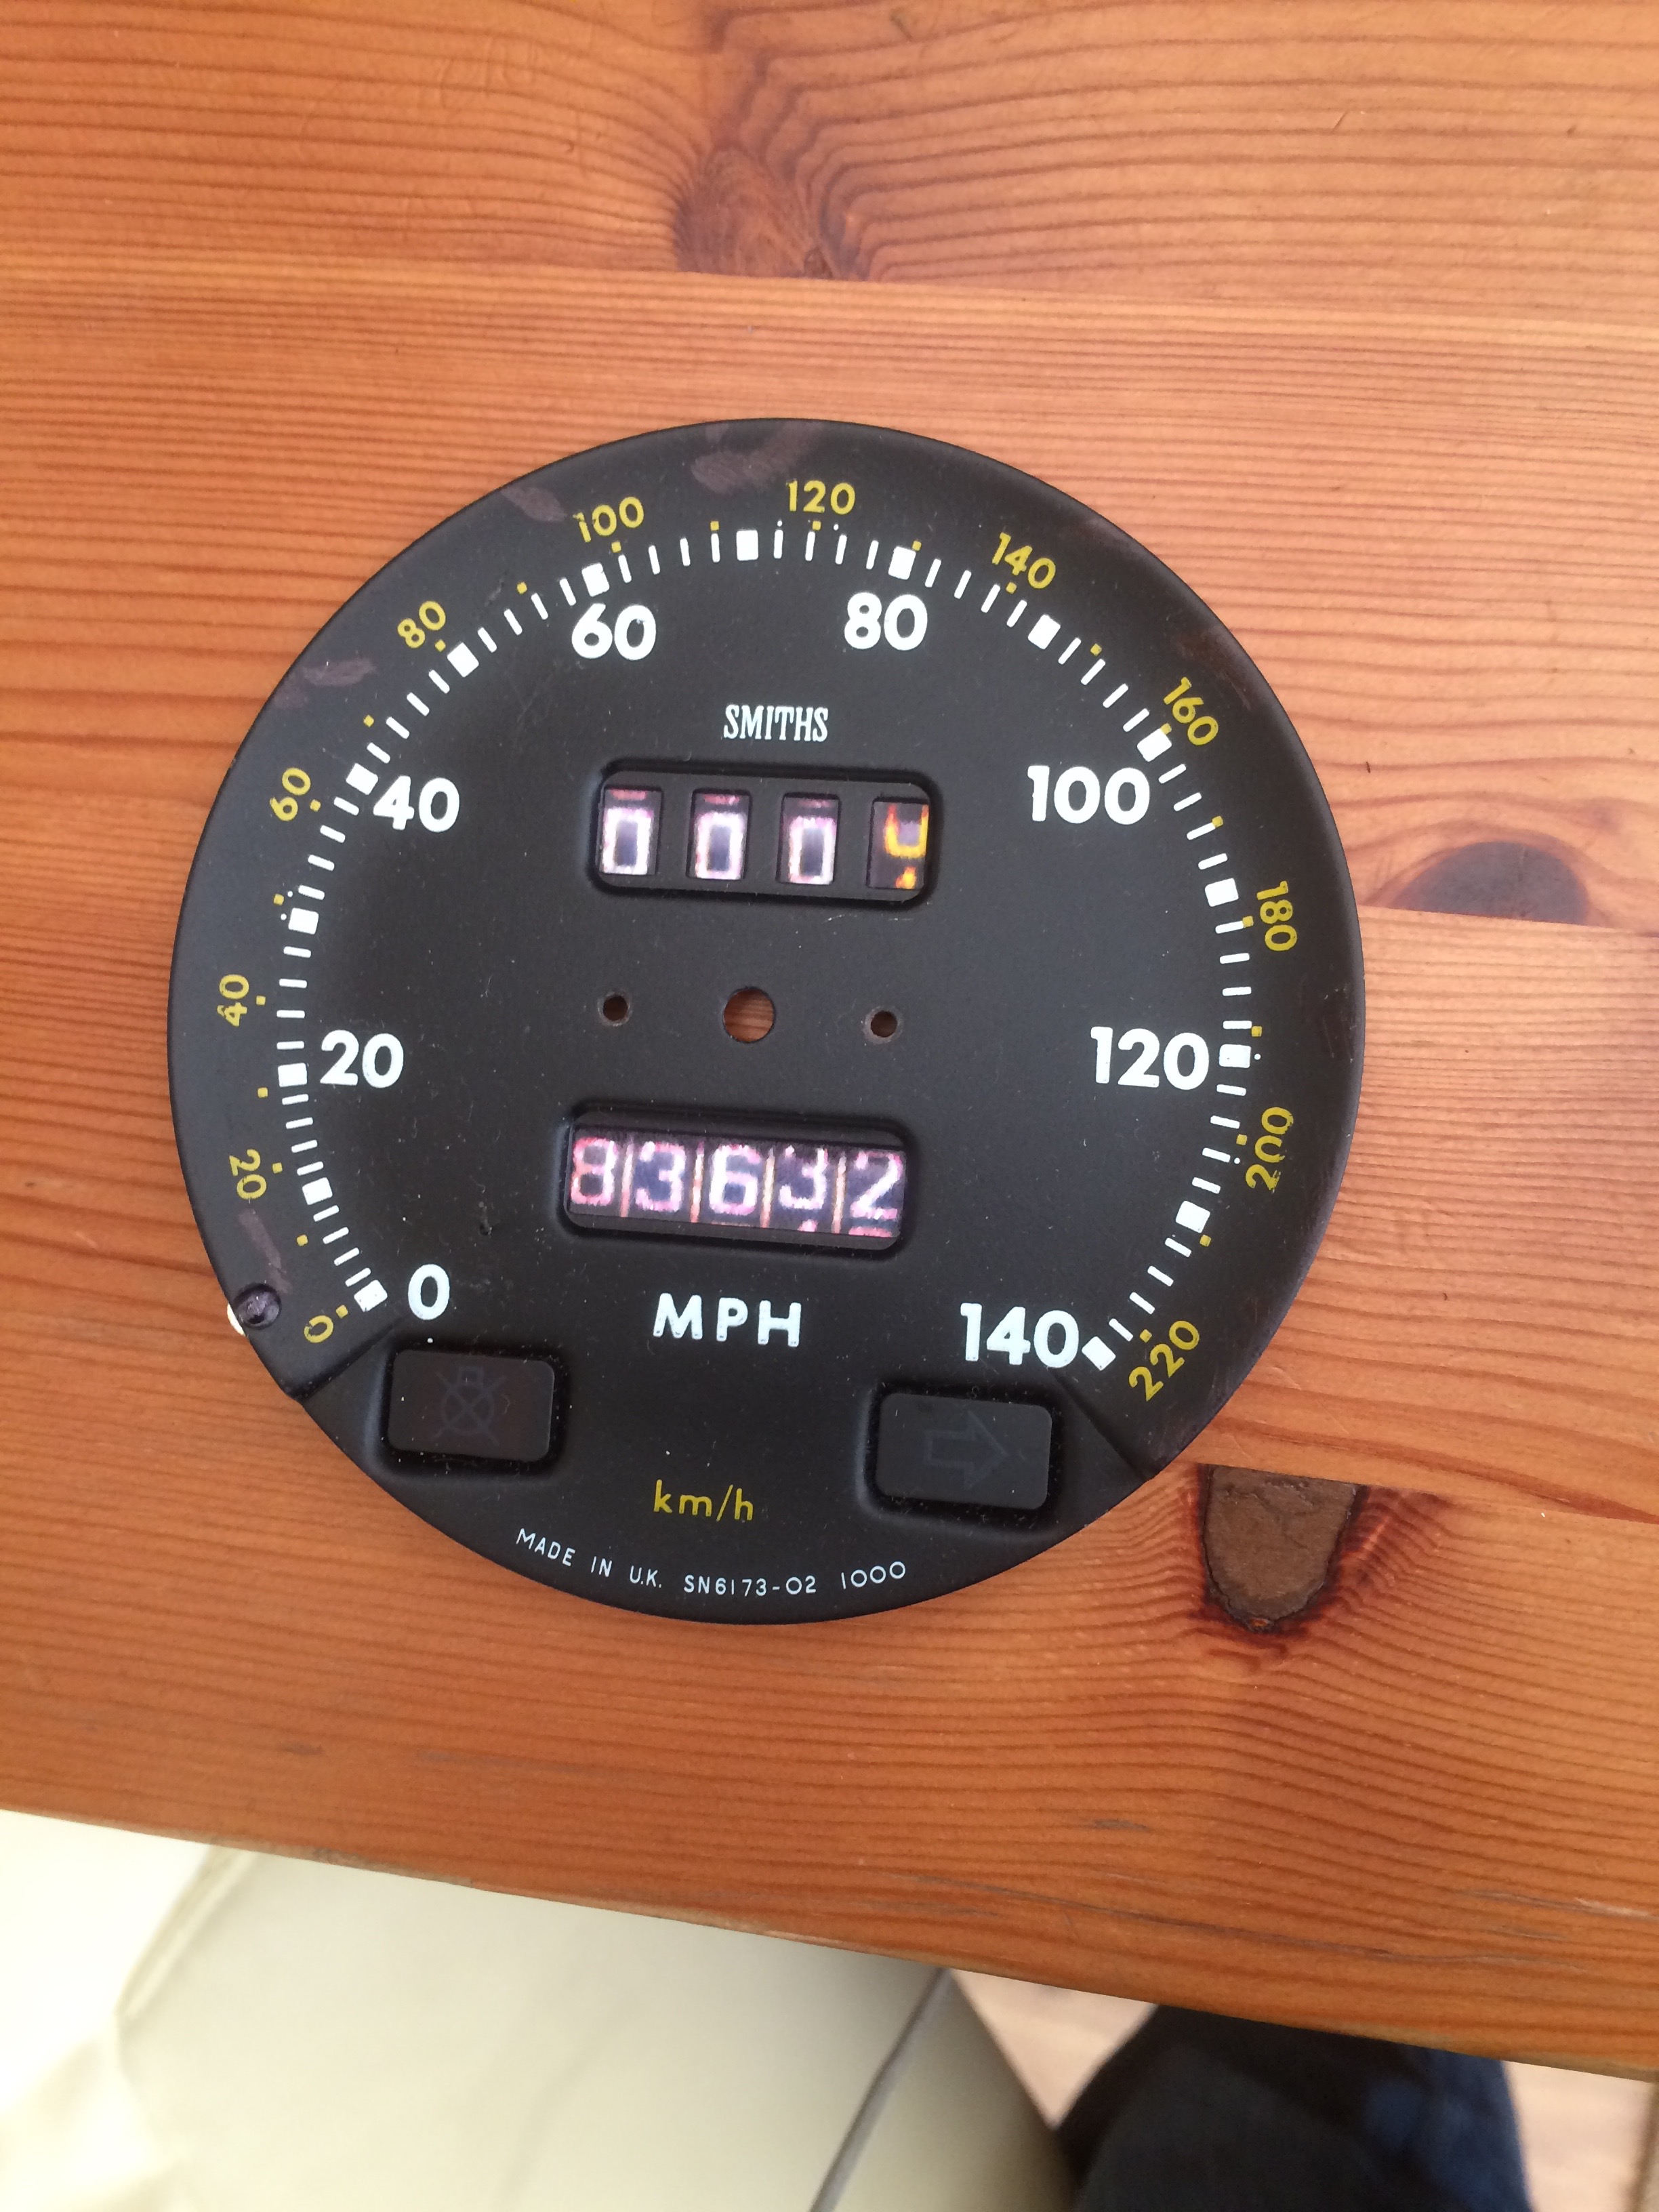
One issue is that there is a gap for the trip and mileometer in the gauge. I resolved this by taking a photo of the original gauge with the trip and mileometer in place. I then printed out the photo and stuck it behind the faceplate aligned with the holes. It looks quite effective even it it will not rotate. Note this test configuration used poor quality photo paper so it seems to have gone a little reddish whilst sitting in the garage for about a year. I will do another one and maybe laminate or spray clear coat over it to keep out the elements.
Speedo with fake mileometer
I will need to divide the input signal down to reduce the rate. It is directly 15 times slower however I have yet to do the calculations regarding the rear end differential ratios and tyre diameters so it will need adjustment. To logically divide a signal by 16 is pretty straight forward so I will start there and adjust the analogue feed to the gauge to adjust to get a representative speed.
The circuit board that drives the XJR gauges is planned to be installed to the left hand side of the drivers foot well under the console
Wow thats a lot to contend with but thats the plan with no doubt loads more to decide upon and try to resolve as I go along.
I decided to replace the original normally aspirated 4.2L engine with a Supercharged 4.0L engine from an X300 XJR.
Why would you want to do that you might ask?
Well a number of reasons as per below:
The car is of little financial value and with the amount of restoration already taken place and still required it cannot be considered original so why not?
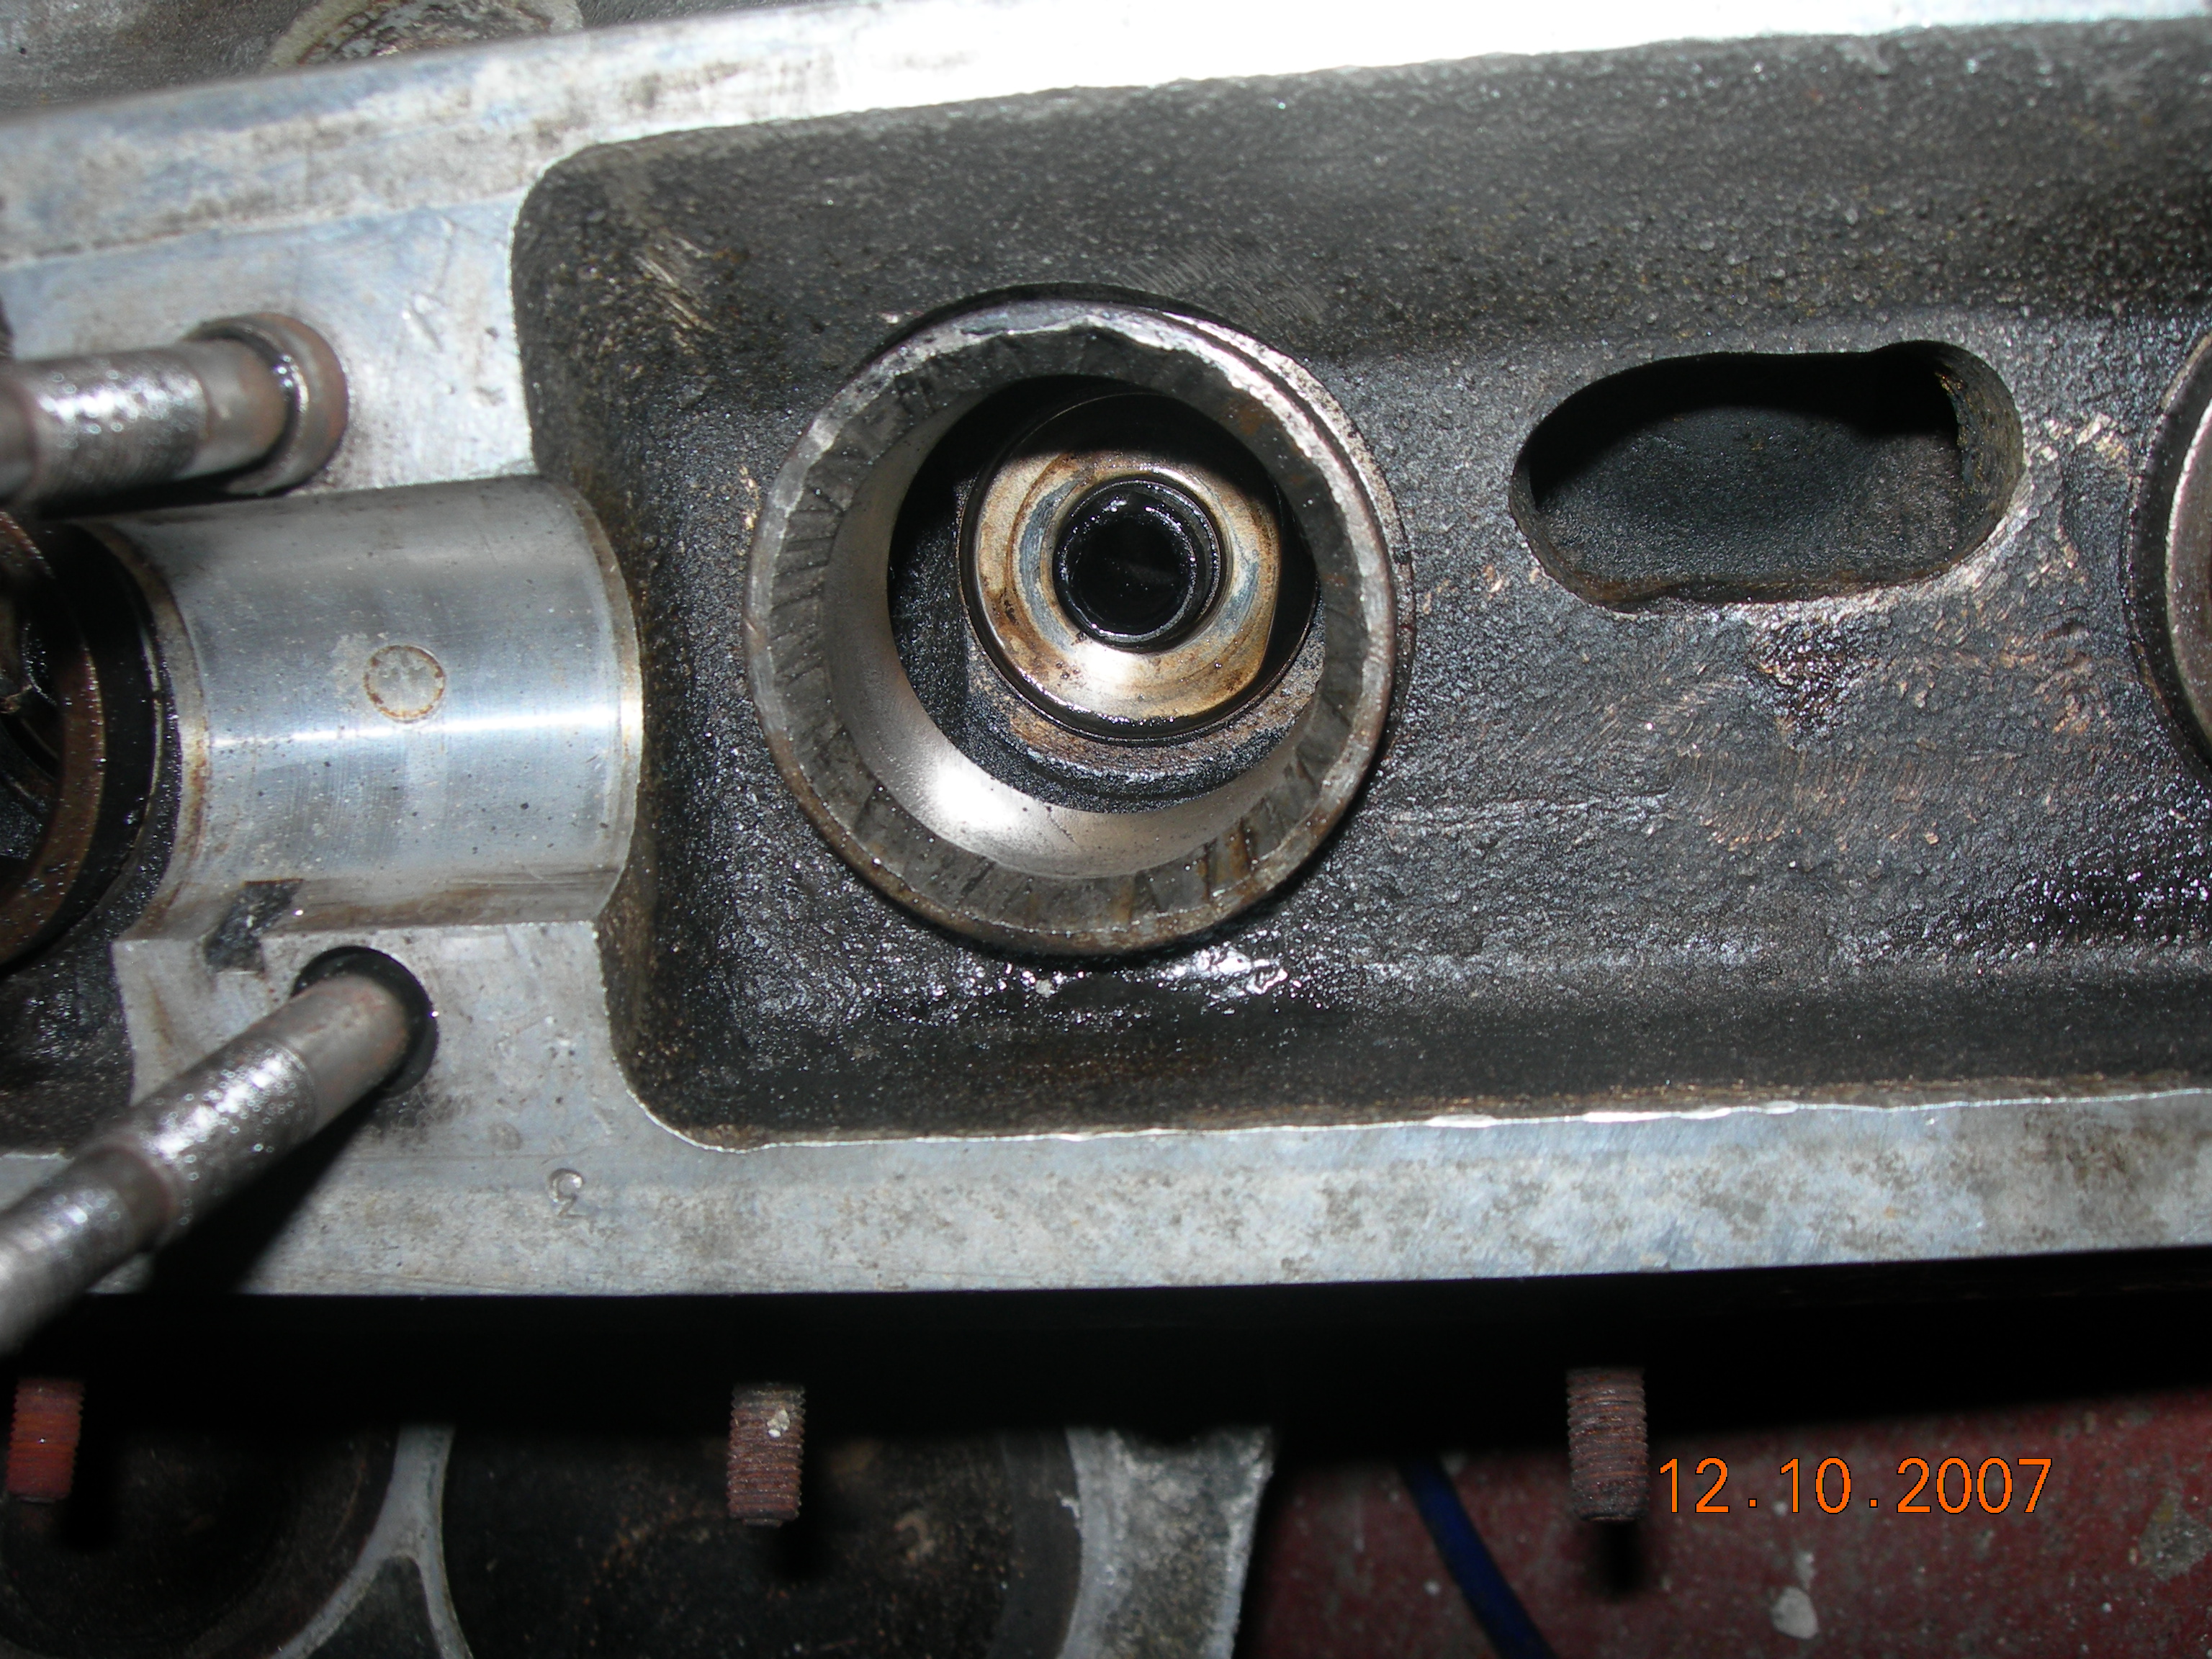
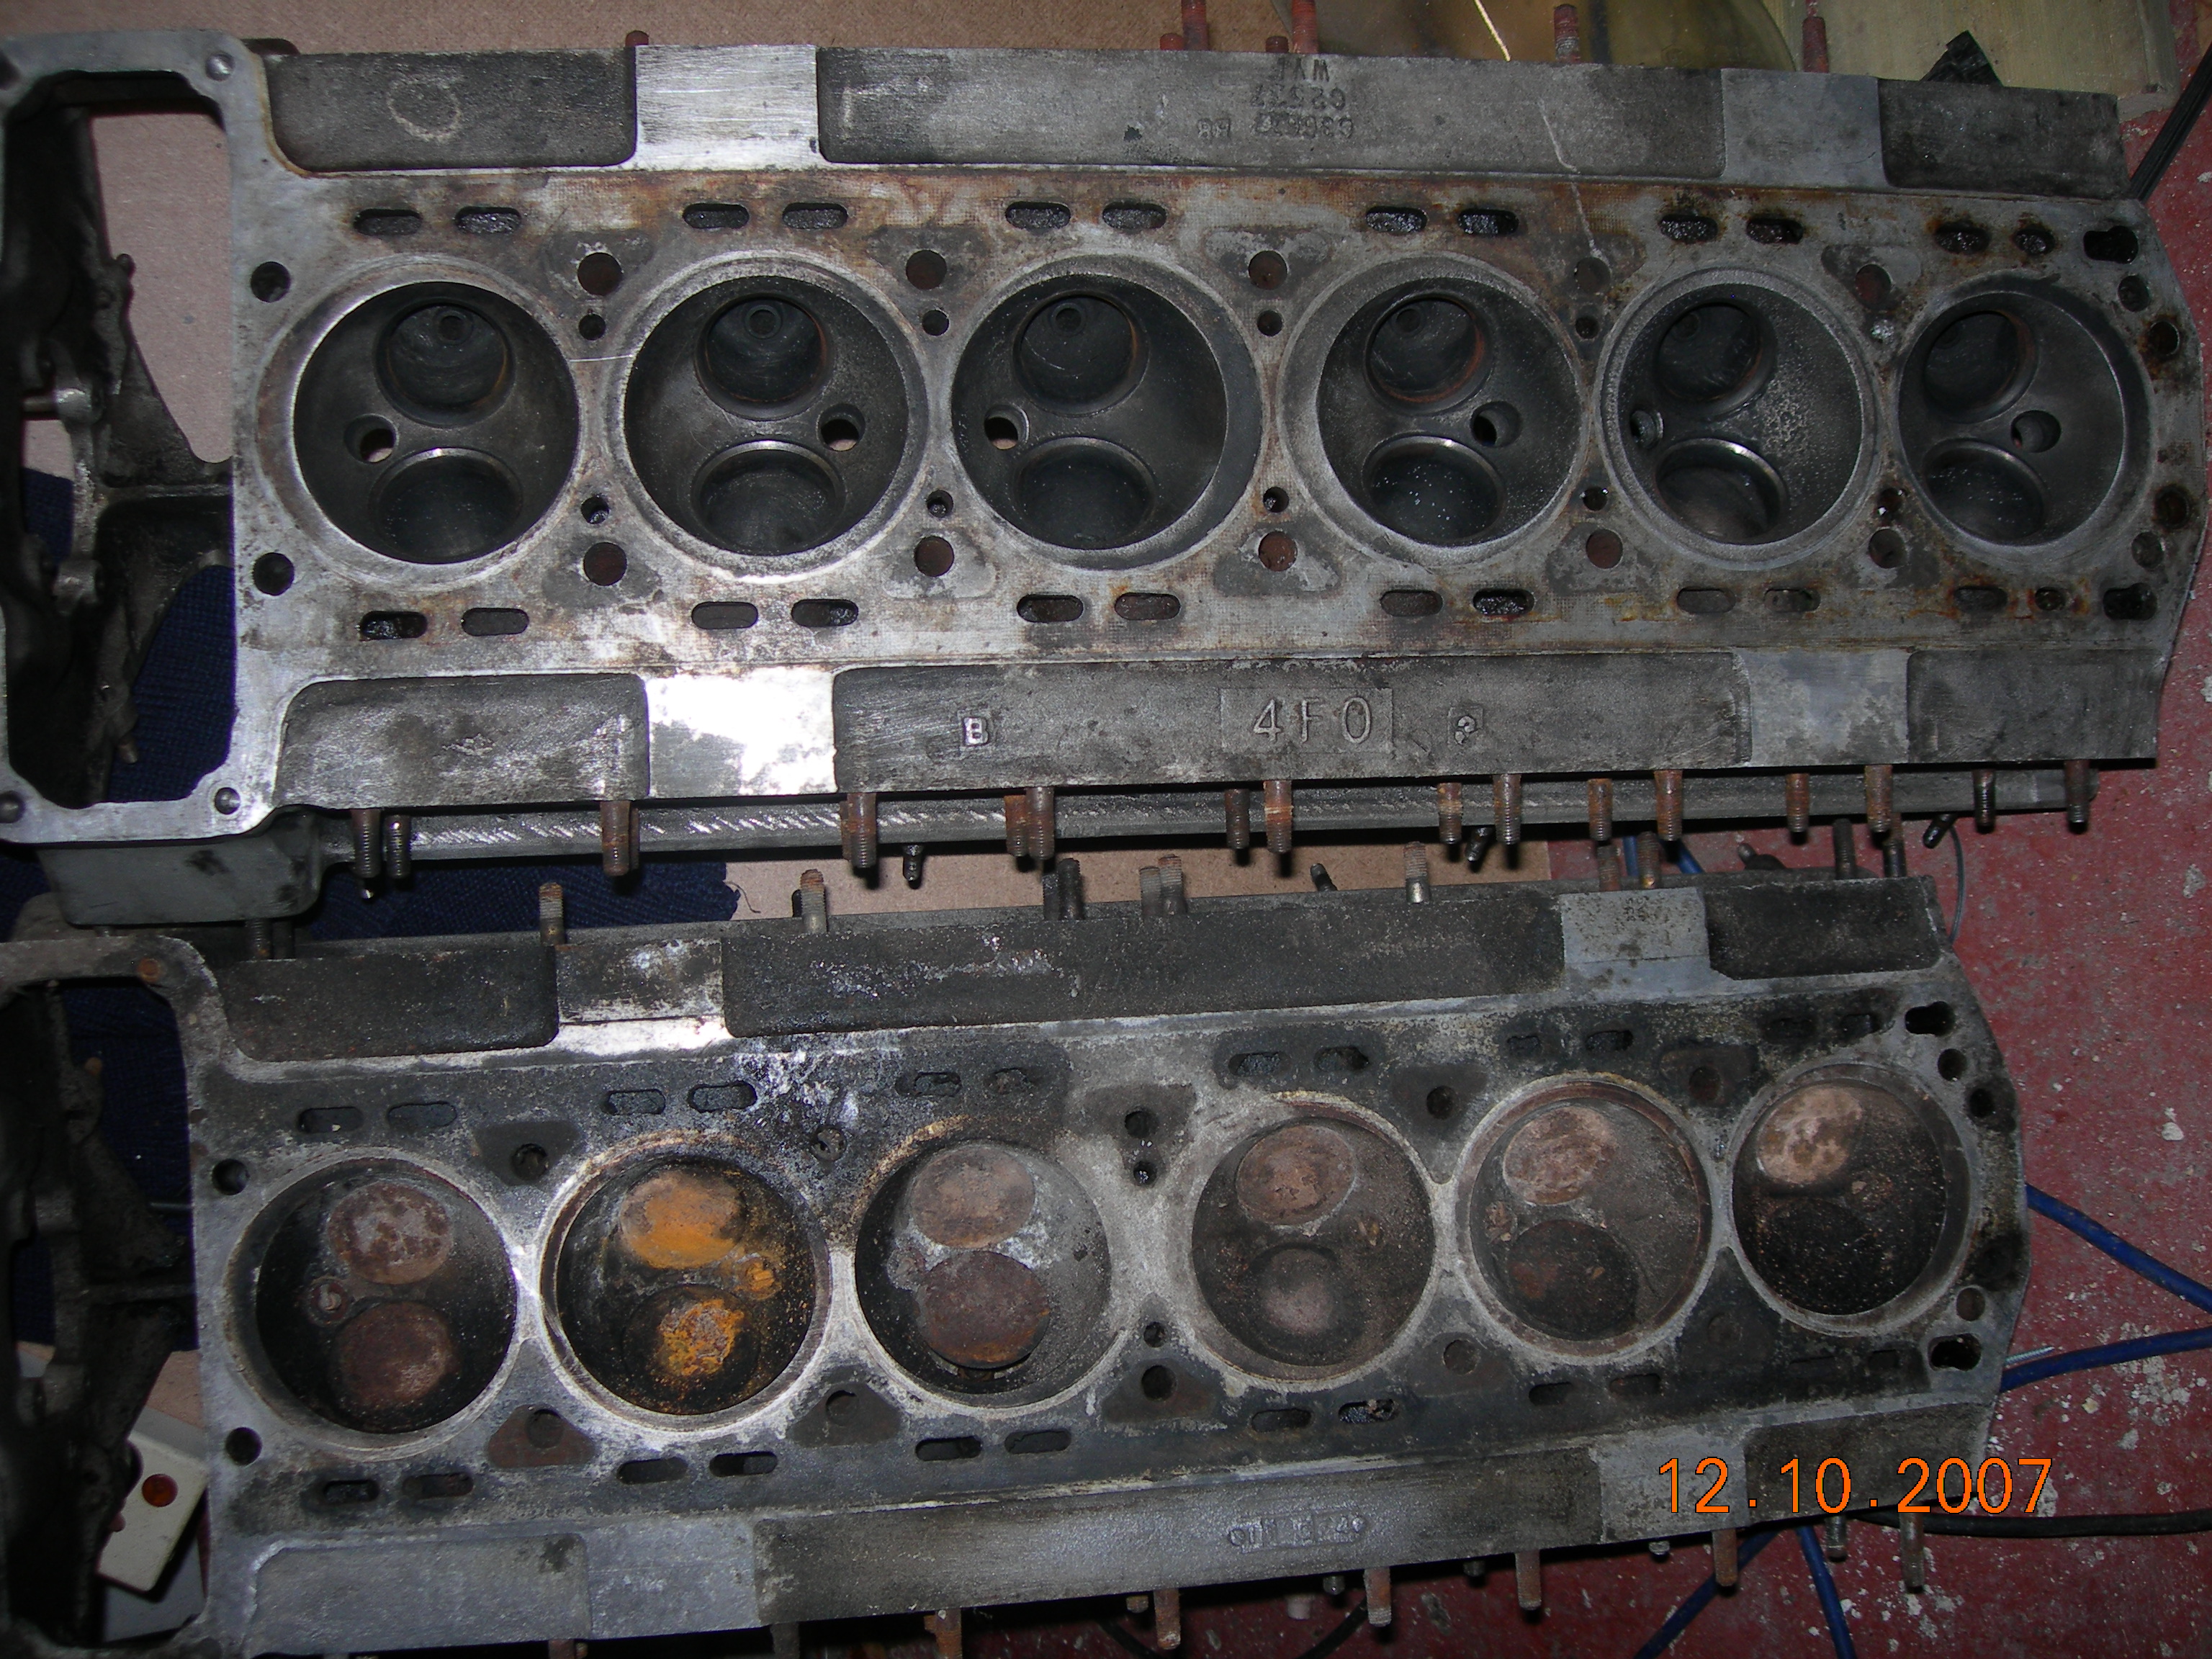
Considering the state of the cylinder heads, a complete engine rebuild is probably the best way forward but will cost a few hundred pounds at least
It will be something a little different from even the very few Series 2 XJ6s I occasionally come across
I have seen an E-type with the same engine so I am not necessarily the only person considering this
It will be more of a challenge to sort out all the electronics and associated issues
The X300 XJRs do rust a fair bit and so a complete car can be purchased for a silly amount of money!
So a few ground rules!
Limit the amount of modifications to the car so it can be undone reasonably easily and retain any parts swapped out – keep the original engine & gearbox for example
Limit the amount of holes drilled in the chassis where possible
Limit the outwardly visible changes to a minimum
discrete addition of some kind of XJR badge and maybe 4.0 instead of 4.2
use same wheels
It may be nice to add all of the features of the newer car but there is a point that you need to stop!
I therefore went and purchased a 1996 XJR from that well known online auction site for just over £750 and with new enthusiasm the challenge really begins!
XJR as purchased in 2013 – totally taken apart, Body scrapped, most parts sold but keeping a lot too for the rebuild.
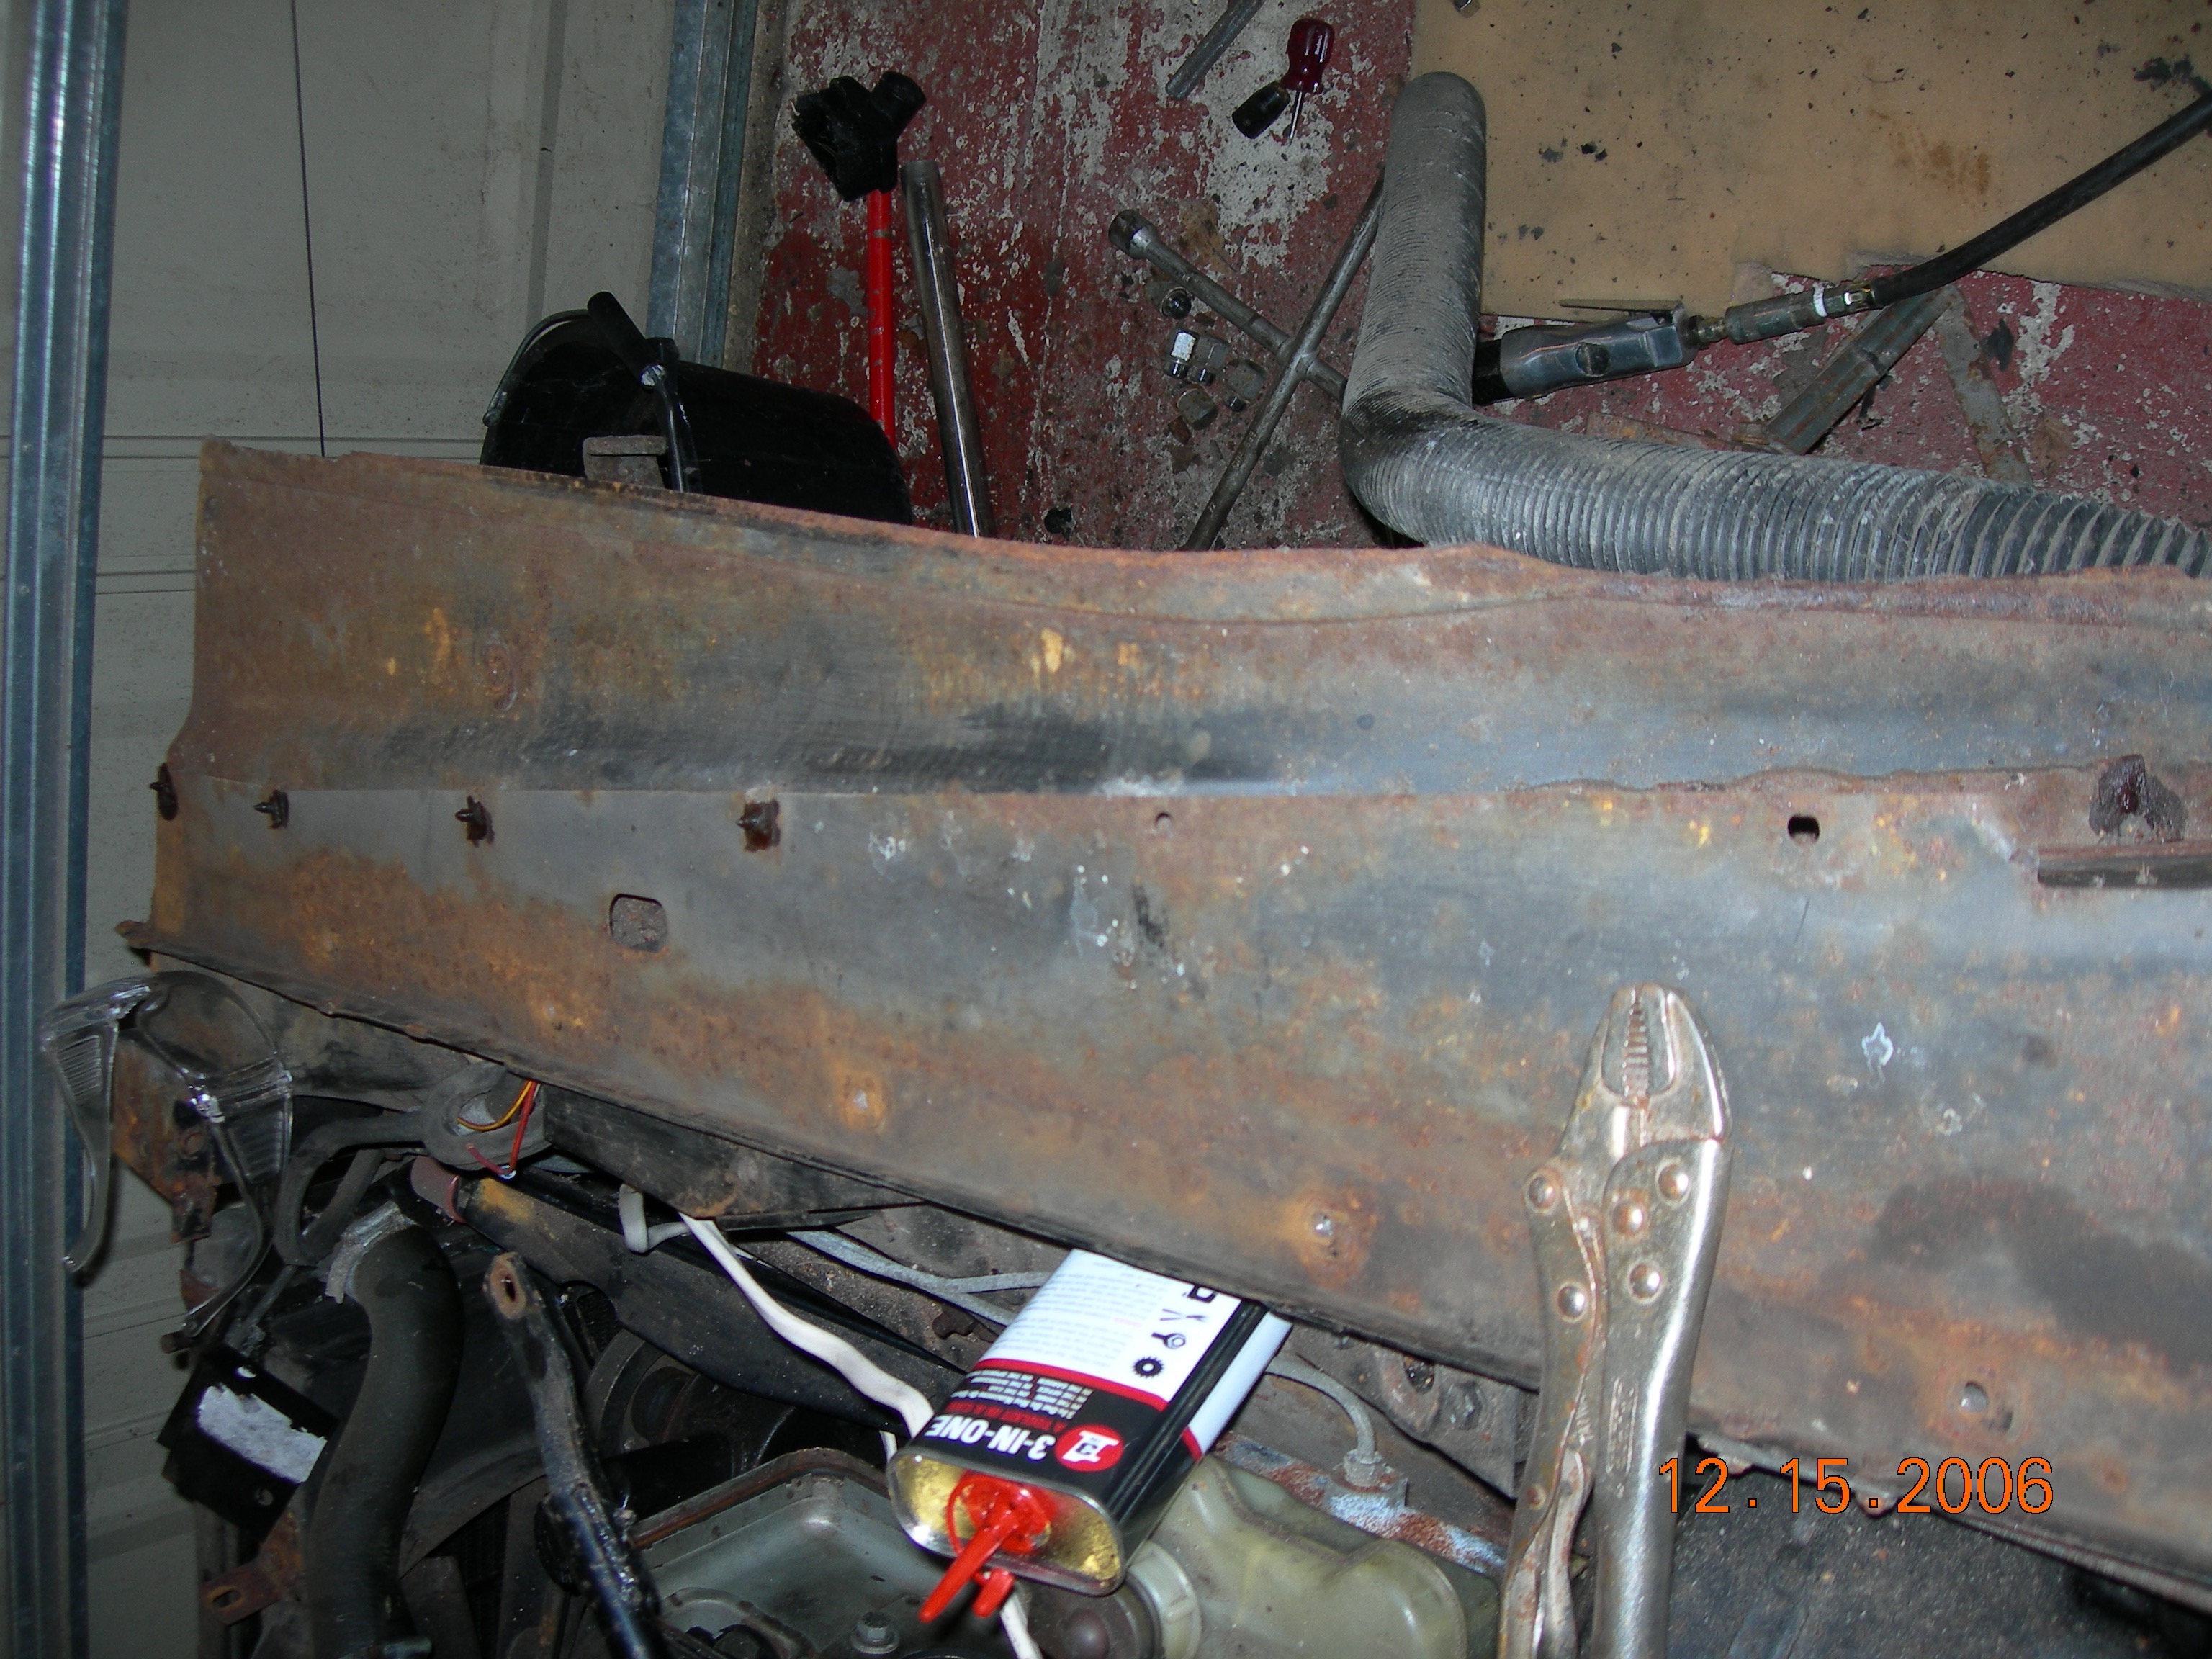
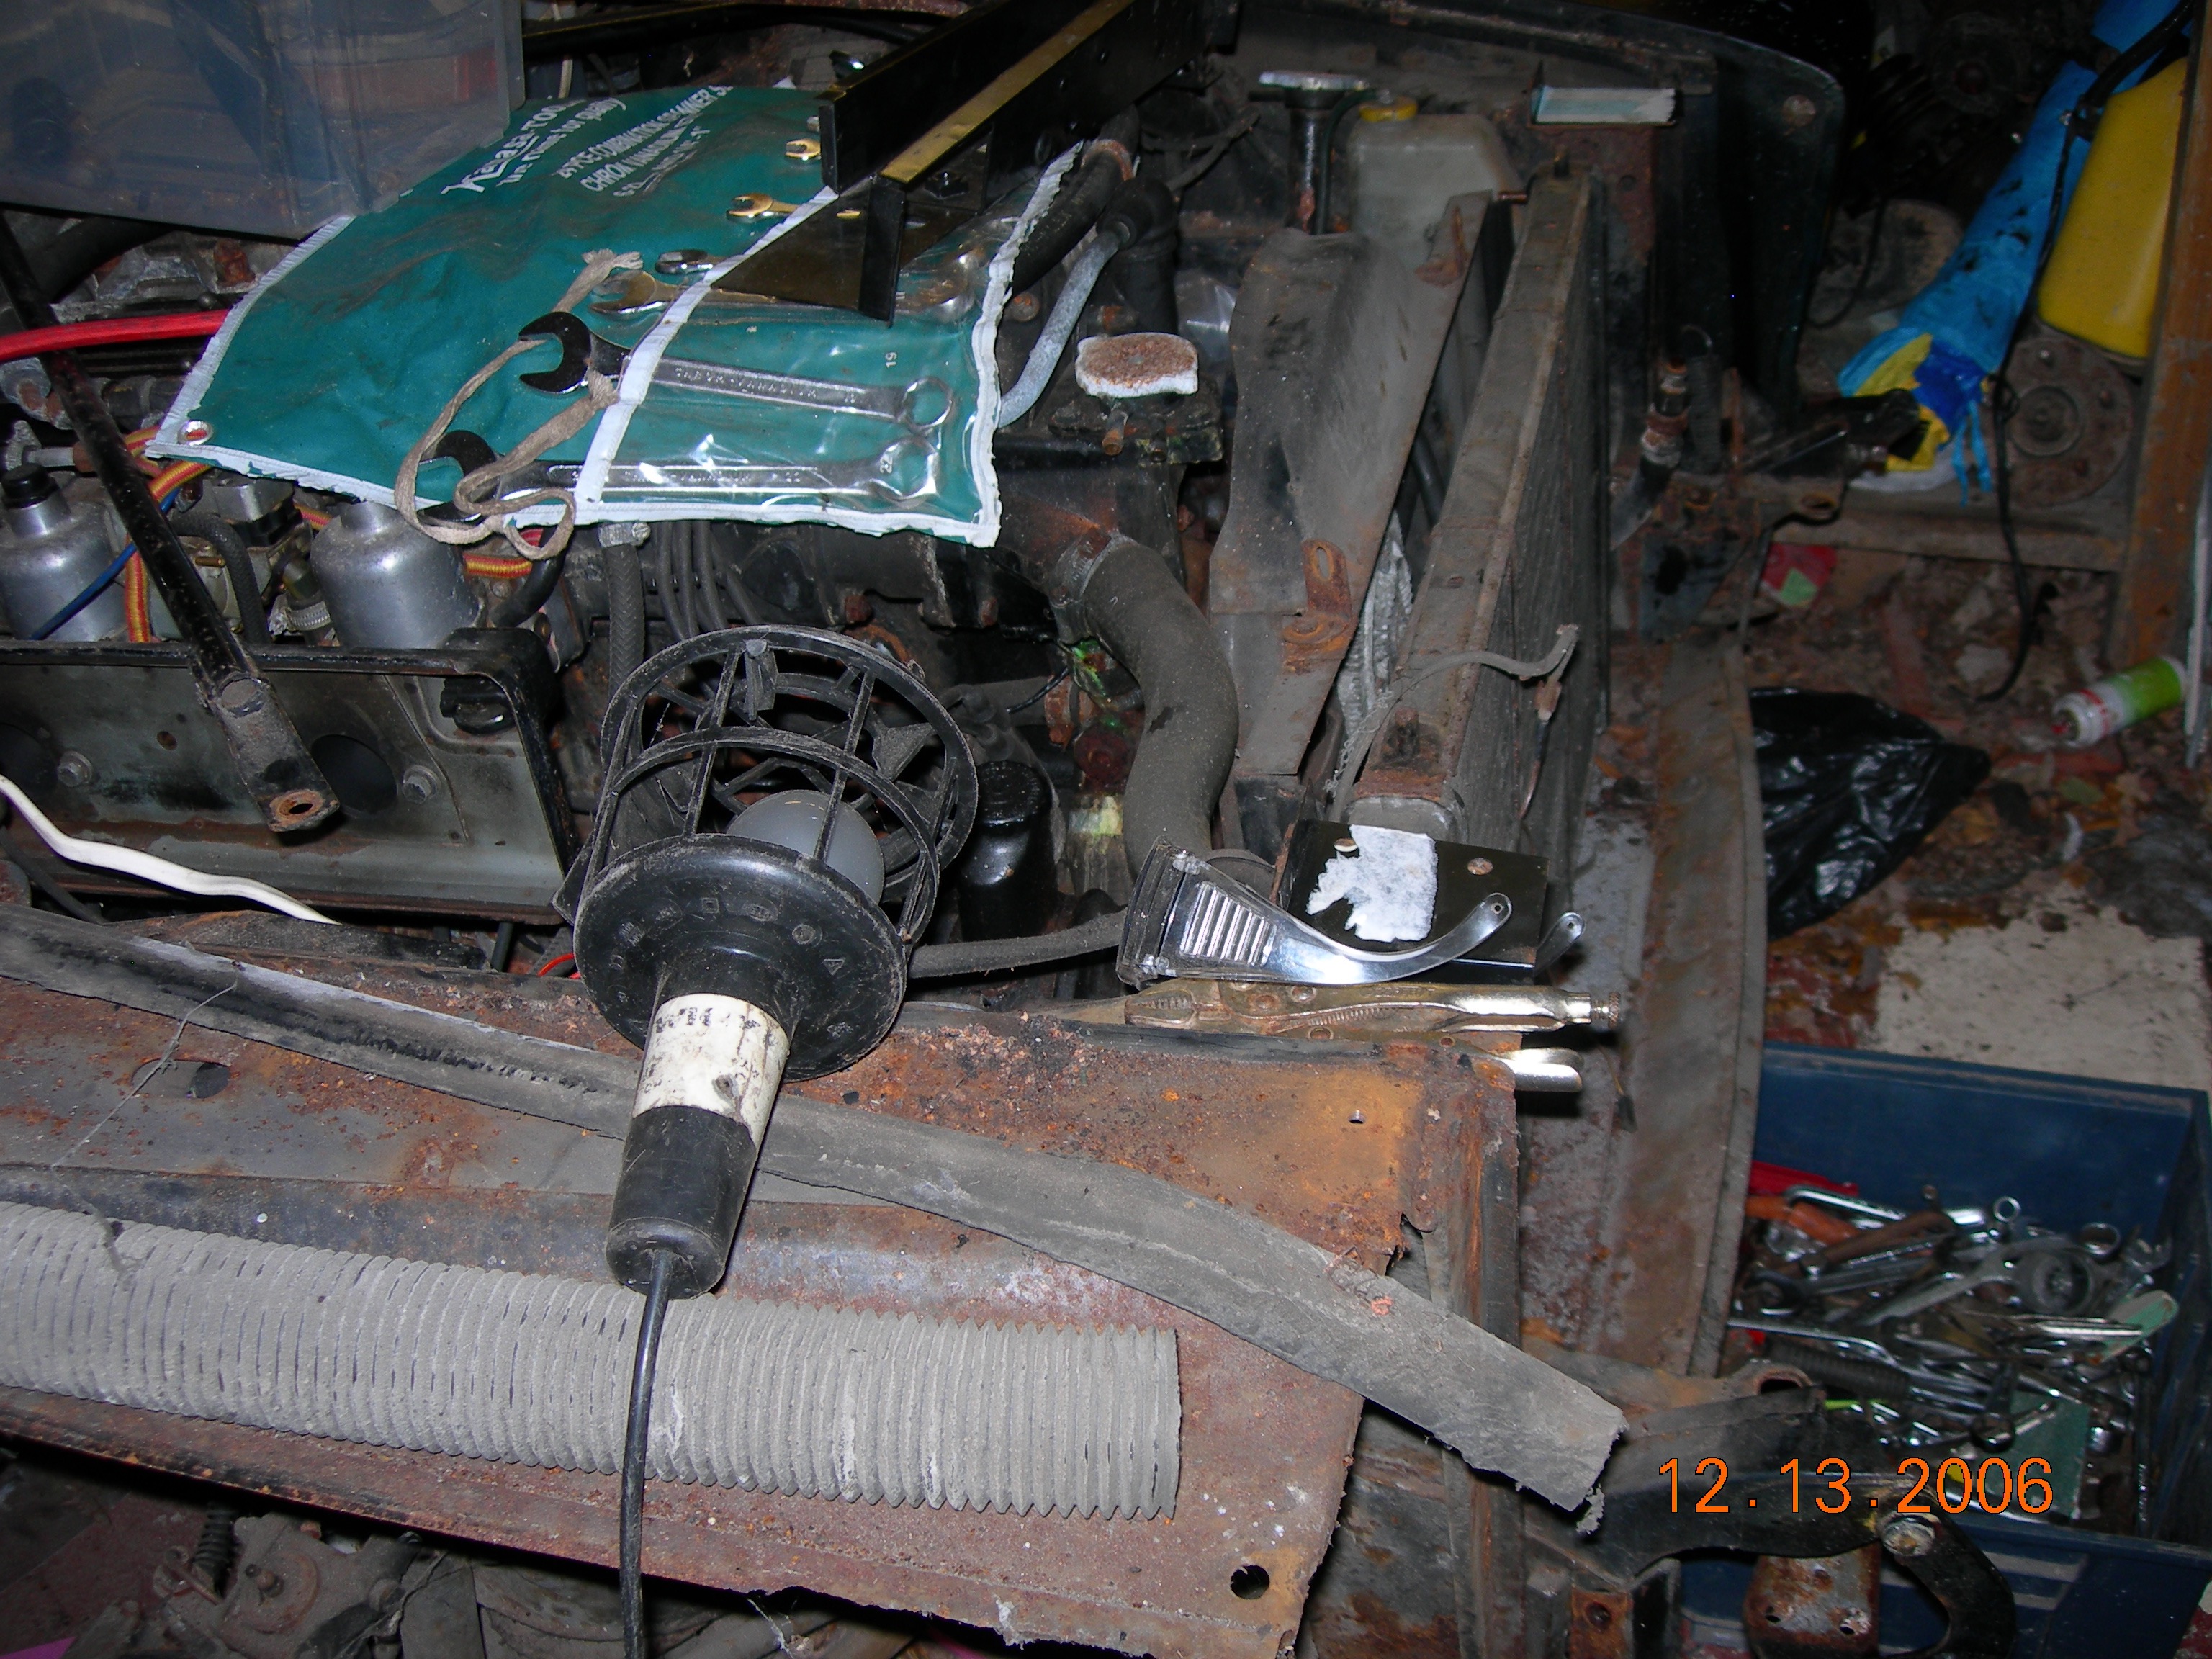
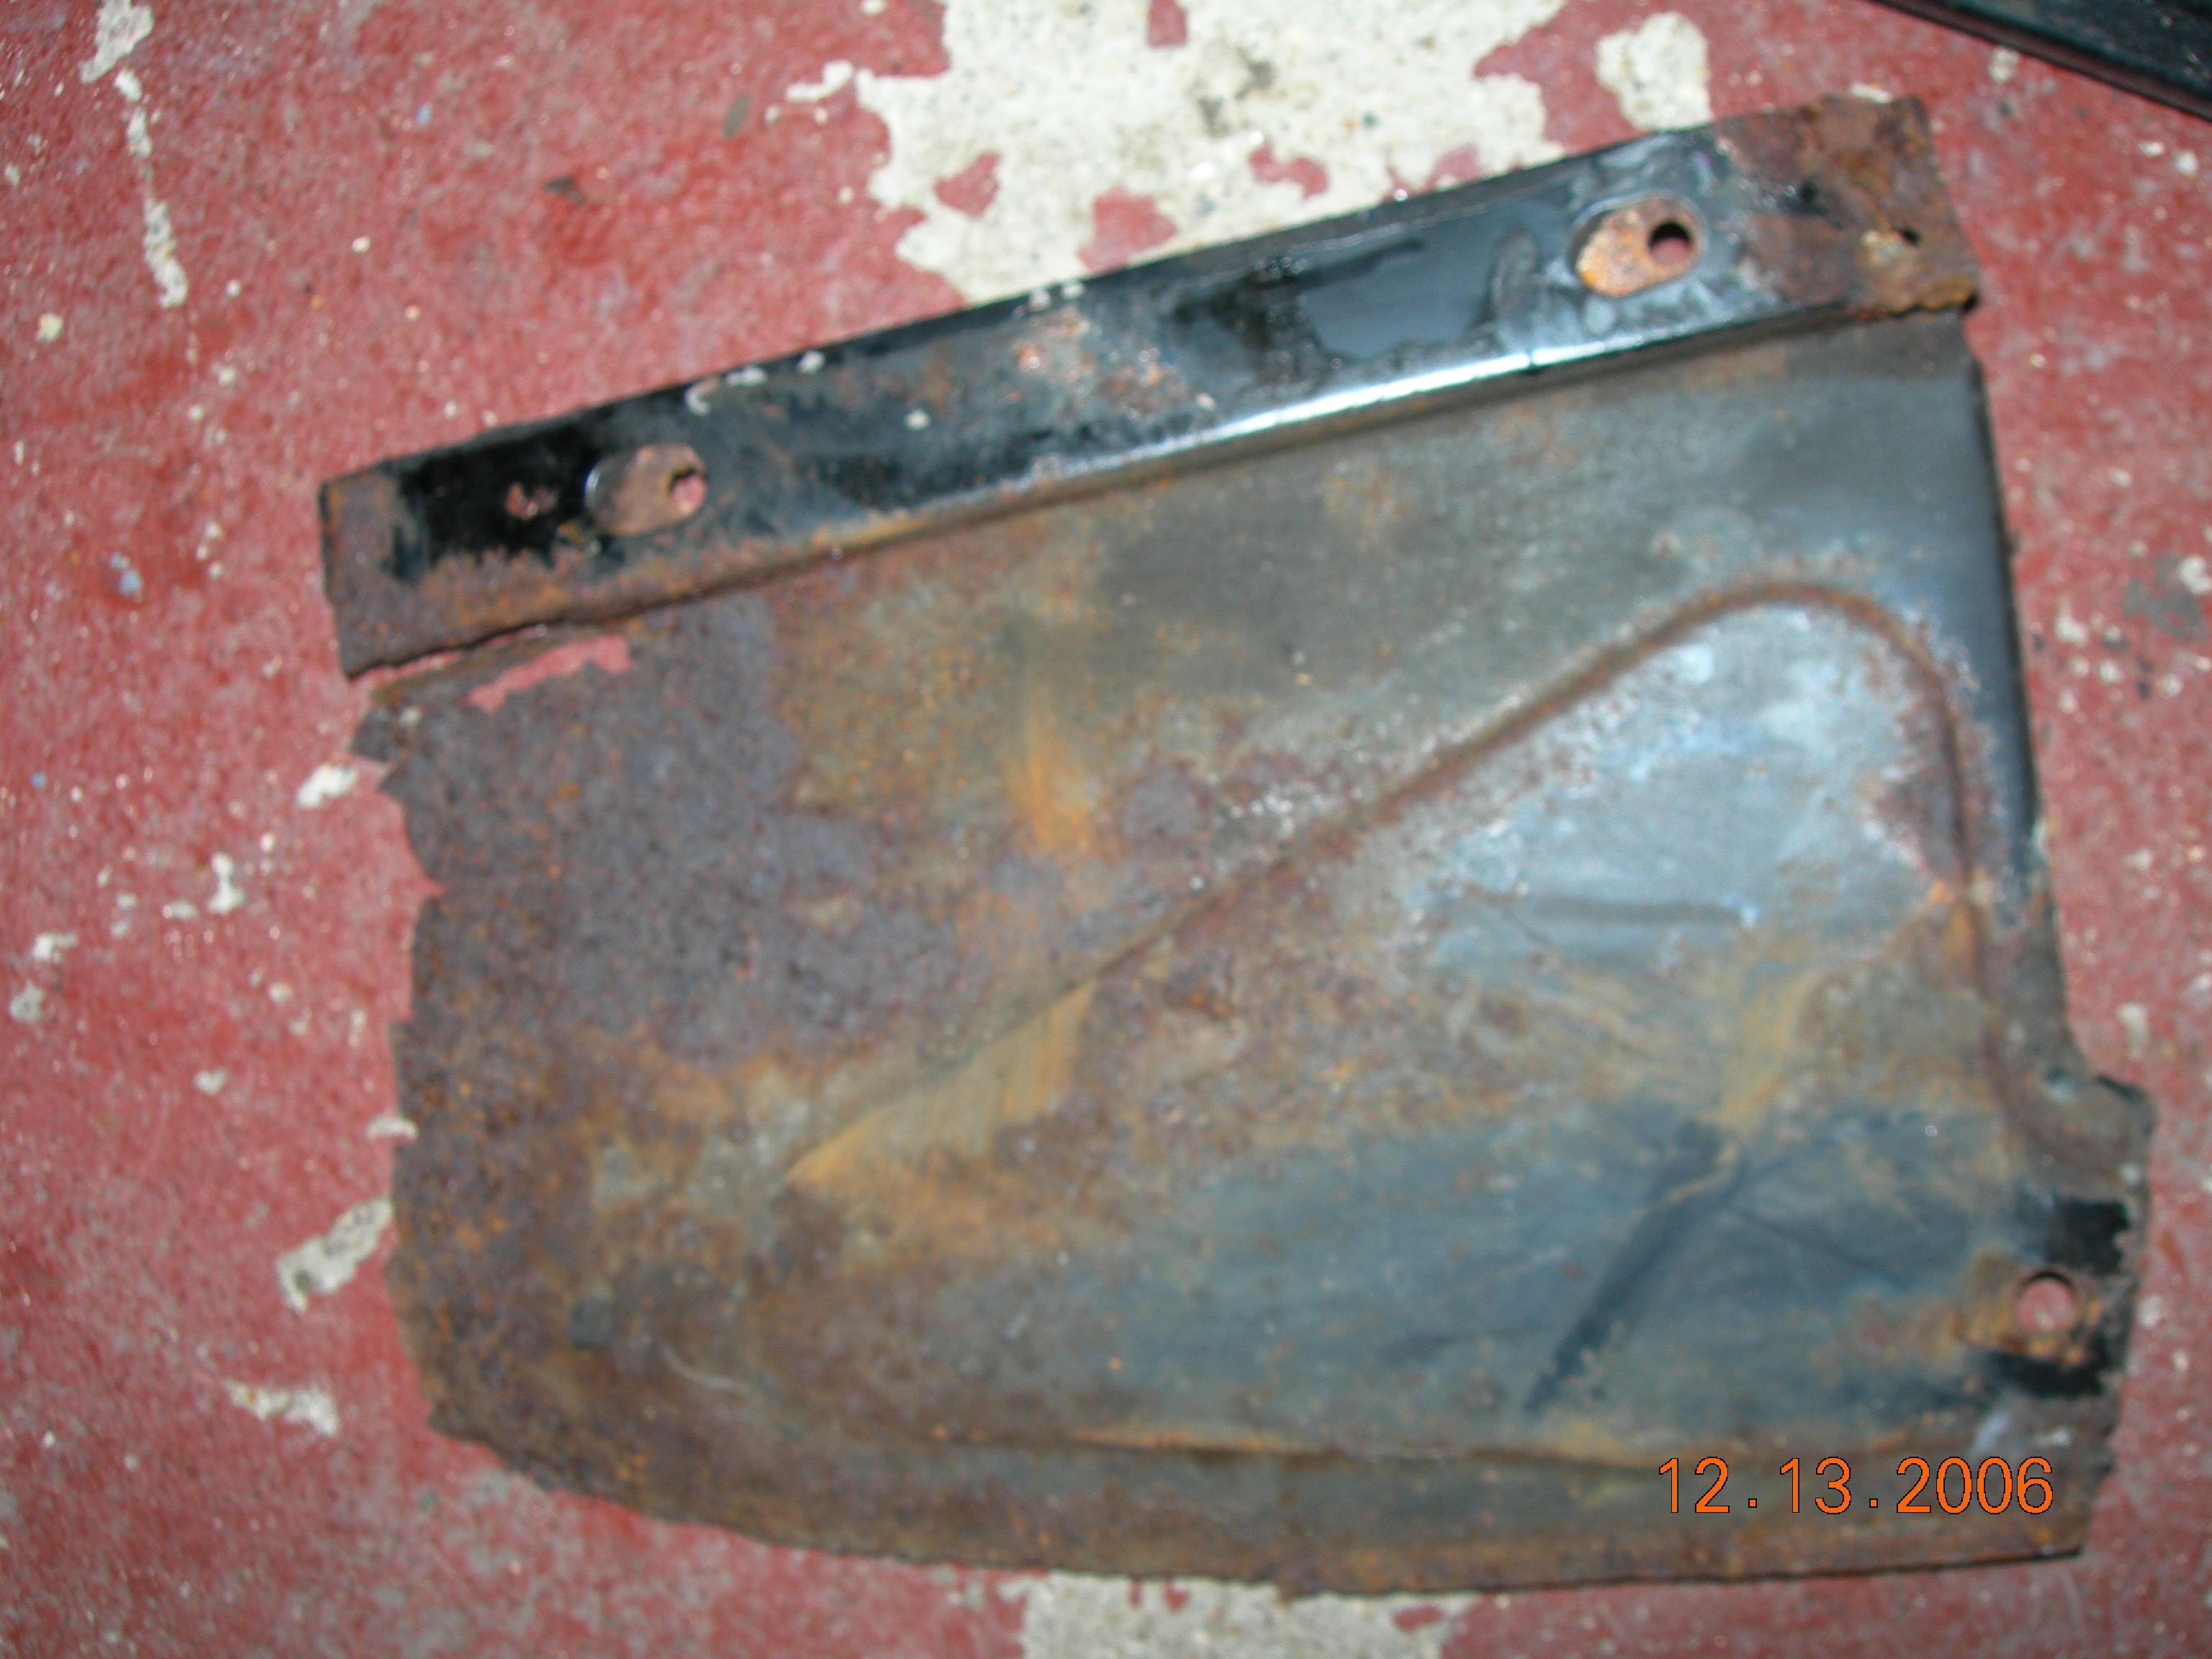
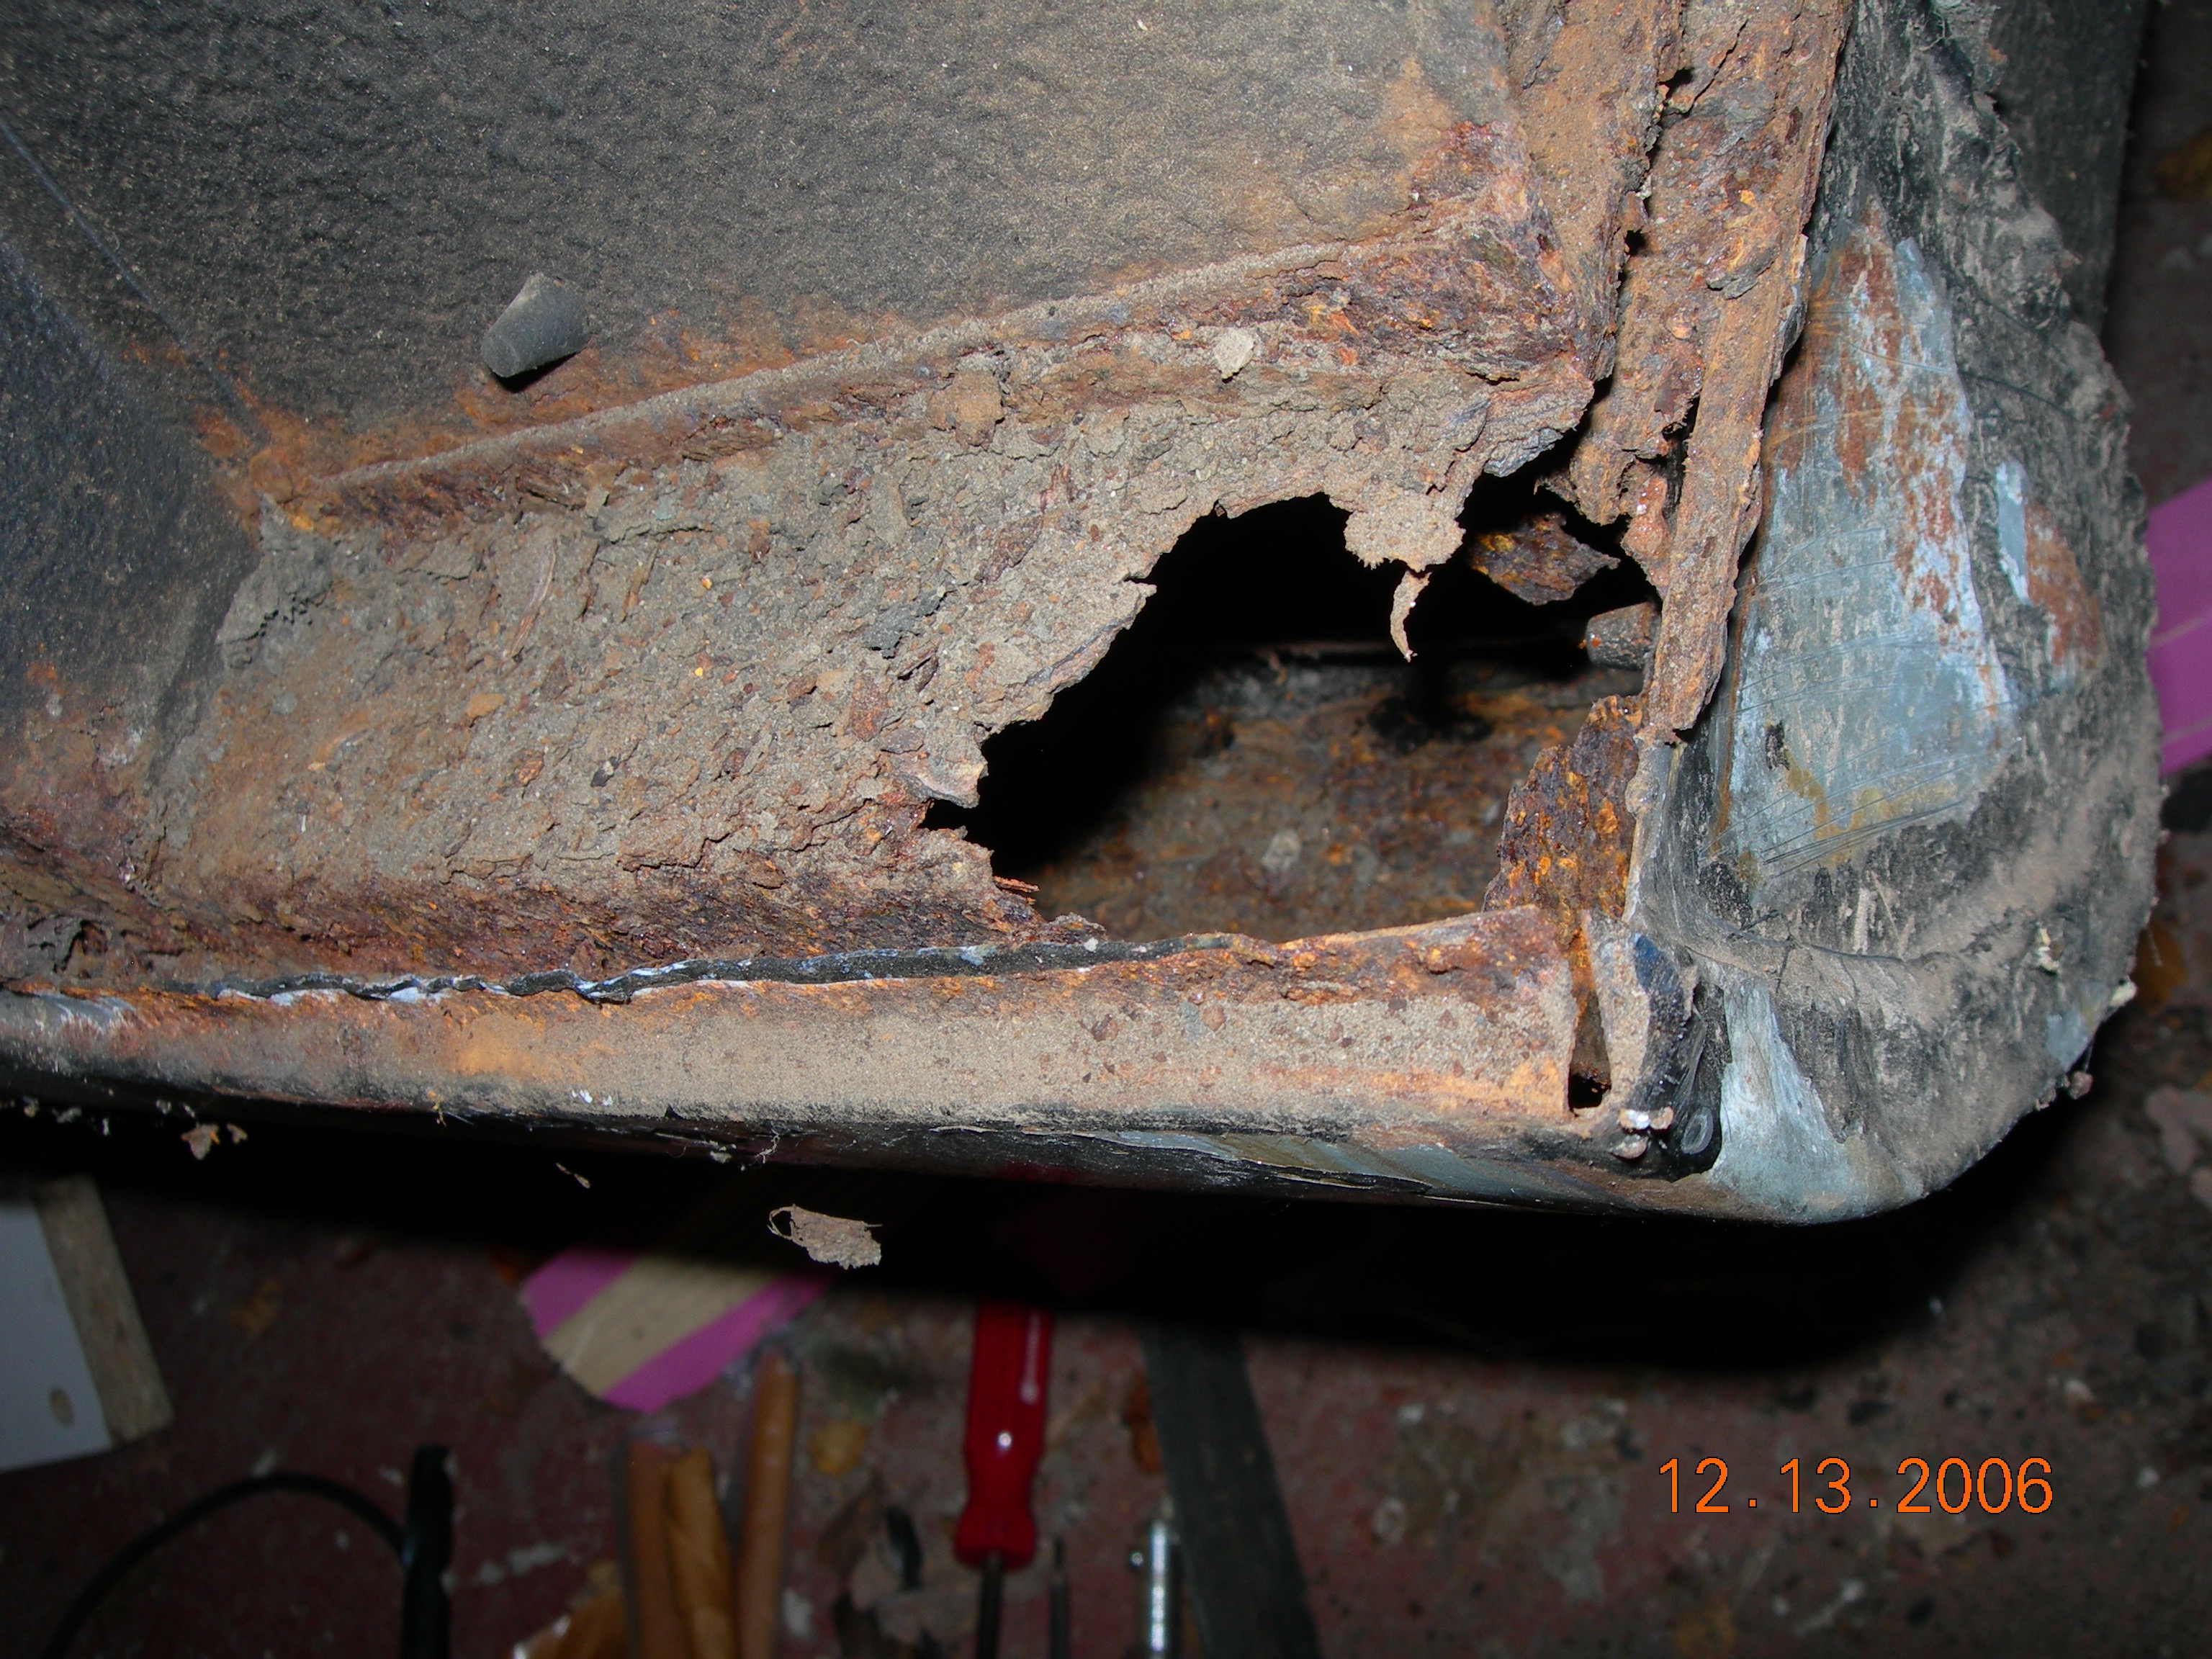
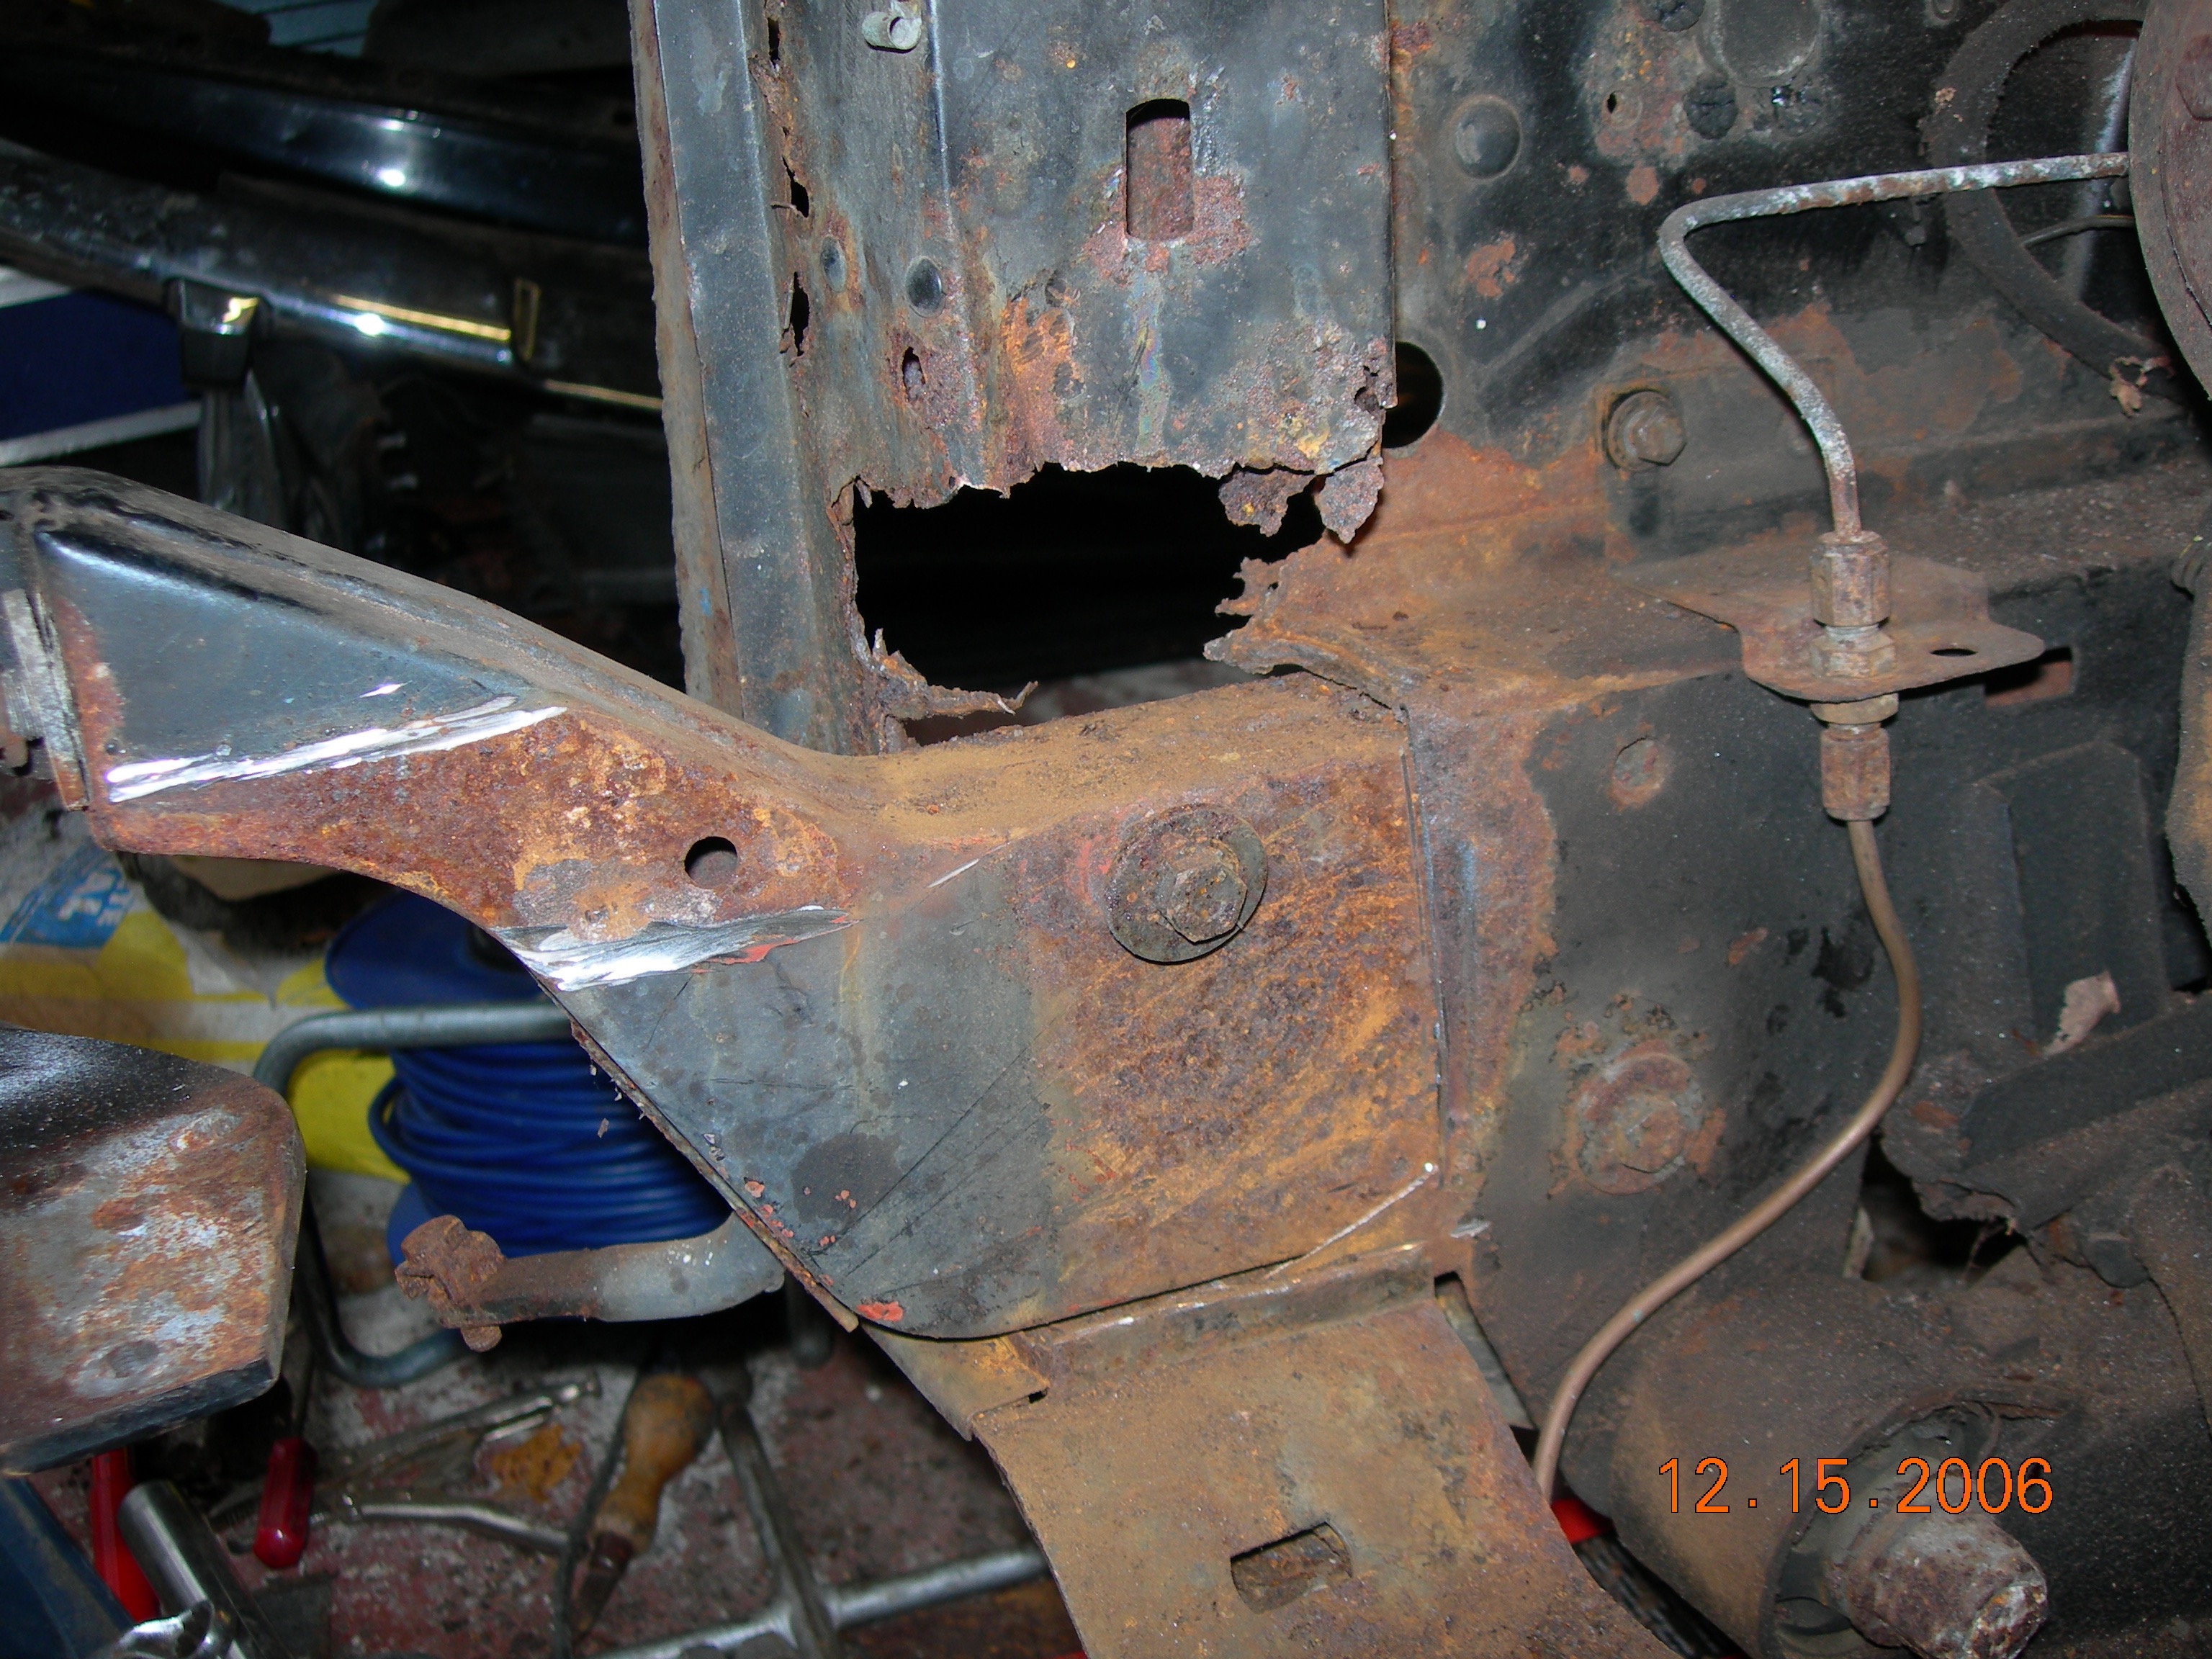
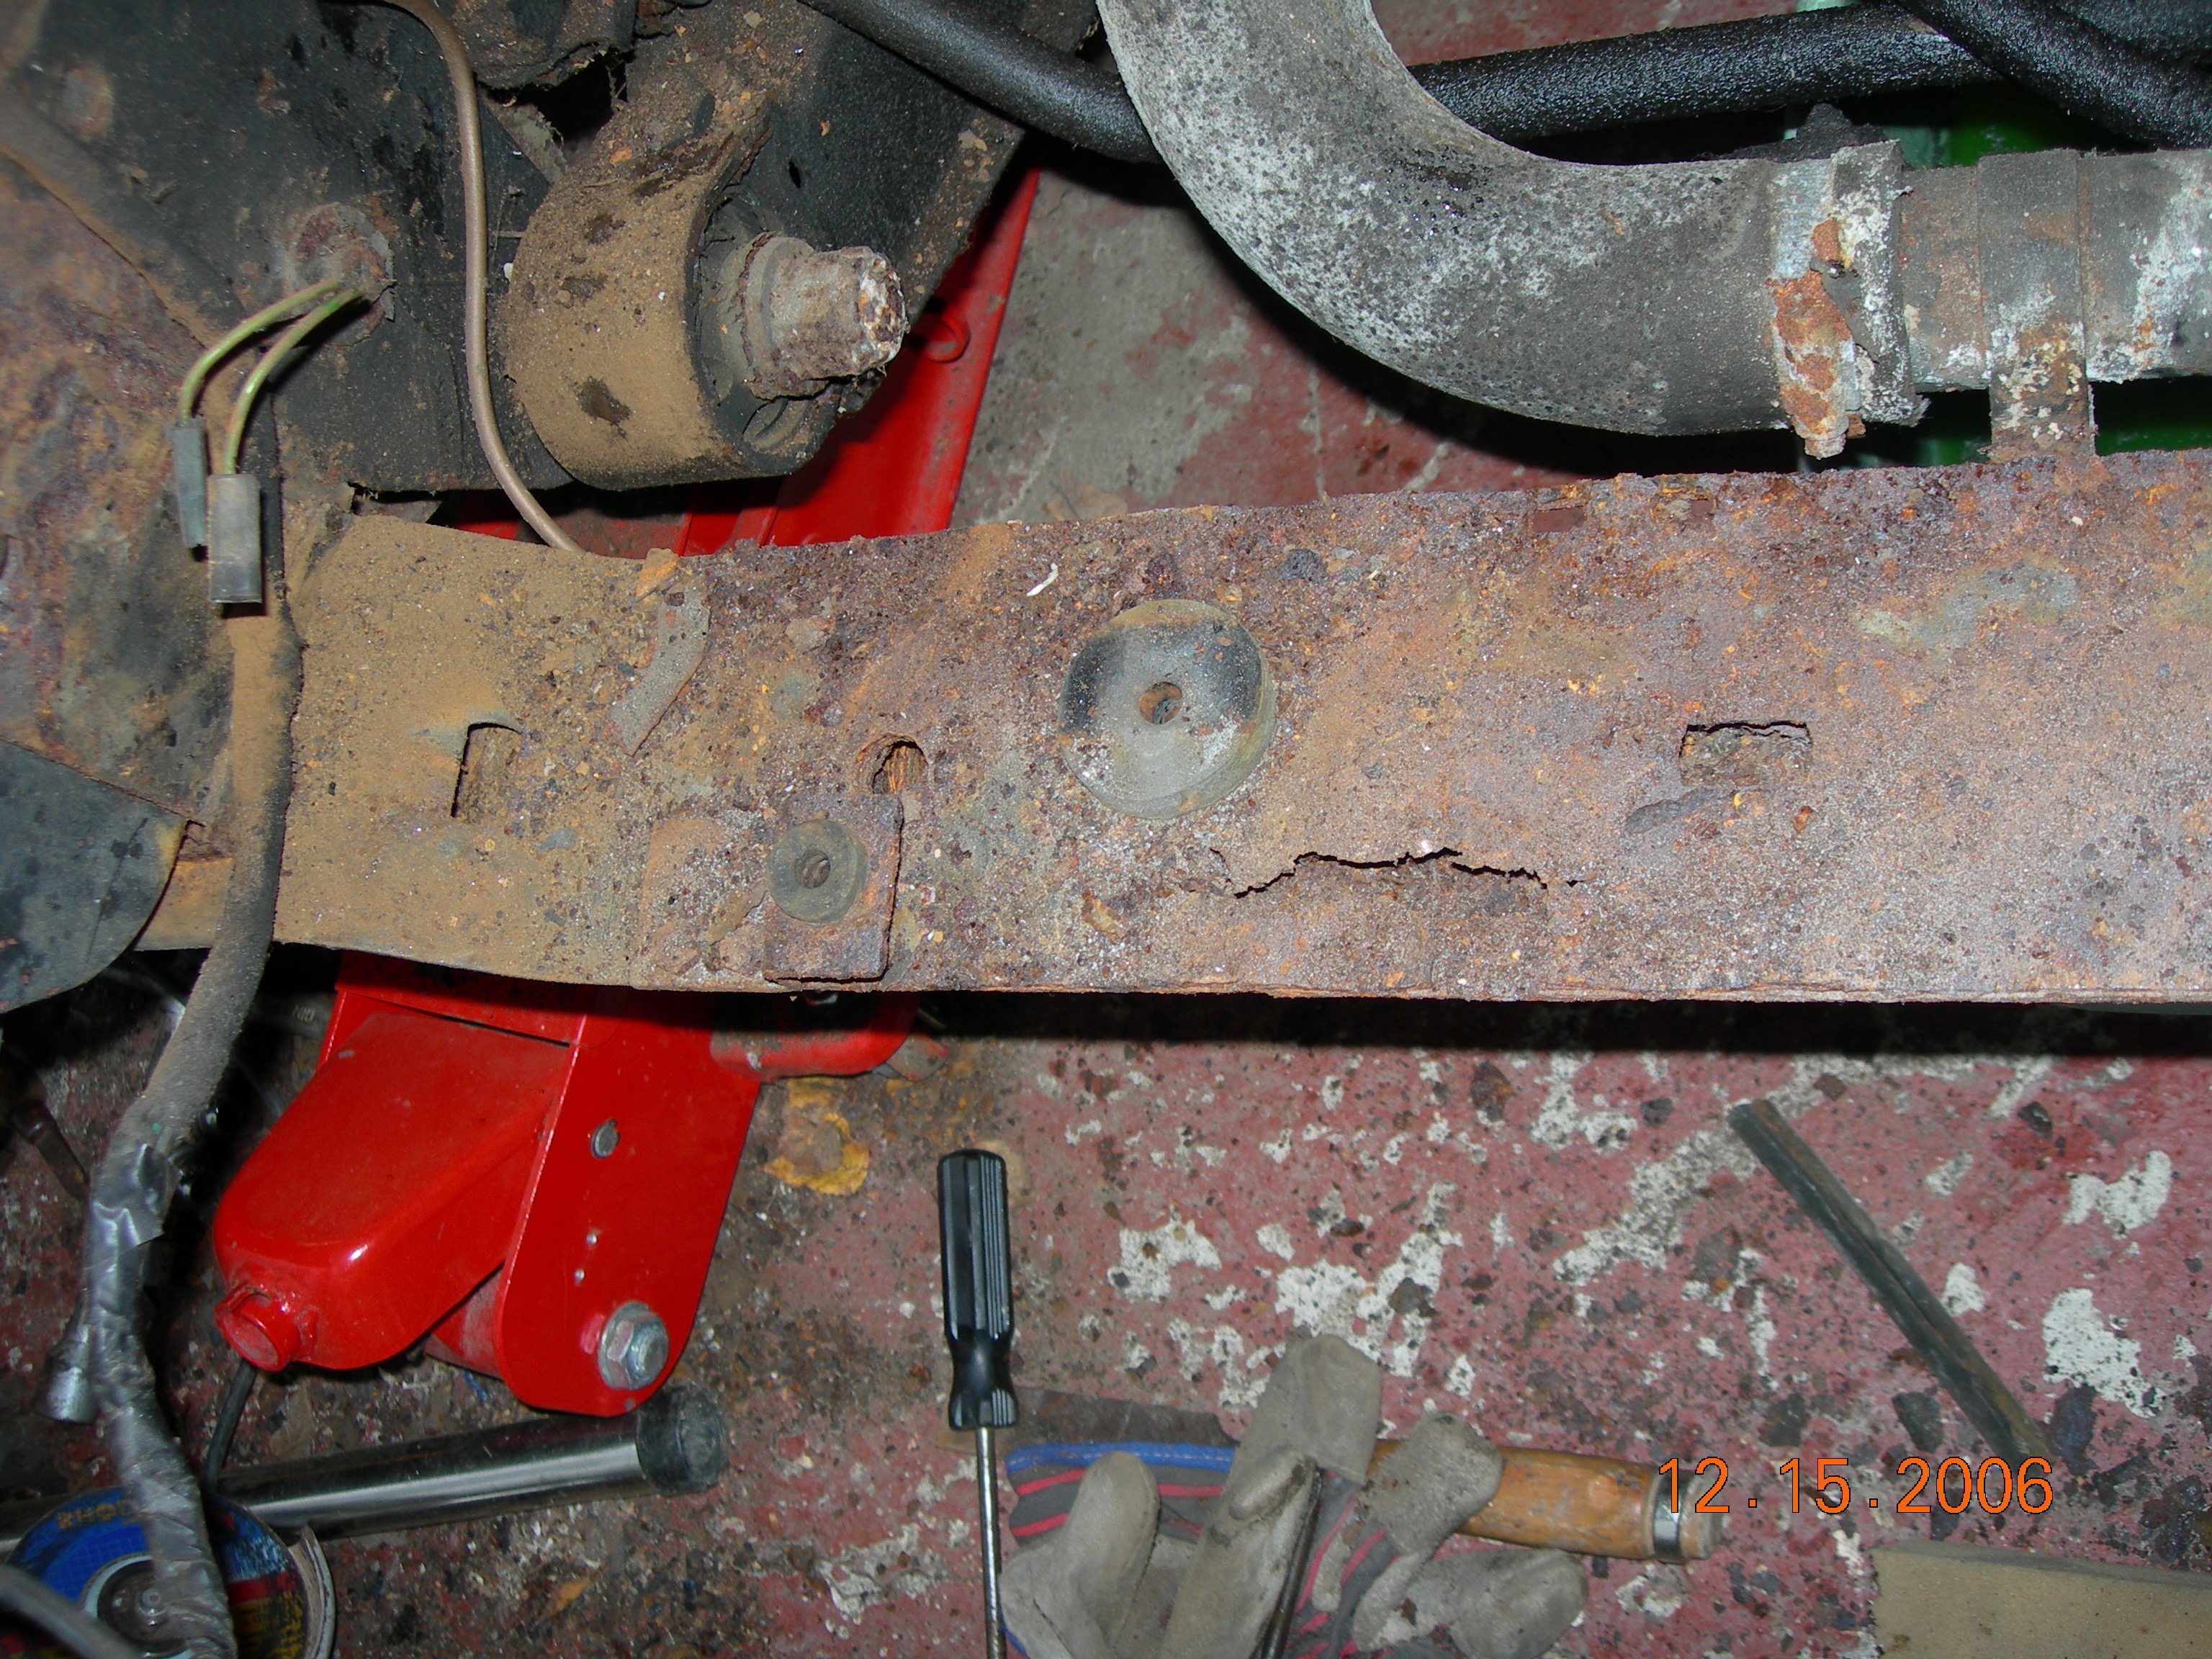
Below are a few pictures that show the sort of condition the front of the car was in around Dec 2006
Inner top Wing closure panelView across front endFront End without wingInner Wing End plateDrivers Side SillLeft Hand Radiator SupportFront Cross MemberRust inside Bonnet